Cavern Entrance: Part 1
May 16, 2020
- Part 1: Building the arch (you are here)
- Part 2: Creating the foam floor and structure
- Part 3: Adding the wood chip and plaster rocks
- Part 4: Final step, painting
Part 1 of this series of posts is going to detail the process of creating this first central piece, the arch that will be set into the stone of a cave.
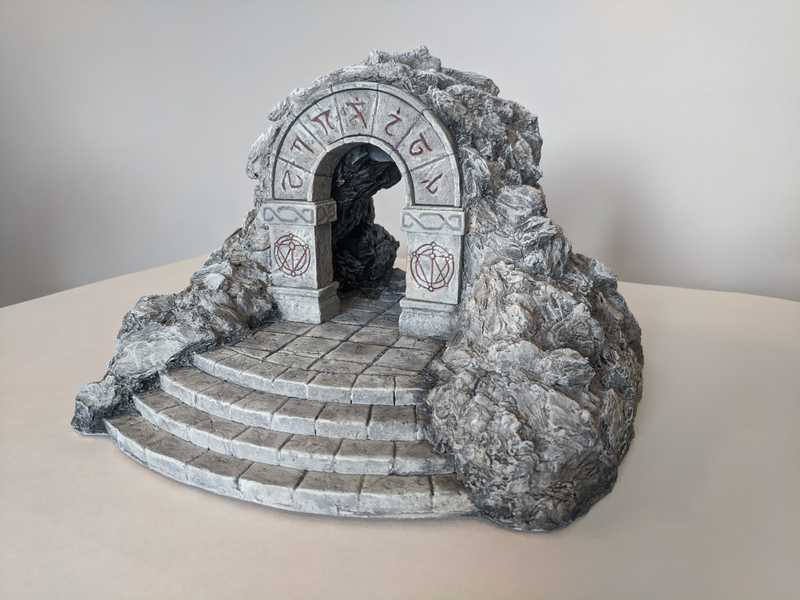
And so you know what we're working towards, here is the final product:
All the terrain we've made so far has either been very small, or made of small pieces. Lots of focus on modularity and reusability. I wanted to finally make something bigger, something a little crazy. Jimmy had a one-shot coming up that he was writing, and he found this 3D model for inspiration:
Source:
bemola from Turbosquid
(For the uninitiated, a one-shot is a single self-contained adventure that usually runs start to finish in a single session, instead of a full campaign that is played over a longer period of time.)
The premise of the one-shot (a cathedral heist) loosely influenced the decision for this terrain piece, and the terrain piece ended up influencing much of the story of the one-shot (secret caverns beneath the cathedral). We just wanted it to be demonic-themed instead of this nordic-like design.
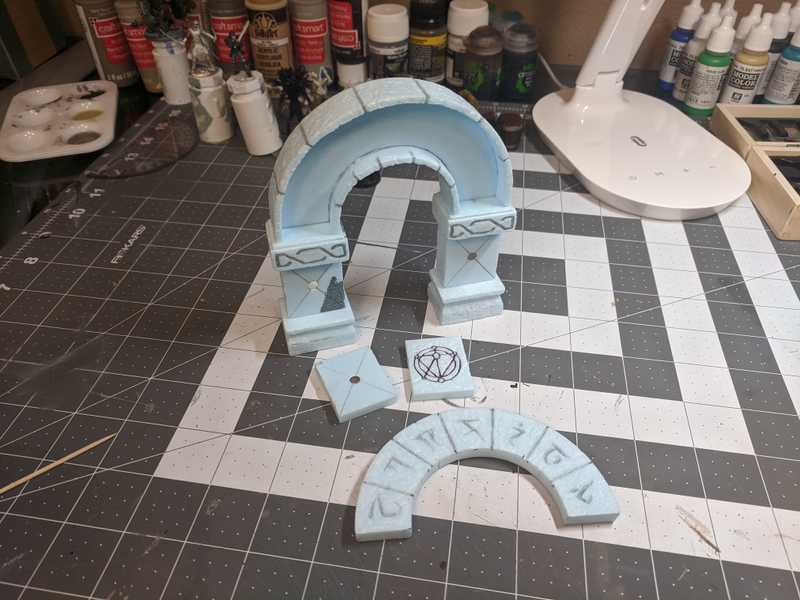
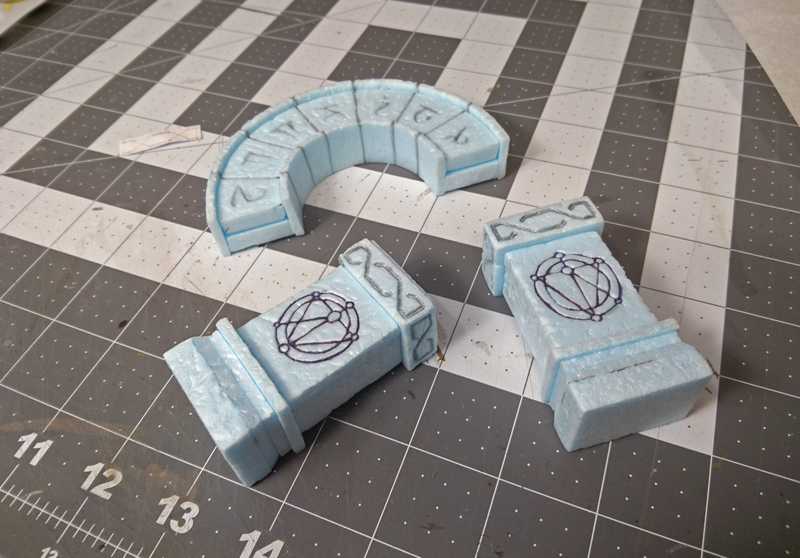
Of course there's no way we're going to build something as big and fancy as this and only use it once, so we decided to make the theme of it changeable. We'll do this by making the front parts of the arch and the pillars on each side removable, like so:
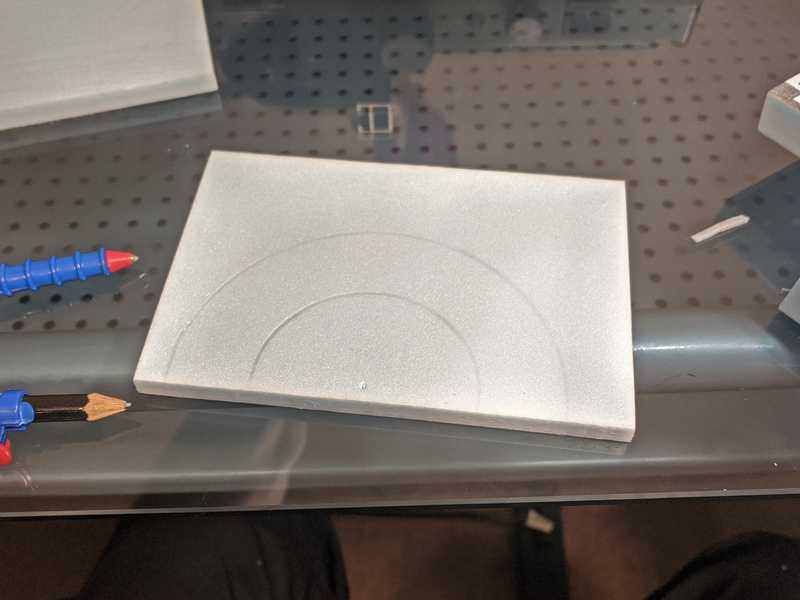
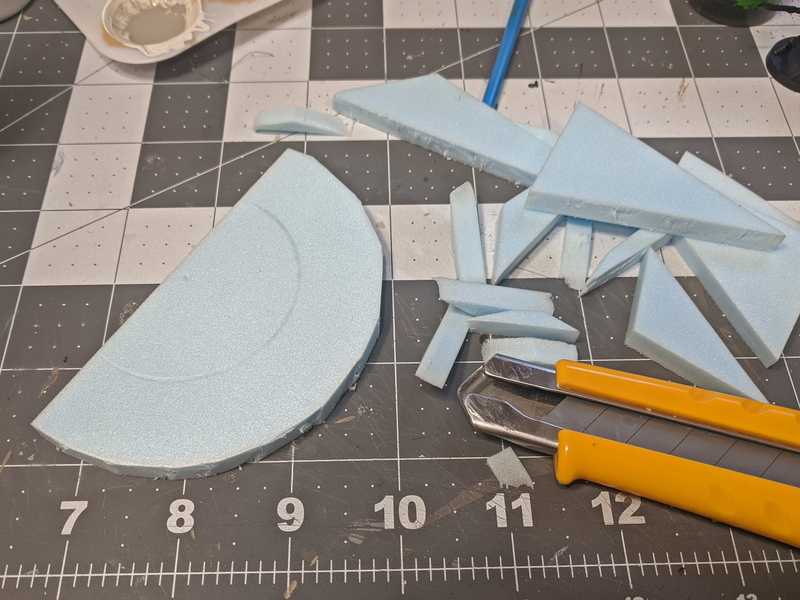
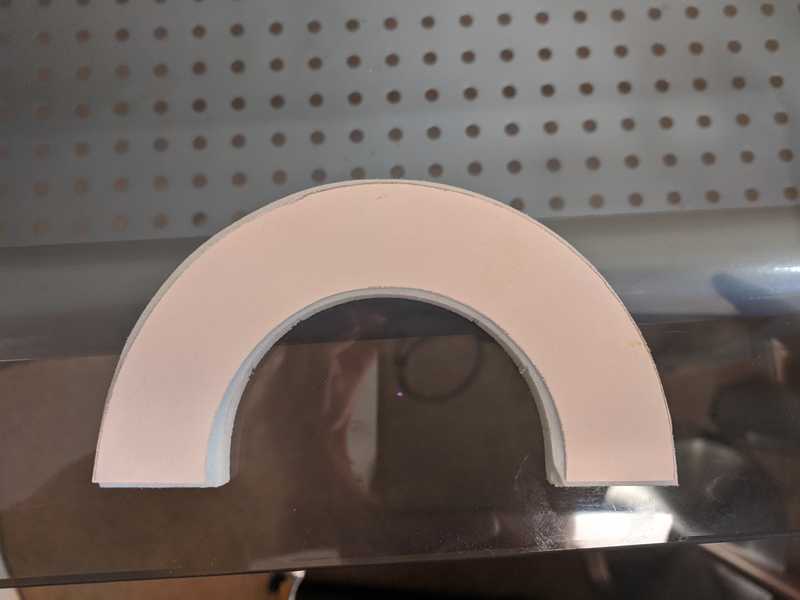
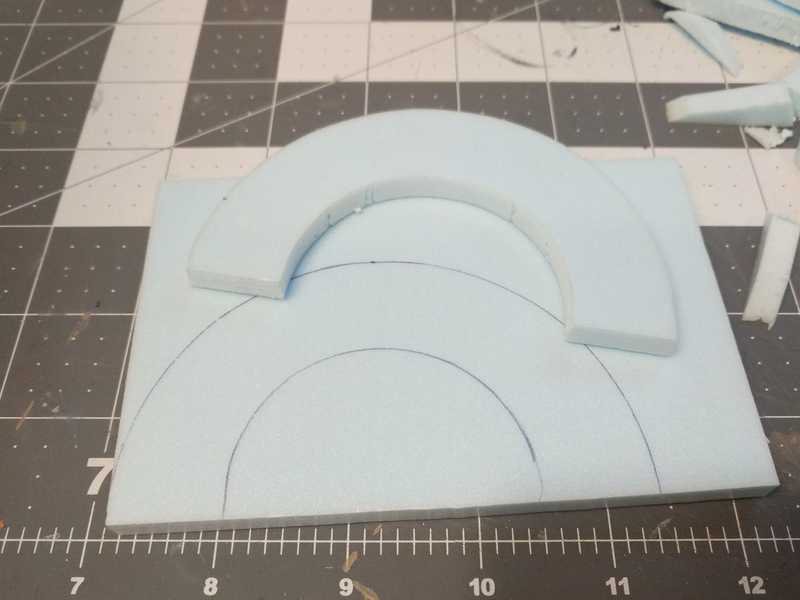
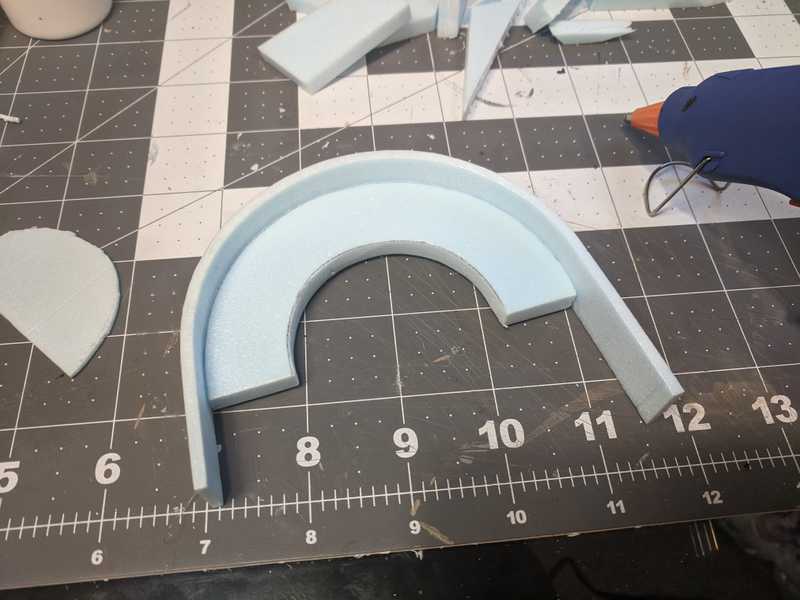
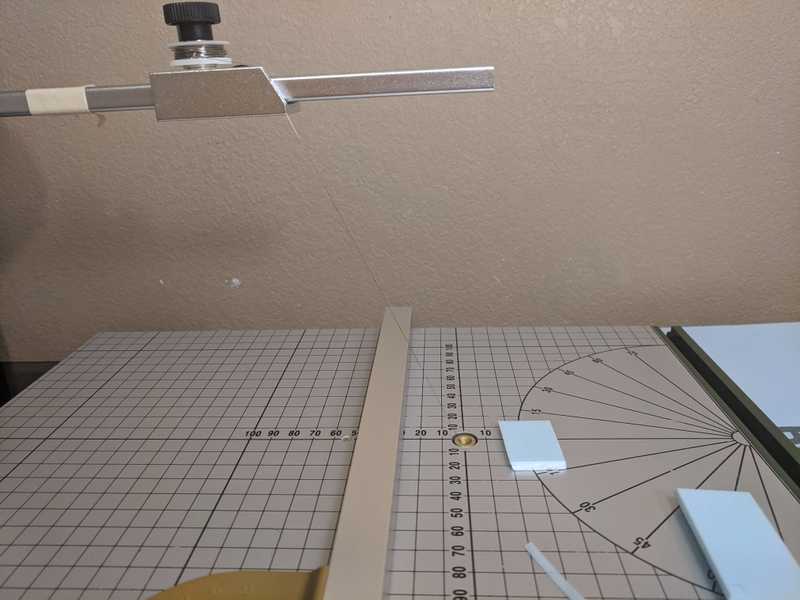
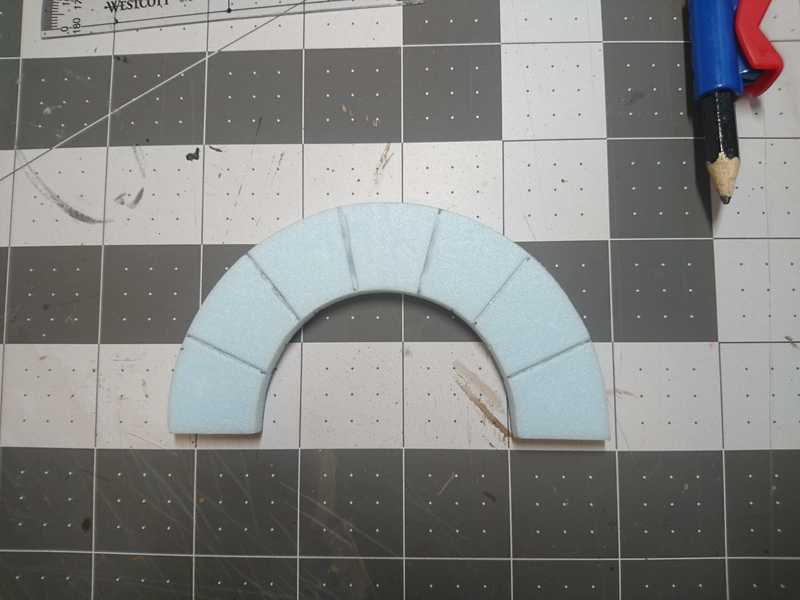
Let's start with the arch on top. This piece of foam is about 1/4" or so thick. For the first time ever, I used my compass for its intended purpose (drawing circles, instead of doodling on the foam with the pointy end).
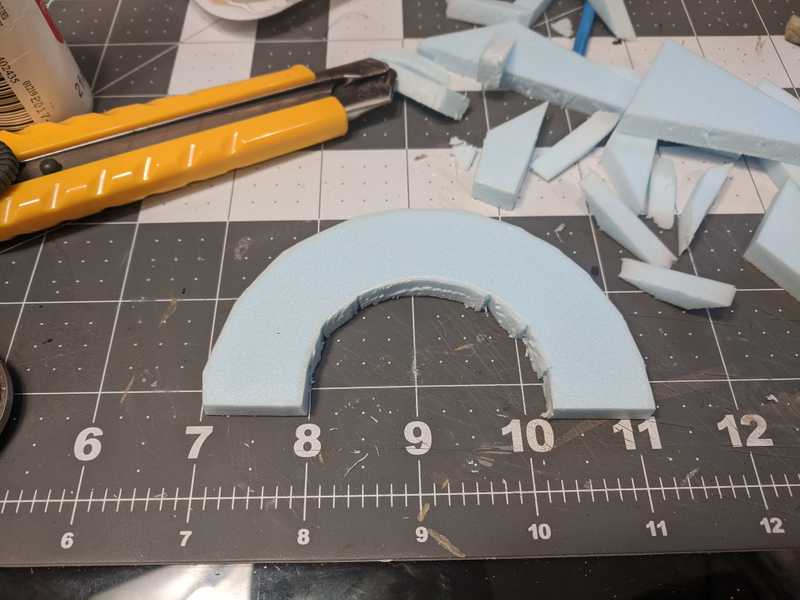
Unfortunately I couldn't use the hot wire table to cut it out, since freehanding it would have been a disaster for sure, and I would have needed to make some kind of jig. So I went at it with straight edge cuts with a utility knife. As I'd find out later, it would have worked much better to just slice along the curve in one smooth cut.
Doing the inside was way more annoying.
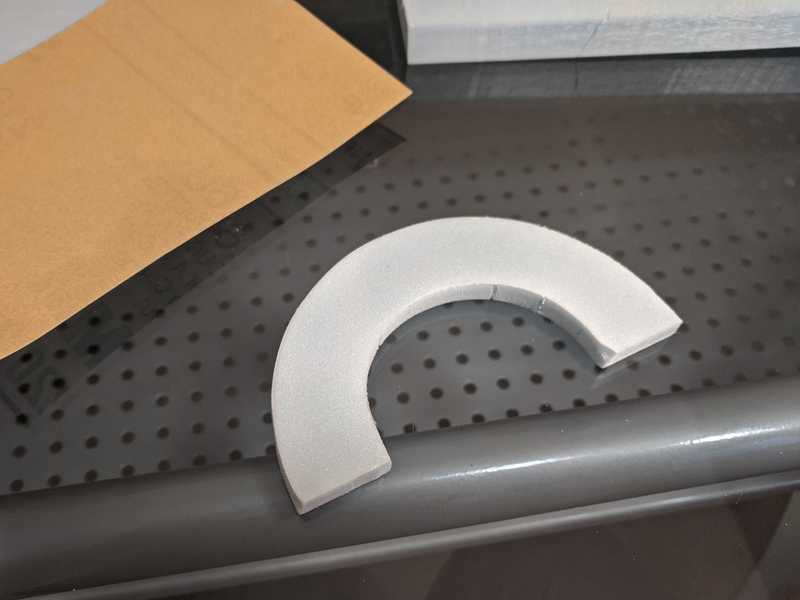
I had to do an awful lot of sanding to smooth it out.
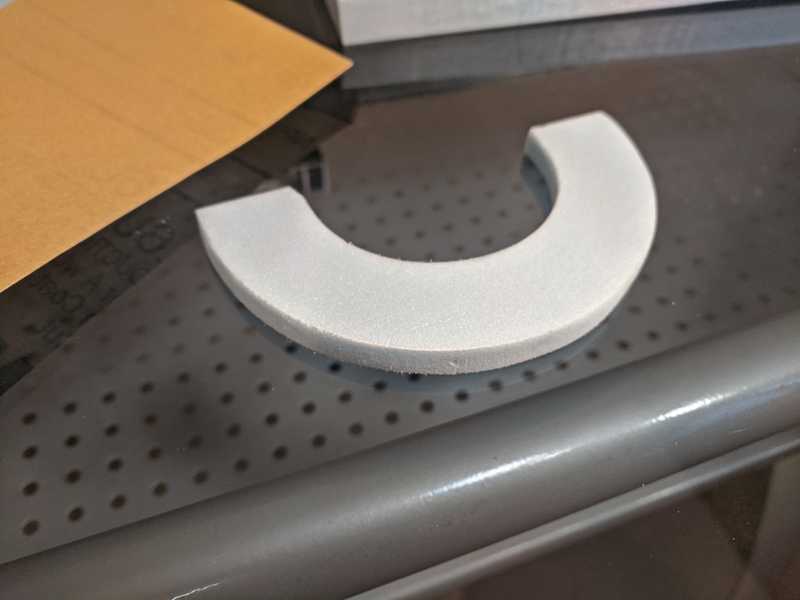
The problem with this much sanding was that I didn't keep to the lines very well on the front, and I had no lines at all on the back, so my perfectly round curve got all messed up.
I cut out a little template to stick onto it to try and get my edges back on track. Back to sanding.
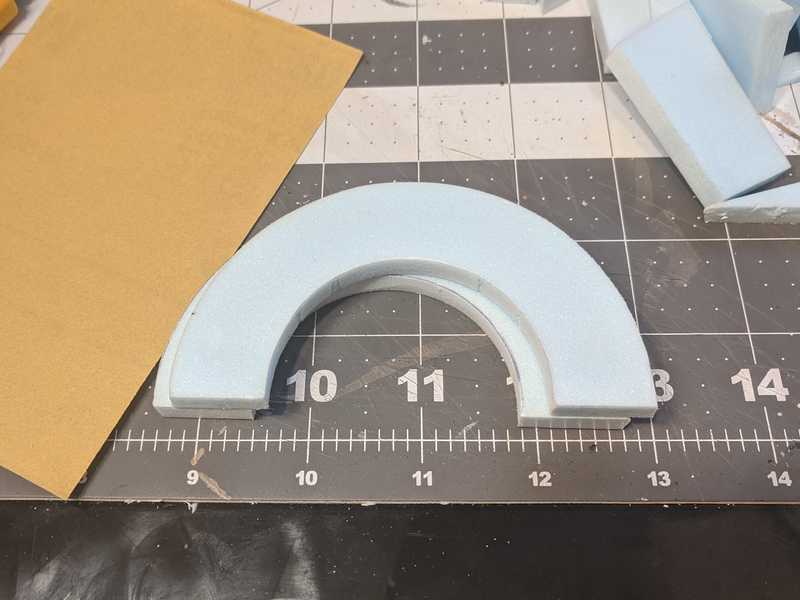
Once I got the shape mostly accurate I traced around it onto another piece of foam (of the same thickness), and repeated the whole cutting out process. We're making two of these to sit one in front of the other; the front piece will be the removable piece, and the back piece will hold the structure together.
The big nicks on the edges shouldn't matter, because they won't be showing.
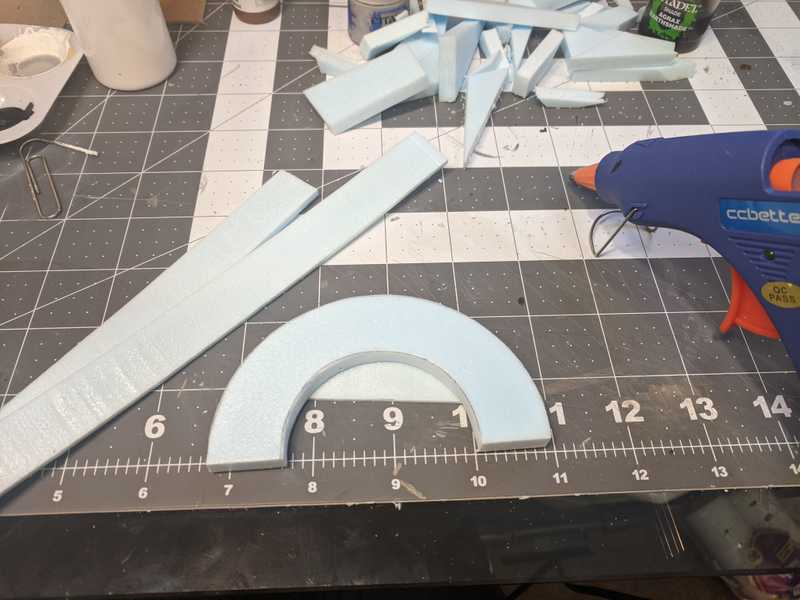
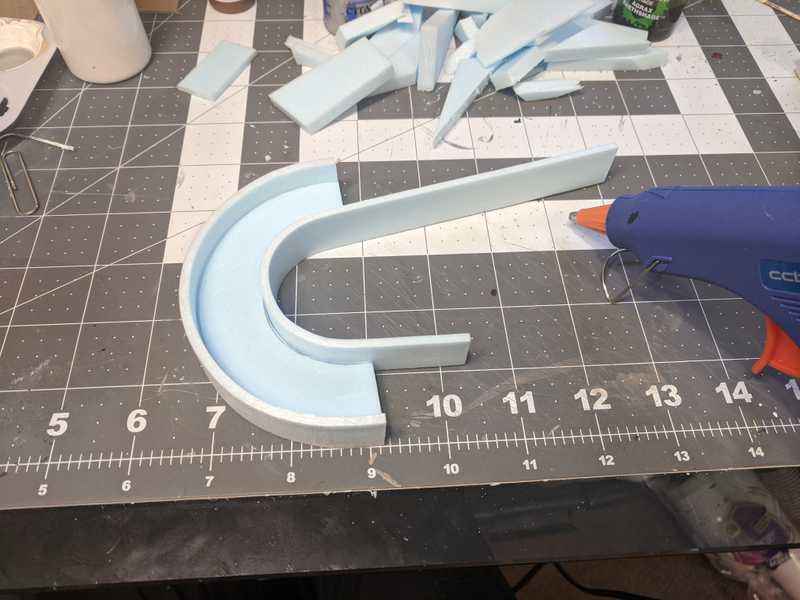
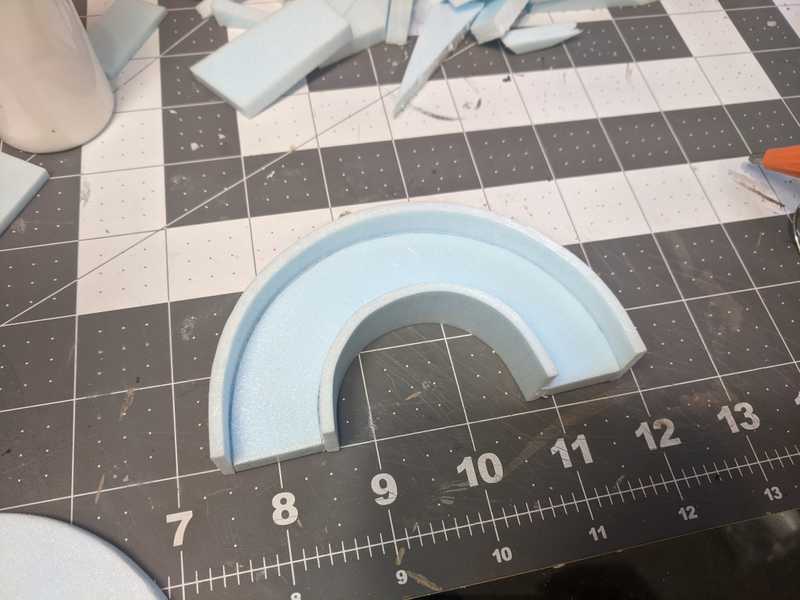
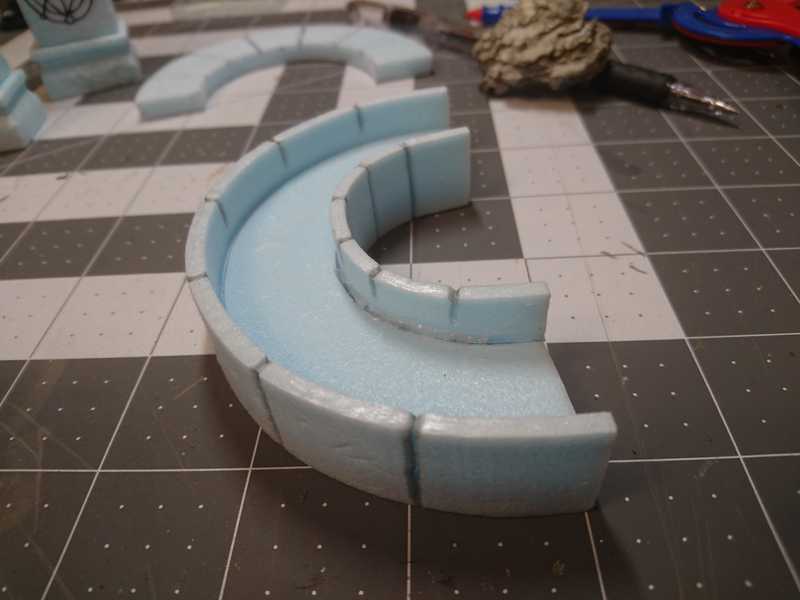
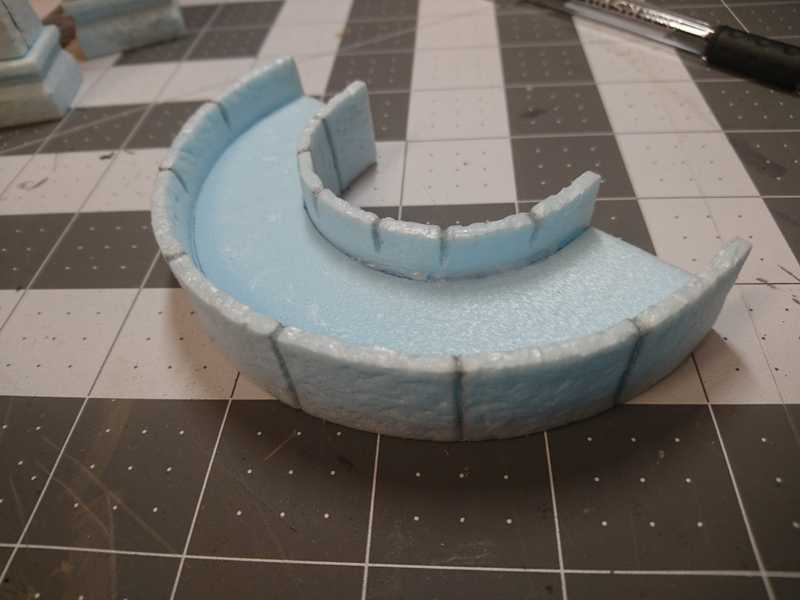
Now we'll glue some wide strips of foam to the sides of the back arch piece, to make a frame for the front arch piece to sit in.
The measurements of the width of the strips and the thickness of each arch, relative to each other, are important here because the front arch should be a little bit inset from the front of the rims, not quite flush.
Hot glue was a must-have here; I needed it to dry as fast as possible, because I had no way to clamp it in place while waiting for it to dry.
I trimmed the excess off the ends and repeated with the inside of the arch.
And then trimmed off the excess again.
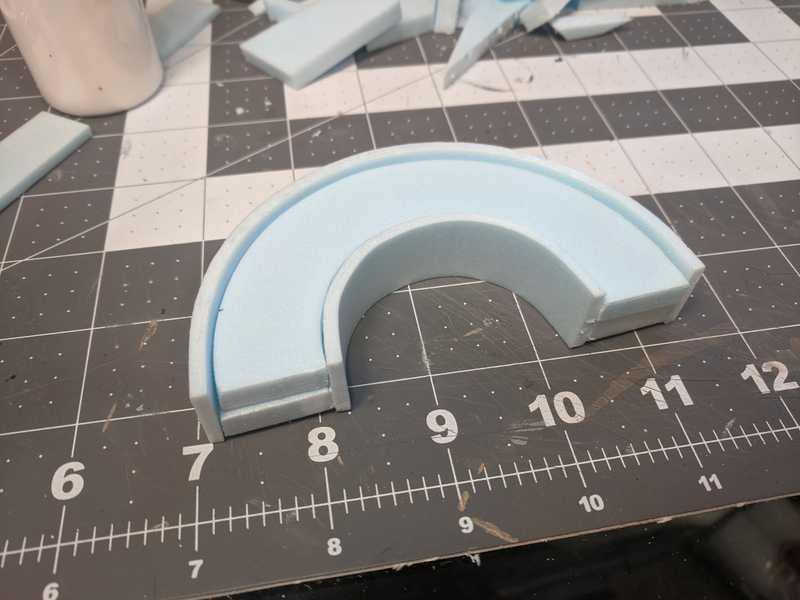
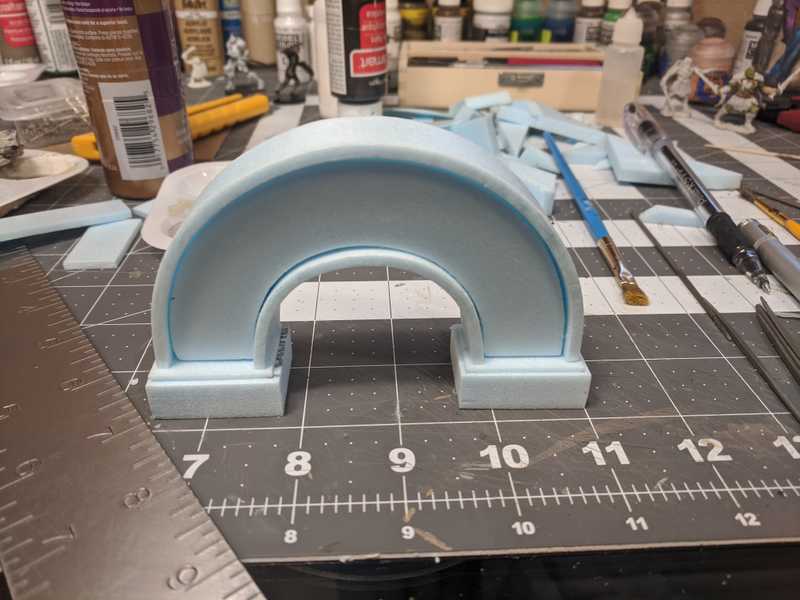
Below is the test fit of the two arches. I don't think we'll attach the removable arch in any way, (like magnets or something) because it seems to be a secure enough fit just sitting there.
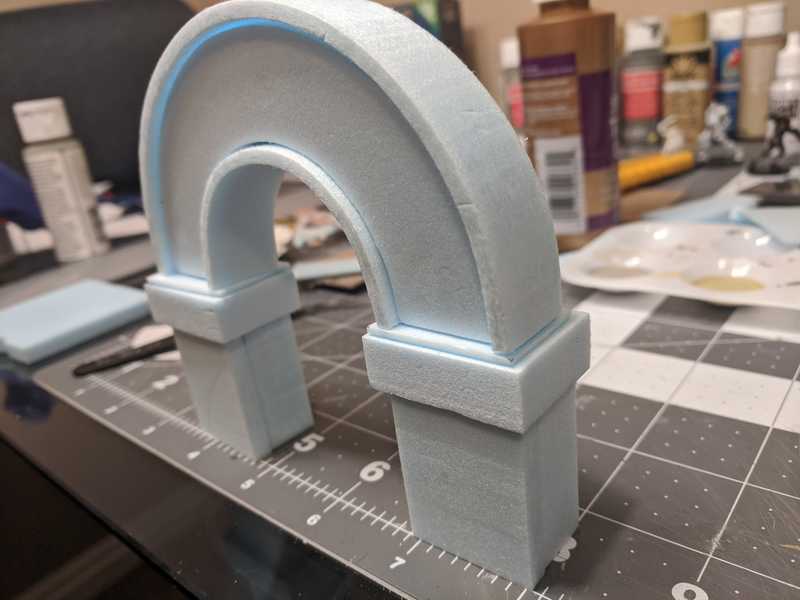
So now that we have the top of the archway, we can start building our way down the pillars.
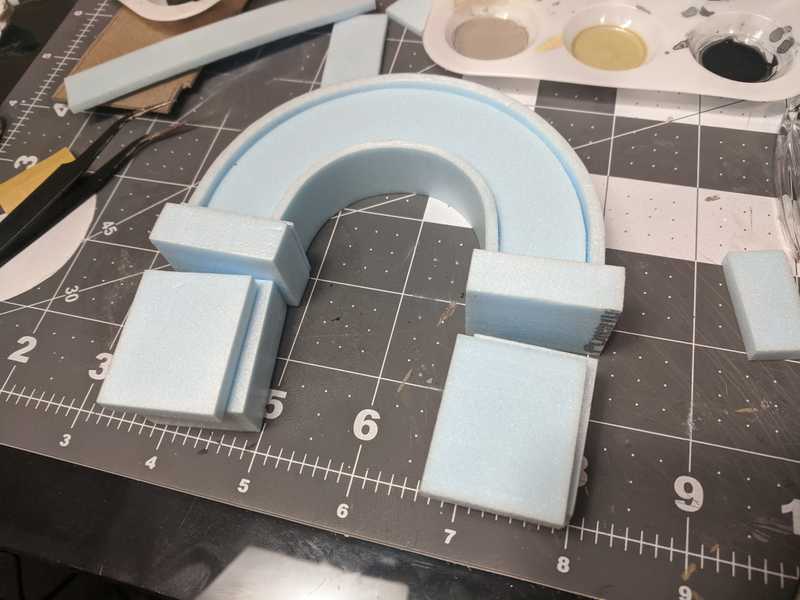
Here are the first couple blocks, nothing glued yet. I mostly eyeballed all the sizes.
Next is the largest central section of the pillars. The fronts of these will be removable, so I sliced about a quarter inch off the front.
More blocks added to the bottom, still no gluing.
It's a good idea to number these pieces while you're moving things around, so you can keep track of what goes where.
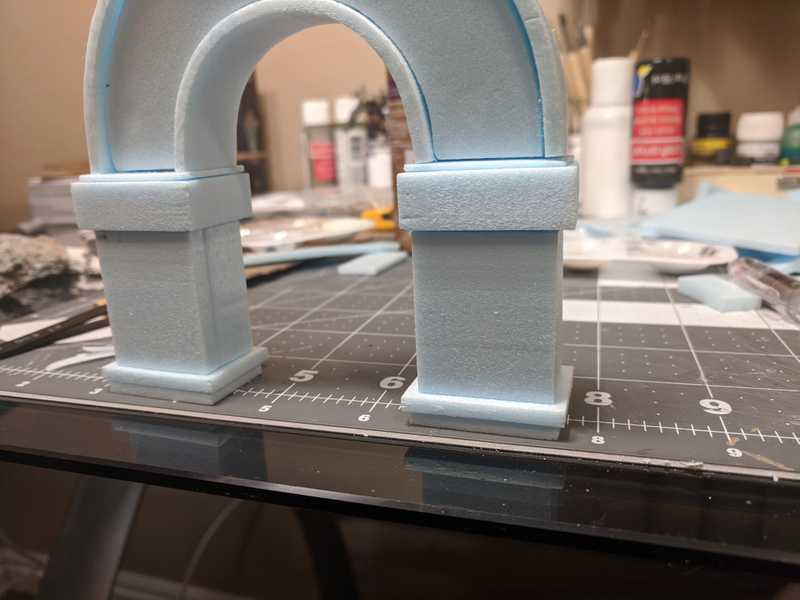
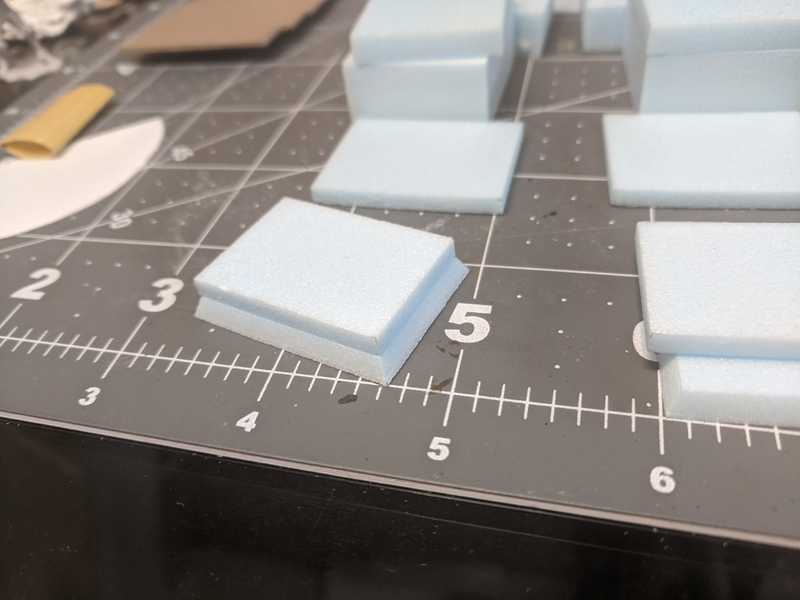
To add a little bevel to the blocks at the bottom, I cut them at an angle on the hot wire table.
I admit that I spent a whole morning cutting the two beveled pieces (one for each side). It's extremely tricky to match a particular length and width when you make the cuts at an angle.
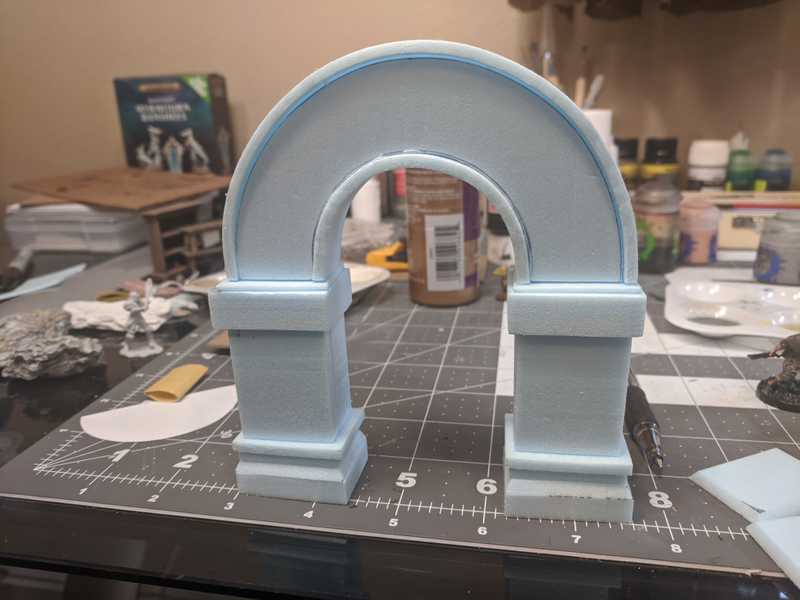
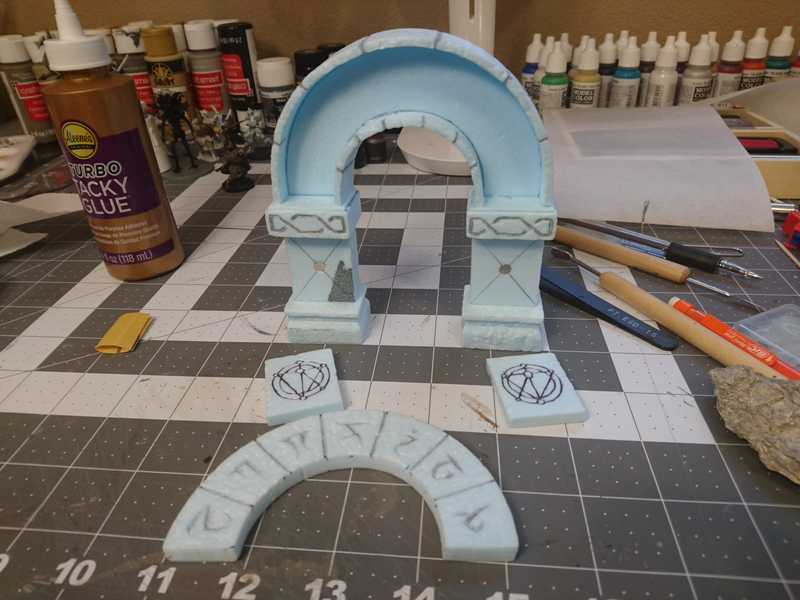
And finally here are all the blocks, dry fit. I followed the reference image most of the way down, but then realized that the whole piece was getting way too tall, and indeed was a little too tall already, and I had to just end it early.
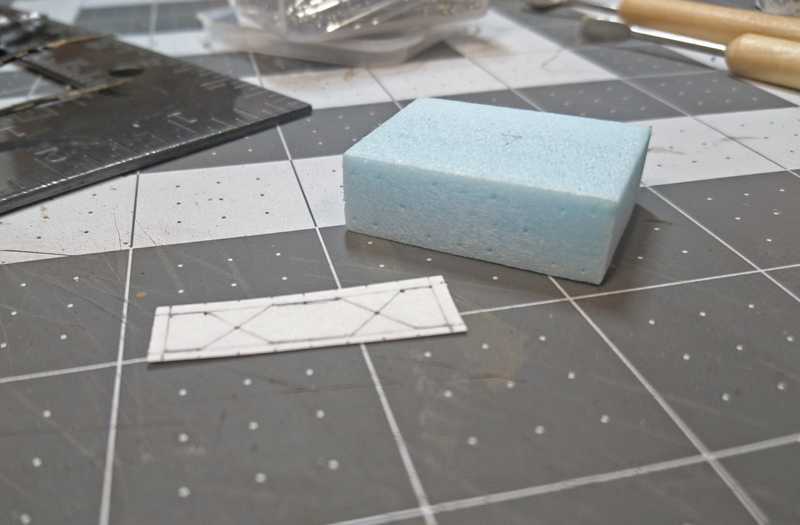
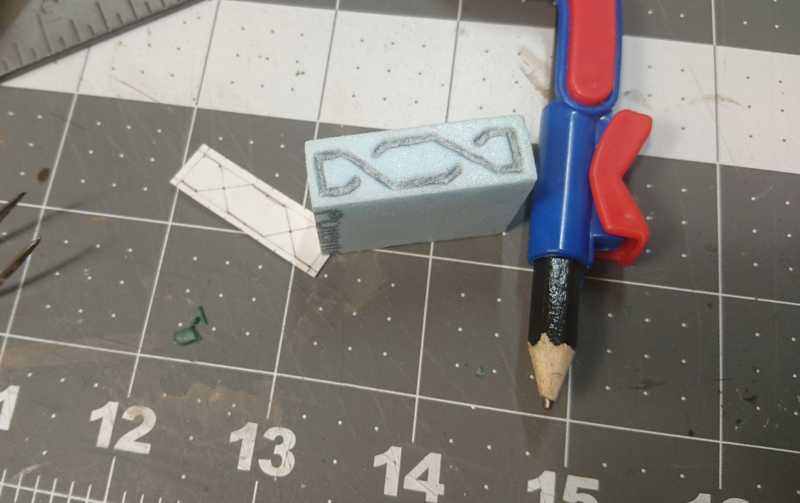
The bulky blocks between the upper arch and the lower pillars won't be removable, so they won't have the themed demonic carvings on them, but they look too plain just left as they are. So I picked out a design that looks somewhat generic to carve into them. And since I didn't trust myself freehanding it, I made a paper template for it. Couldn't think of any way to transfer the pattern onto the foam, so I lay the paper on top of the foam and poked tiny pinholes through to mark the corners.
I connected the dots with a blunt pencil (blunt to give a decent width to the lines).
The pinholes weren't a great idea, I should've realized they wouldn't just disappear.
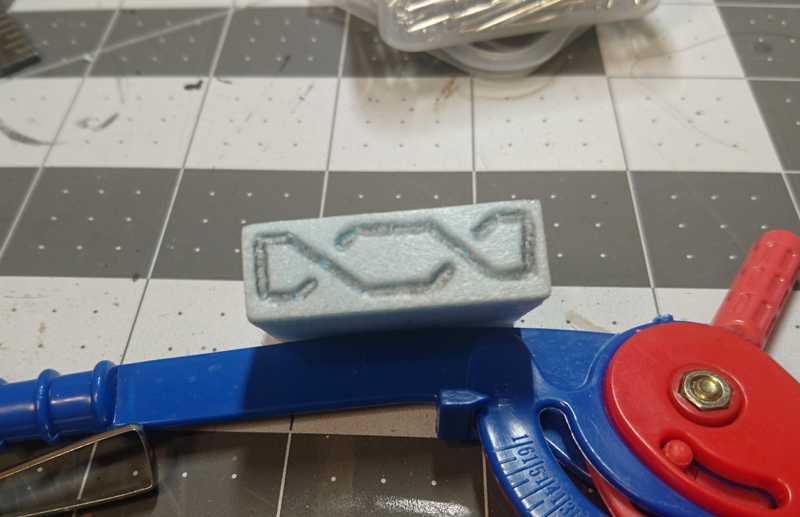
I made a similar pattern on the sides of these, the side that will be on the inside of arch. We won't need any on the back or the outside, because those will be covered with rocks later on.
Now for the removable pieces. These will be held in place with magnets.
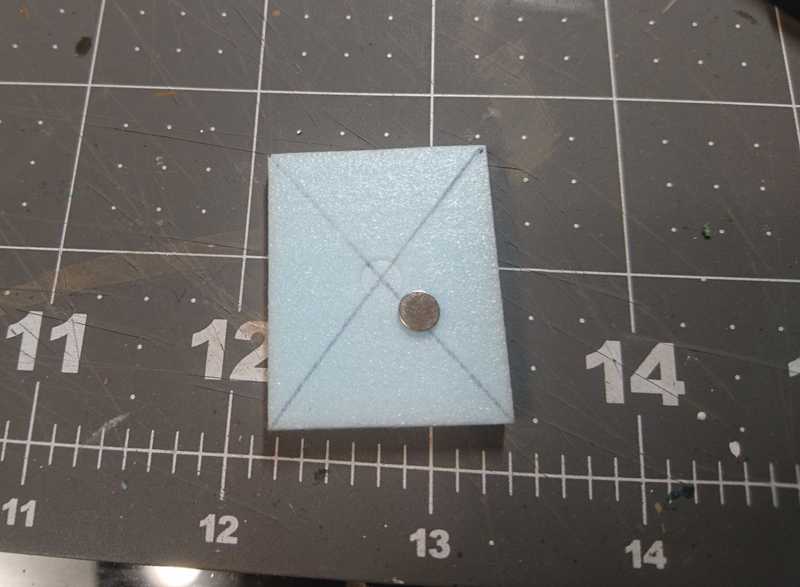
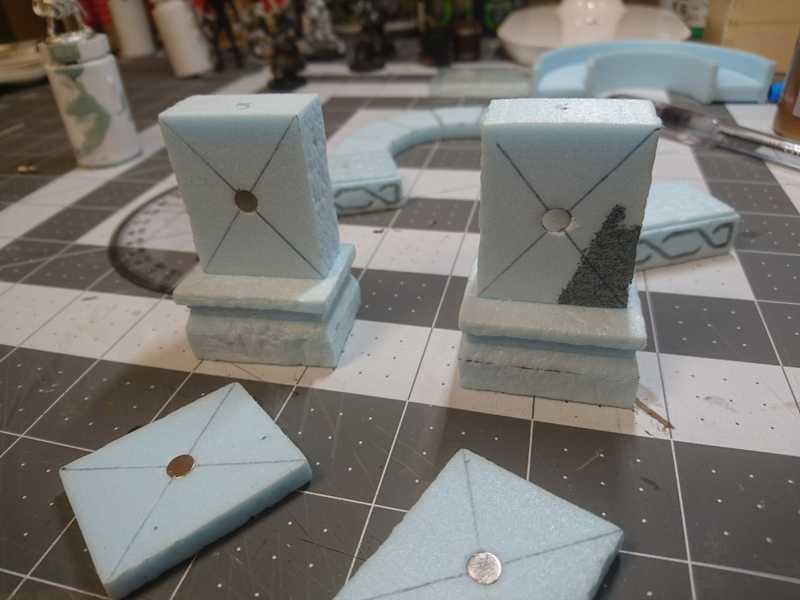
On each front and back piece, I drew lines from corner to corner to find the exact center, then took one of my magnets (a small 1mmx5mm round) and pressed it down at the intersection to indent the spot where it will go. (Below is the back side of one of the removable pieces.)
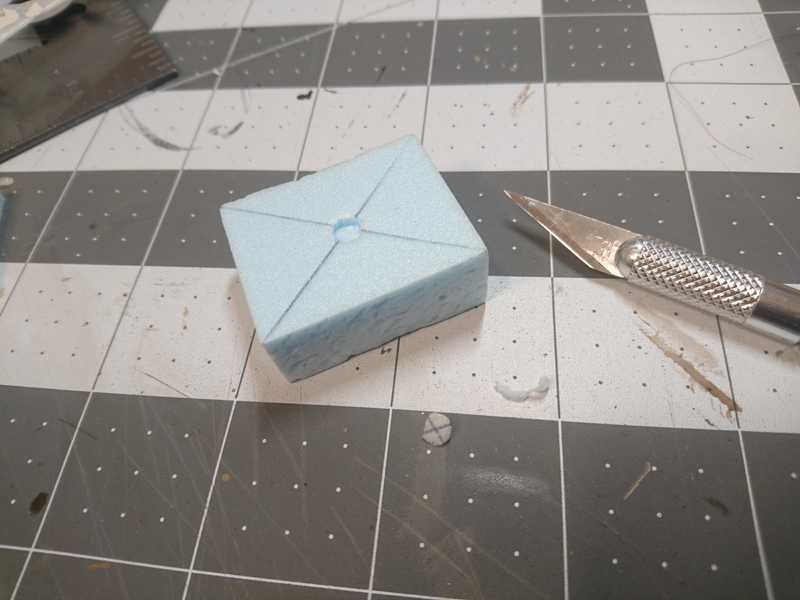
Then I carved out the circle with an exacto knife, trying to match the depth of the magnet. (This picture is the thicker back piece.)
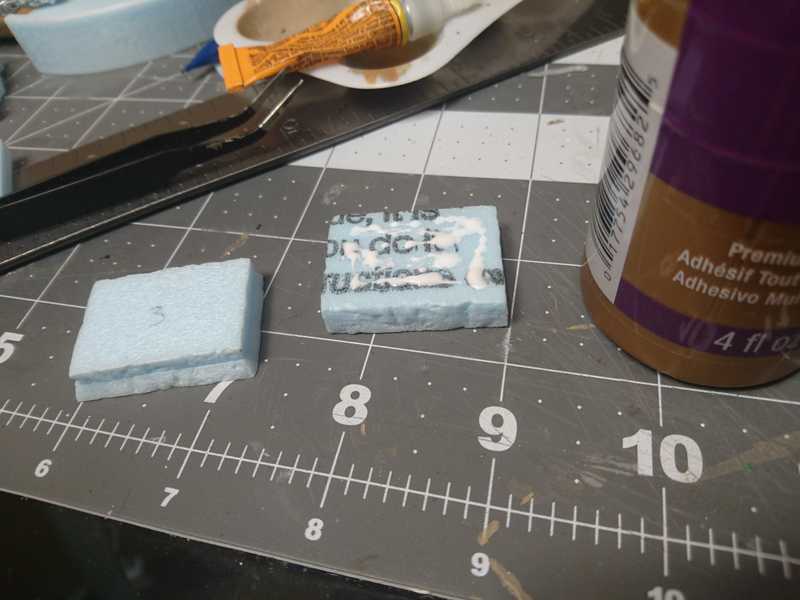
I glued the magnets in with regular white glue. I have a notion that I should have used something stronger, but at the time I just couldn't think of anything. (Spoiler from the future: they worked out fine. Just don't stick the magnet-ed pieces together and try to pull them apart until the glue is 100% dry.)
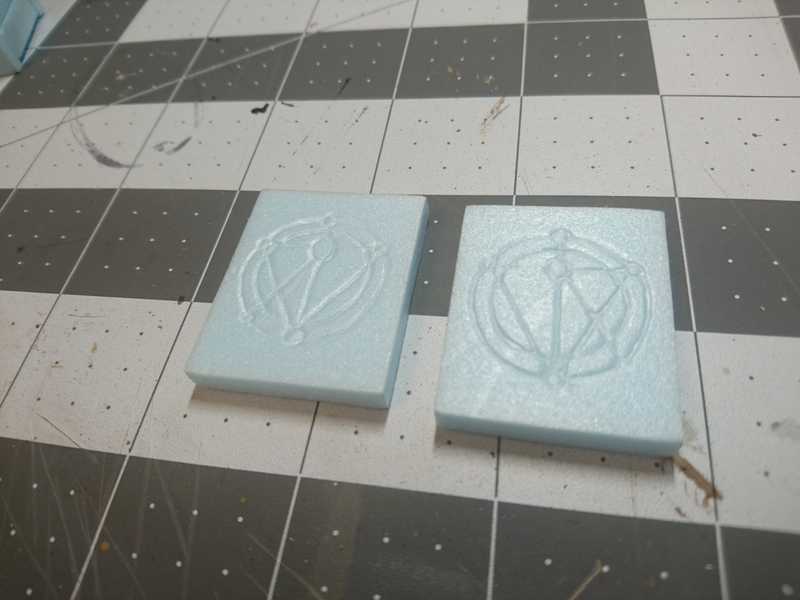
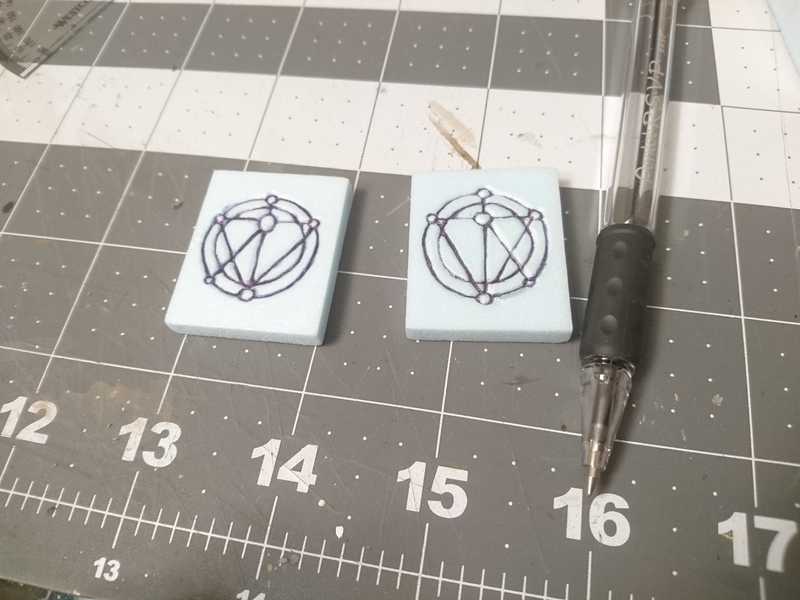
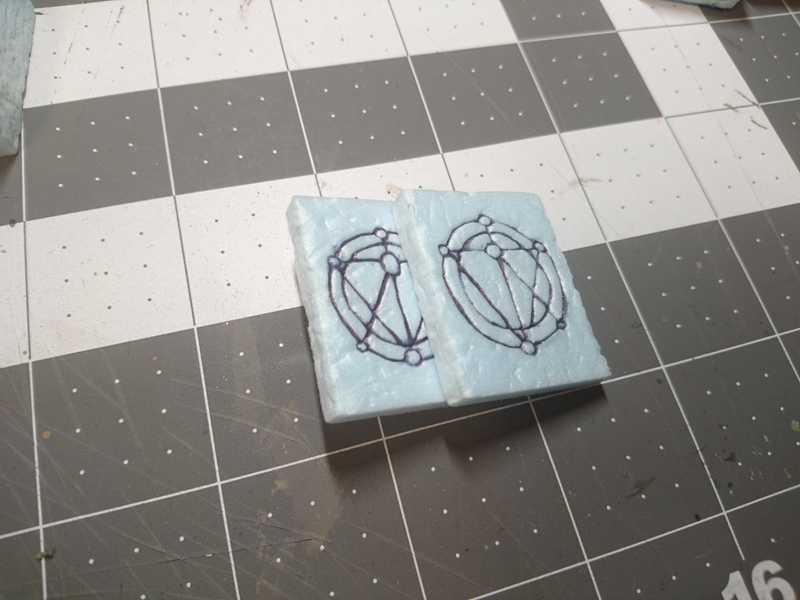
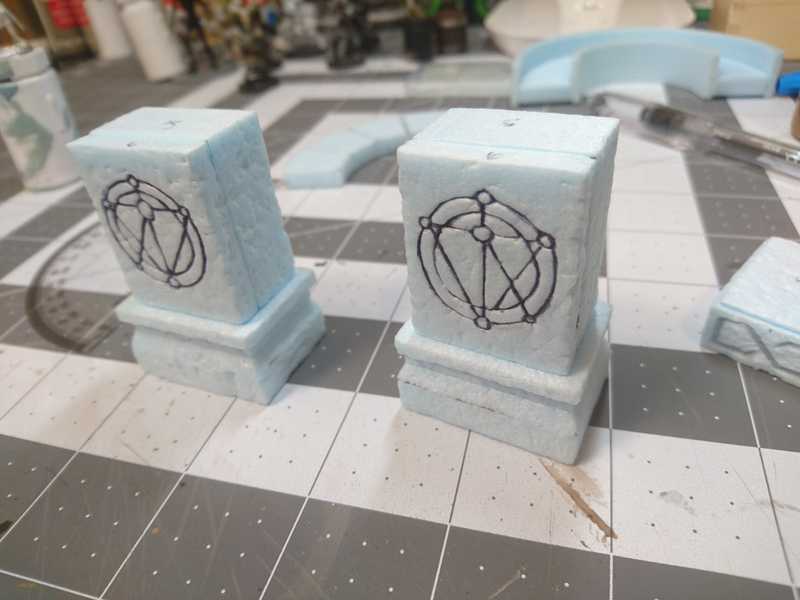
After that it was time to start on designing the removable faces. An image search for "demonic runes" turned up a whole lot of Doom pictures, so I grabbed one of those. Again, I didn't want to freehand it, so I printed a couple of them out at the proper scale and traced through them onto the foam with my trusty compass tip. (I didn't think the pinholes would work for this one.)
The lines were pretty faint, so I went over them and made them deeper with a ballpoint pen.
I textured the front as well as the left and right sides of the symbol pieces with rocks and tin foil, same way that I did all the texturing for our dungeon tiles. I did the same for the visible parts of all the rest of the blocks.
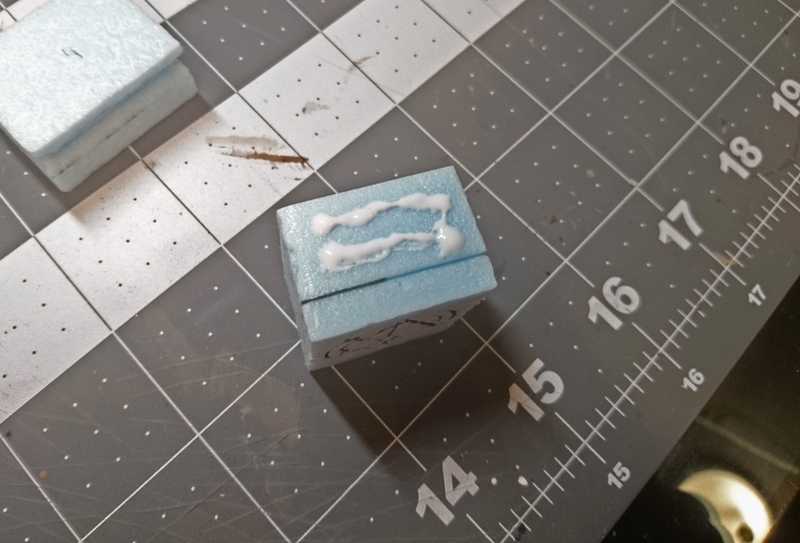
Now it's time to assemble. I used tacky glue, and hoped that was the right decision.
As we come to the central modular blocks, we obviously only want to glue the back part to the base, so the front part can still come off. We need the front attached for the moment at least so we can center it on top of the block below.
Here's the bottom side:
And the pieces of both sides in place.
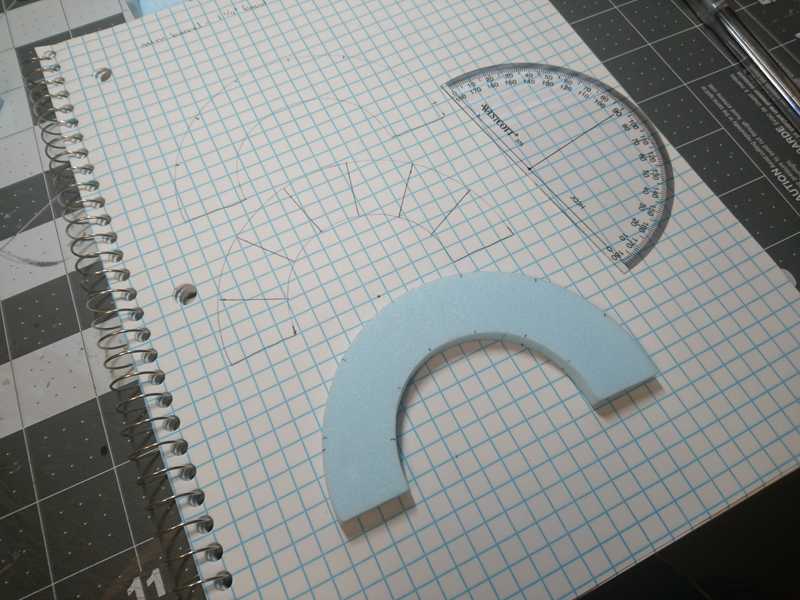
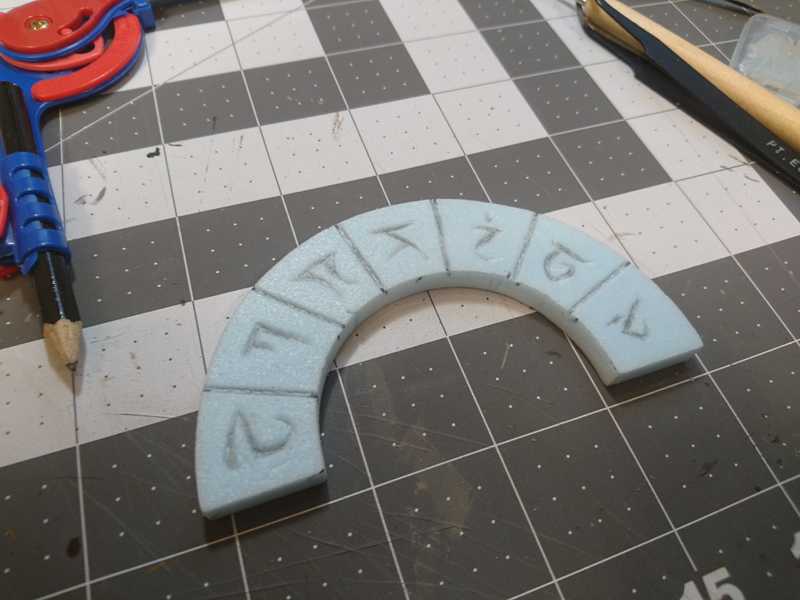
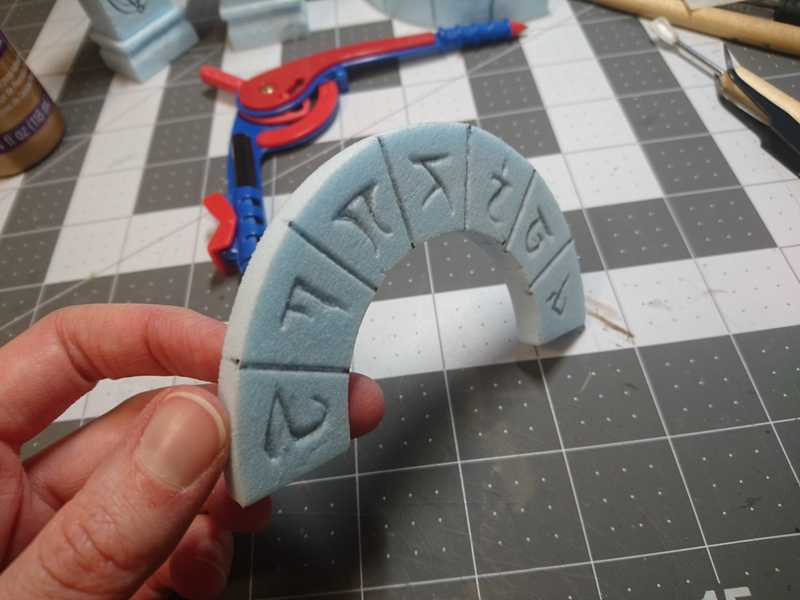
For the front piece of the arch, I wanted to split it into 7 'blocks'. I traced around the arch onto some paper, and then used a protractor to mark the angles and draw the lines between them. Then I laid the arch back onto the paper and transferred the marks onto the edges of the foam.
The problem with my method was this: because I failed to make the arch a perfect half circle, the precisely measured angles didn't match up that well. Some of the lines were really slanted and the top and bottom edges of each block were different lengths, so I had to flip the piece over and try again on the back. I marked the exact spots on the arch again, but as I went I sort of freehanded it and tried to adjust the lines to look a little more even.
Moving over to the back piece of the arch, I laid the now-outlined removable arch into the frame and marked the 'rims' in the same places. I continued the lines all the way to the back on the sides that are going to be exposed.
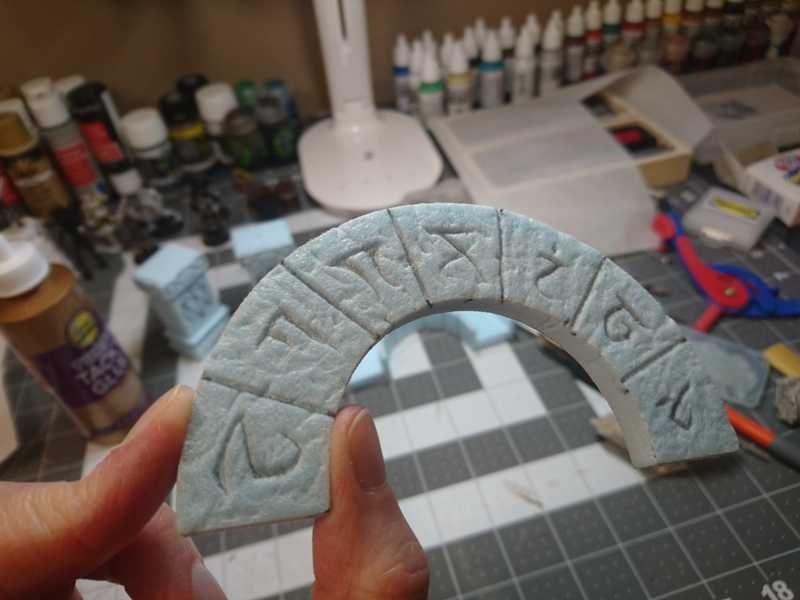
I used tin foil to do the texturing. I skipped the rocks on this piece, since it's a little too fragile.
Here are the runes drawn in. These are characters from D&D's Infernal script. I just picked out random ones that looked cool. I used my blunt pencil to do most of it, then used the sharper compass tip to do the thinner parts and tips of the lines.
I had to go over it a few times to get a good depth.
Tin foil and rocks for the texturing.
Now time to glue the final pieces on top.
I somehow didn't realize, even with how much I fretted over getting everything just right, that I put the patterned blocks on the wrong sides. Now the carved sides that are supposed to be on the inside of the arch are on the outside.
I was ... a little upset with myself.
The only recourse I could see for this failure was to just carve them again in the right places. It would be tricky to get a pencil in there at a weird angle but I'd manage.
Not 5 minutes into my toiling, I butterfingers-ed the whole arch onto the floor. 2 or 3 feet, not very high, onto the carpet of all things, and one of the pillars snapped off. Maybe that tacky glue wasn't the best choice.
After recovering from my face palm, I thought to myself, I'm almost in a really good position here, it's kind of too bad both of the pillars didn't break off...
So I broke the other pillar off.
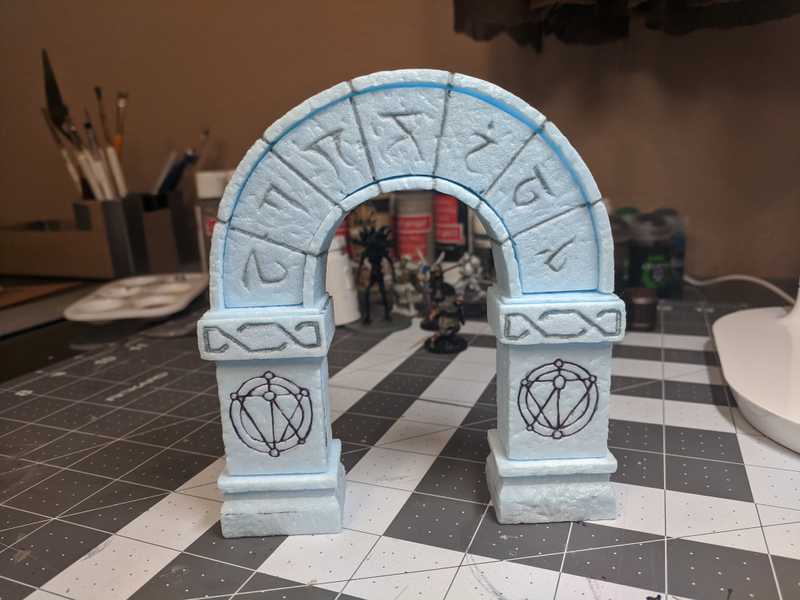
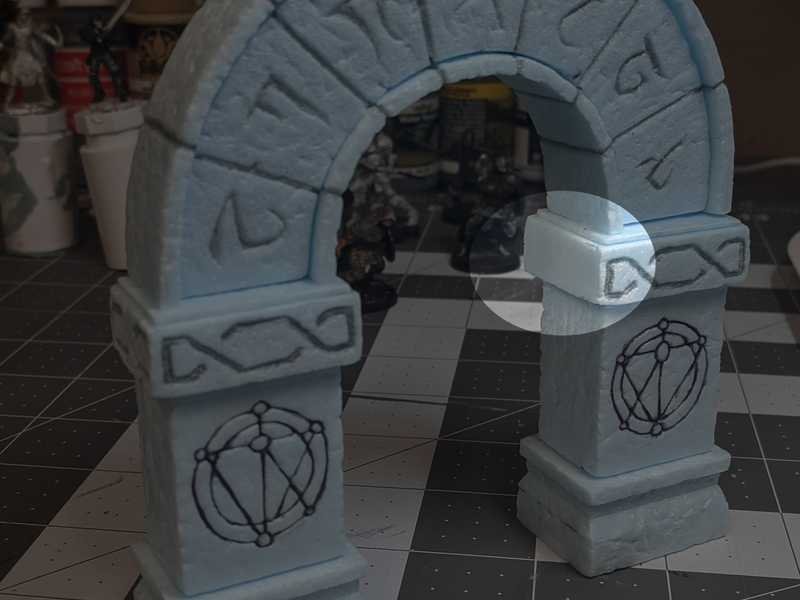
I hot glued them both back on on the right sides. Mission complete.
(This is pre-pillar-demolition, I took all the nicer pictures beforehand.)
As I expected, I didn't need anything extra to hold the removable arch in place, it's a slightly snug fit and it doesn't fall out. To get it out, though, I have to use something very thin (like a knife or a flat sculpting tool) to get around the edge and pry it out. I still need to come up with a better solution there so I don't end up damaging the pieces in the future.
That's it for part 1. Next time we'll build the foam base and the cavern structure around the arch.
