Guest Post: Big Rock Terrain
April 10, 2020
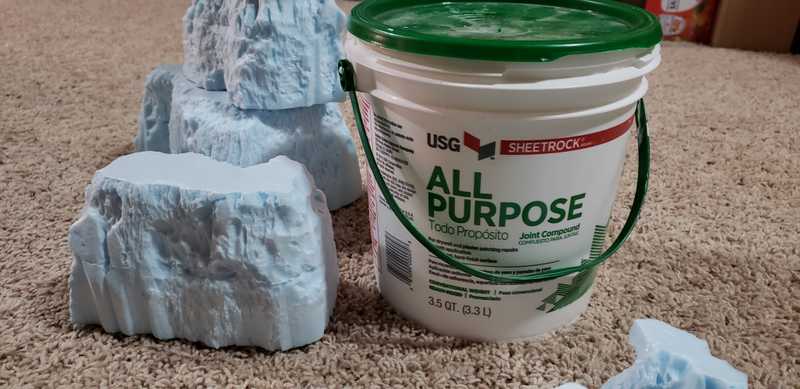
I followed Jeremy from Black Magic Craft's video on making rocks. I didn't capture the first steps, but I started out by using tacky glue to glue large pieces of 2 inch thick XPS foam on top of each other. I let them sit for a few days with weights on top to make sure they didn't shift. It takes a few days for the glue to set up because the insulation is a vapor barrier (or something like that).
Next I took the slabs and cut out the raw shapes on the hot wire table. I erred on the side of larger pieces because I remove more material in the next step.
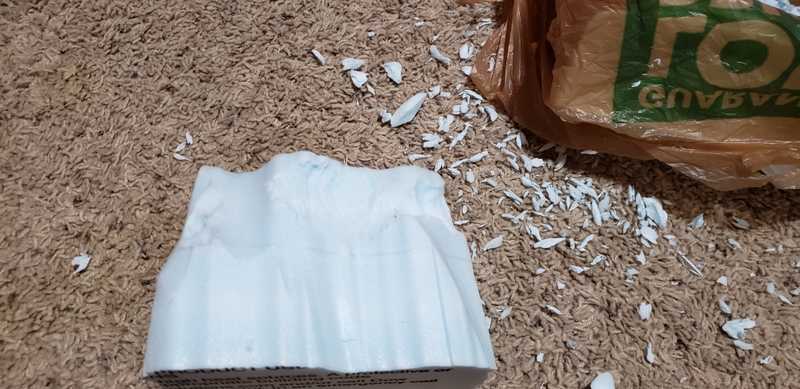
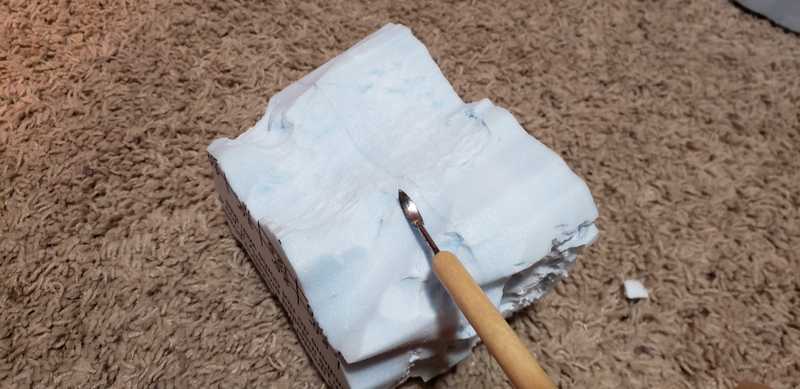
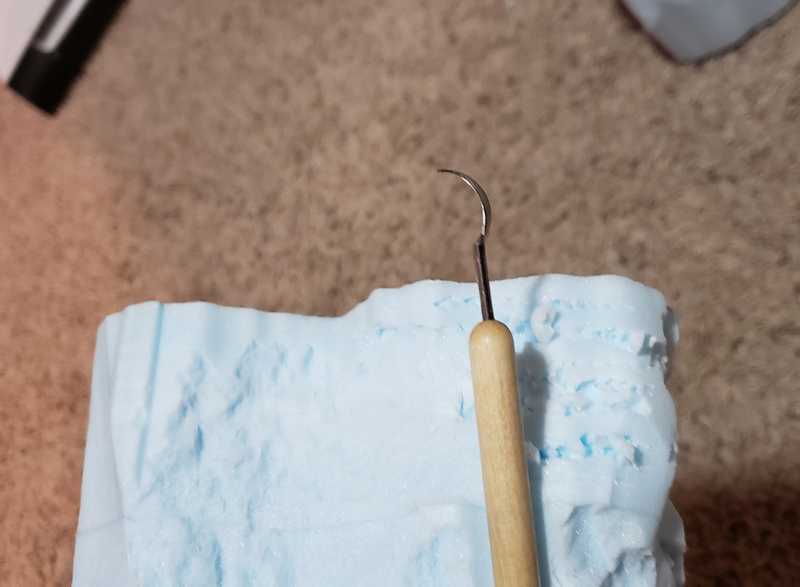
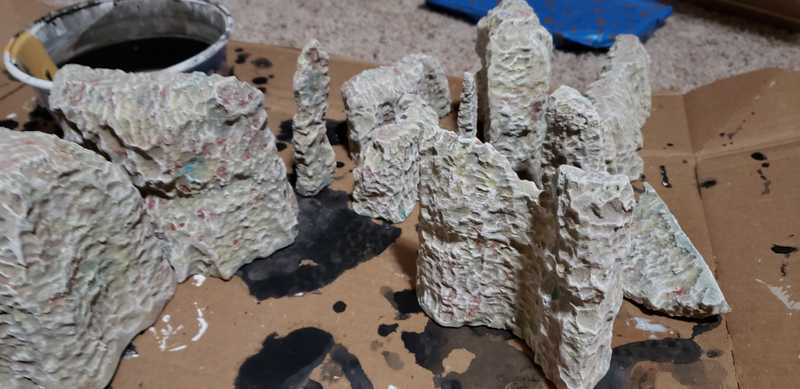
In the pictures below I used sculpting tools and an Olfa utility knife to add texture to the rocks. The Olfa knife texture method is also from BMC, in his video on making scenic tree bases. I used this for the top edges of the rocks. One thing to look out for in this step is to keep the glue seam hidden which was something I didn't do all that well. For some of the pieces I left the hot wire texture toward the bottom of the piece to hopefully simulate smooth cave walls to give the rocks versatility. You'll want a shop vac on hand because this is very messy.
Following the BMC method I applied watered down joint compound to the pieces. During this step you can use the joint compound to cover up any glue seams you missed or had a hard time removing in the previous step. After the compound was applied I took an old cheap paintbrush (I recommend a 1-2 inch brush) and added horizontal lines to the rocks to give additional texture.
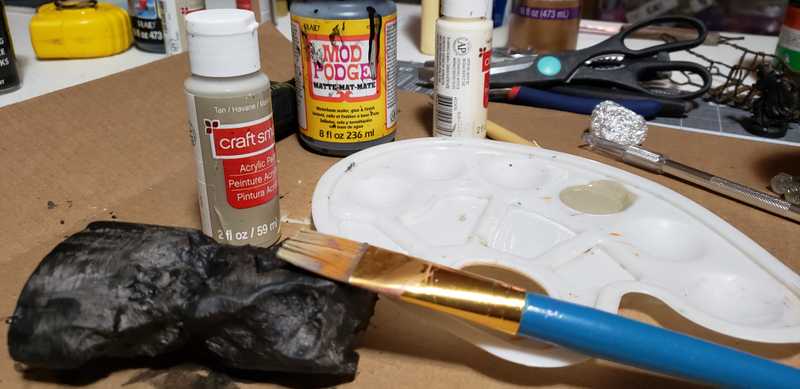
Next I applied the BMC mod podge/black paint base layer and gave all the pieces a coat of tan paint.
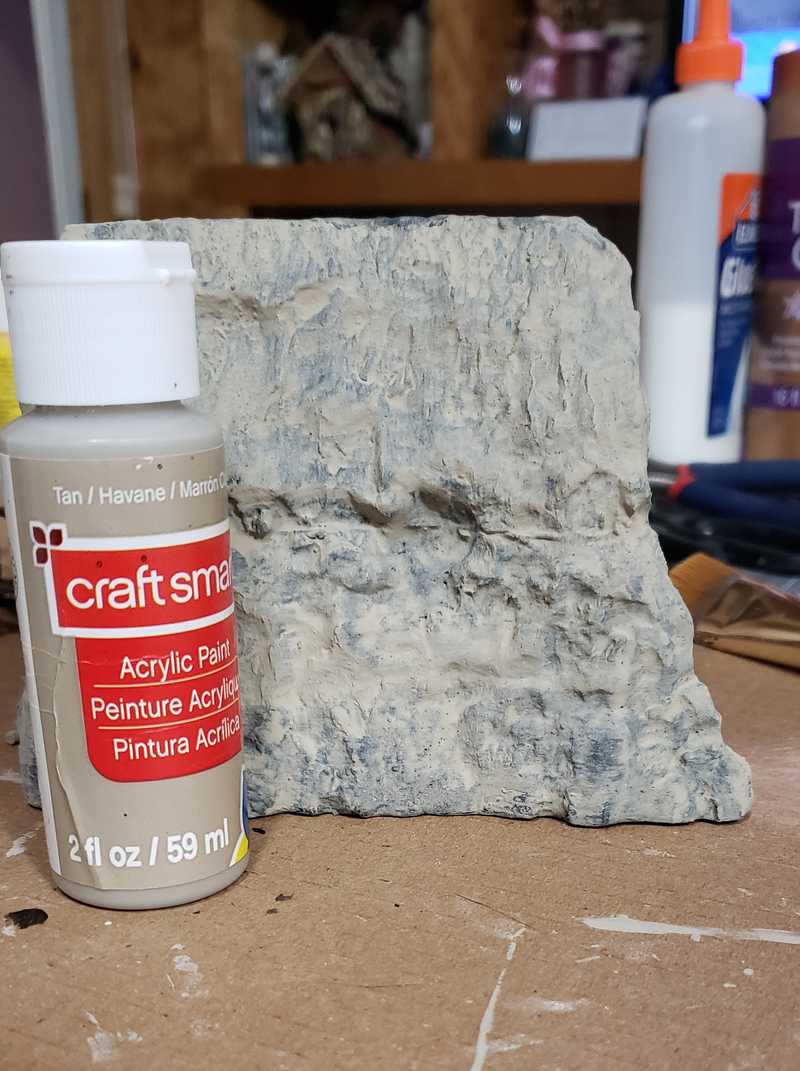
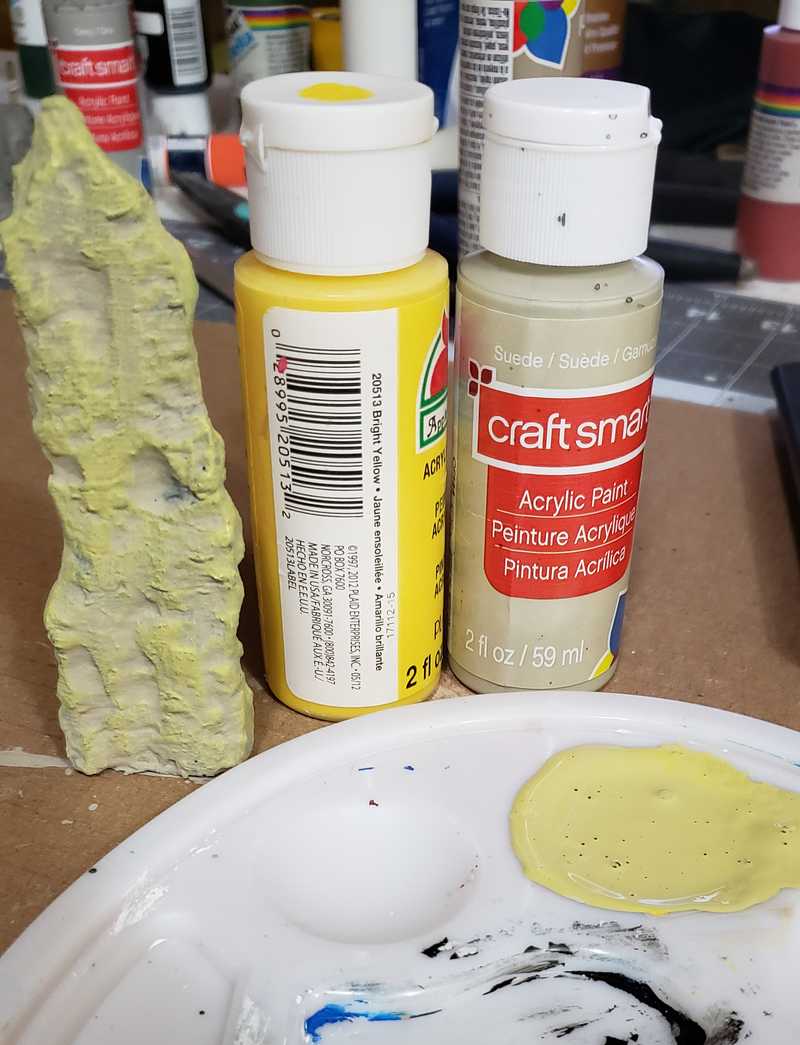
I mixed tan and yellow for the first drybrush layer. Following Jeremy's instructions I applied it a little heavy, since a lot of it will get covered up.
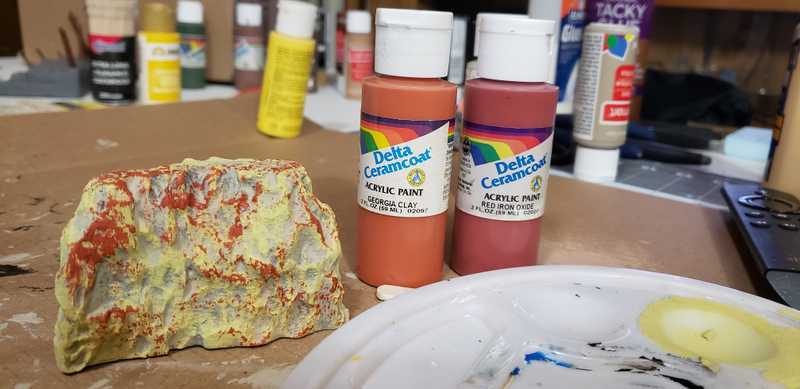
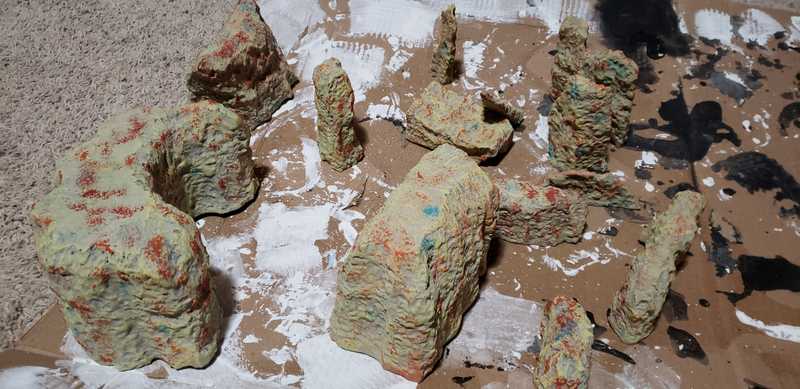
I didn't have any burnt sienna, so I used similar colors to stipple on the rocks to make them look more realistic. I also stippled a teal color on as well.
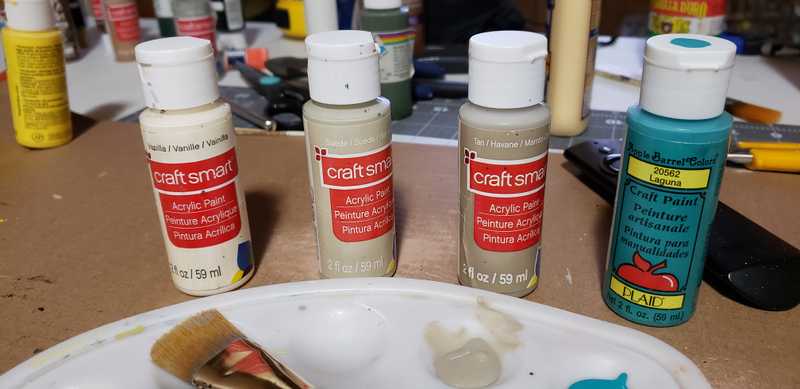
Then I did a moderate drybrush of Tan to give the piece depth, followed by a lighter drybrush of Suede, and finally a very light drybrush of Vanilla.
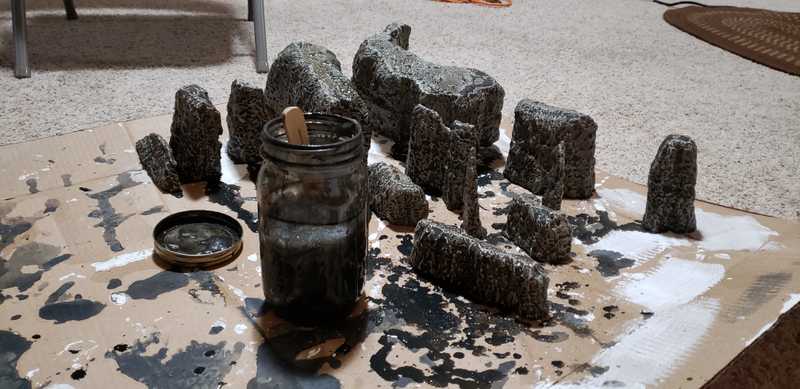
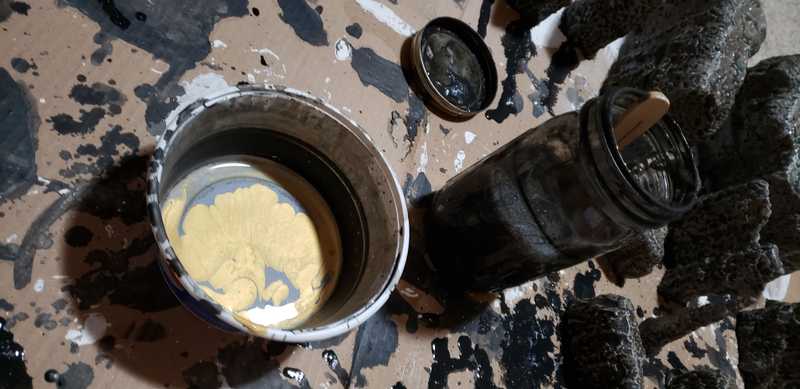
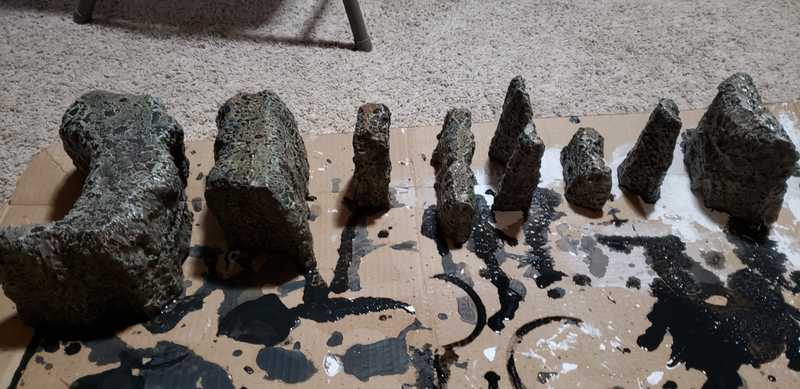
For the final step I applied a black wash to every piece. Then as soon as I finished the last piece I took my black wash and mixed in some metallic paint. I had gold and silver on hand so I used that. Before the pieces dried, I applied a second coat of the same black wash with the metallic paint added. This will add a slight reflective/shiny texture to the final coat of the rocks, which will make them look more realistic. I didn't mix my metallic paint in very well with the wash and some of it clumped up on the rocks, but overall I don't think it turned out too bad.
The double black wash is also the reason I used a tan base coat instead of grey. I didn't want the rocks to turn out too dark.
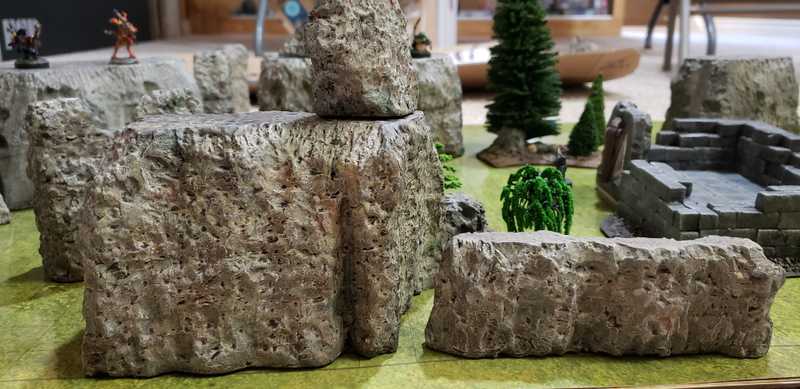
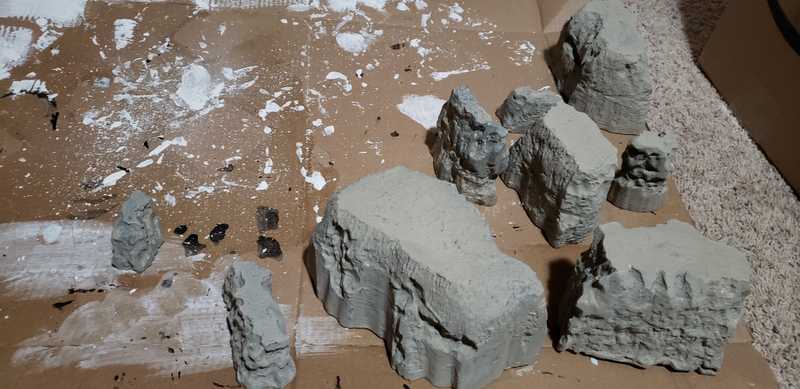
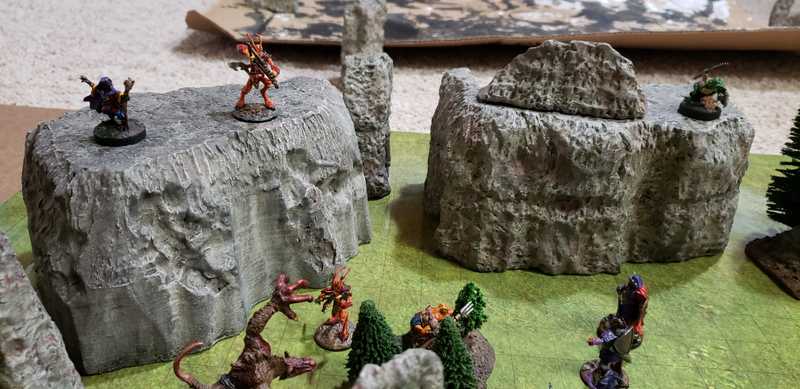
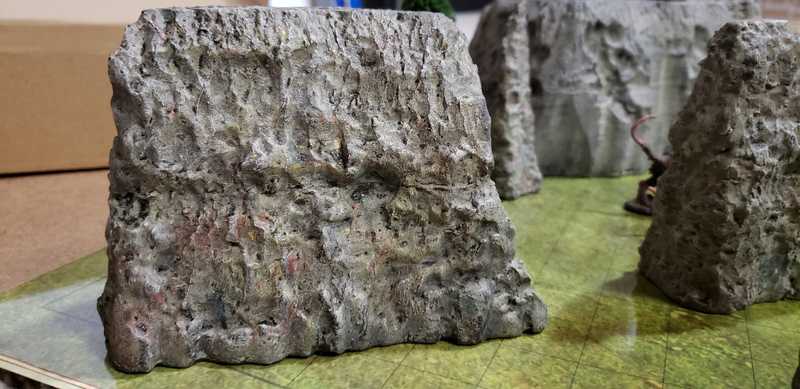
And that's it, here are some photos of the final pieces.
