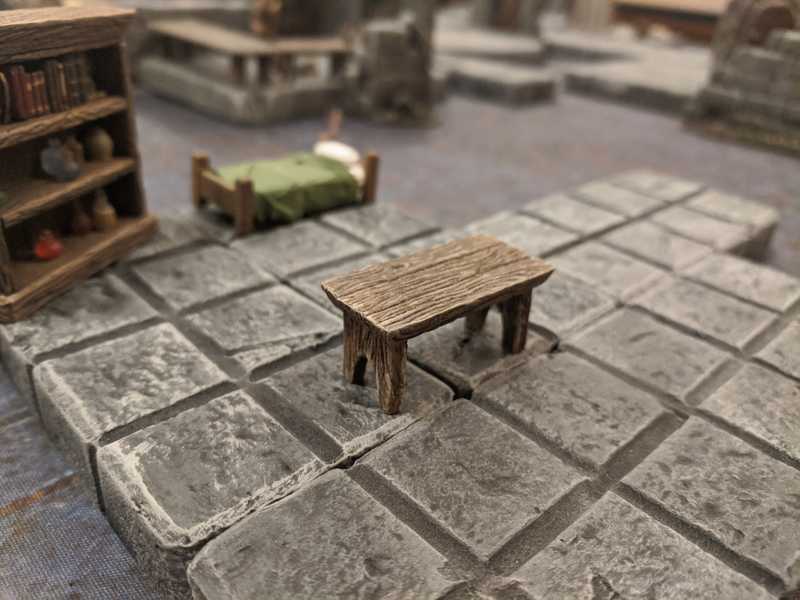
A mini wooden desk
December 21, 2019
The first time I tried my hand at making tables for dungeon scatter, I used popsicle sticks. It was the obvious choice at the time; I'd have tables made of real wood, and the size was just right (we were doing big banquet tables and the size they needed to be was exactly three popsicle sticks wide). So I threw a couple together.
The old table:
Not bad, and pretty sturdy, but it was really hard to get a good texture on them. Carving in some extra wood grain took most of the total build time, because the sticks were too hard to get in very deep with the sculpting tool I was using. And at the end, they still were very obviously popsicle sticks.
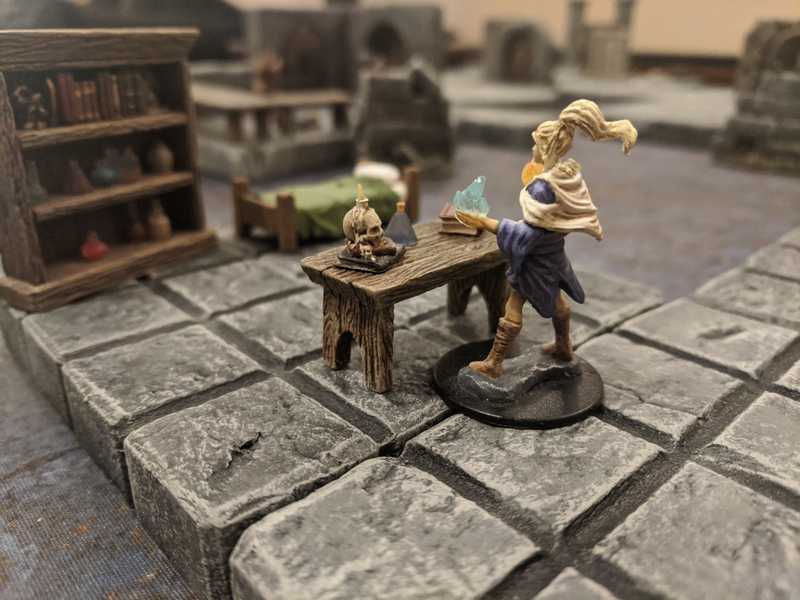
So later, when we needed some scatter for a wizard's study kind of room, I used only foam for all the wood pieces. The downside is that foam pieces this small weigh barely anything, but so far this hasn't been a problem for our gameplay. I'll take the tradeoff for more control over the shape and texture.
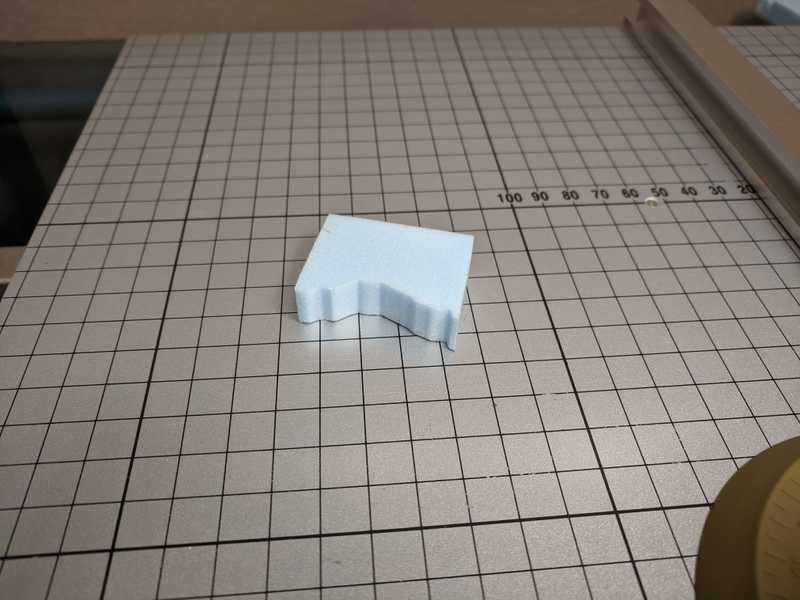
I picked out a small scrap to start with.
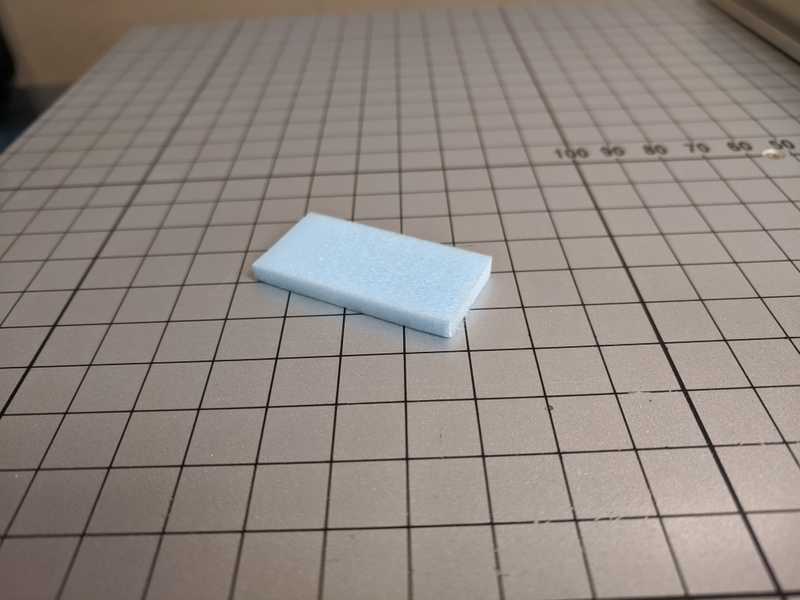
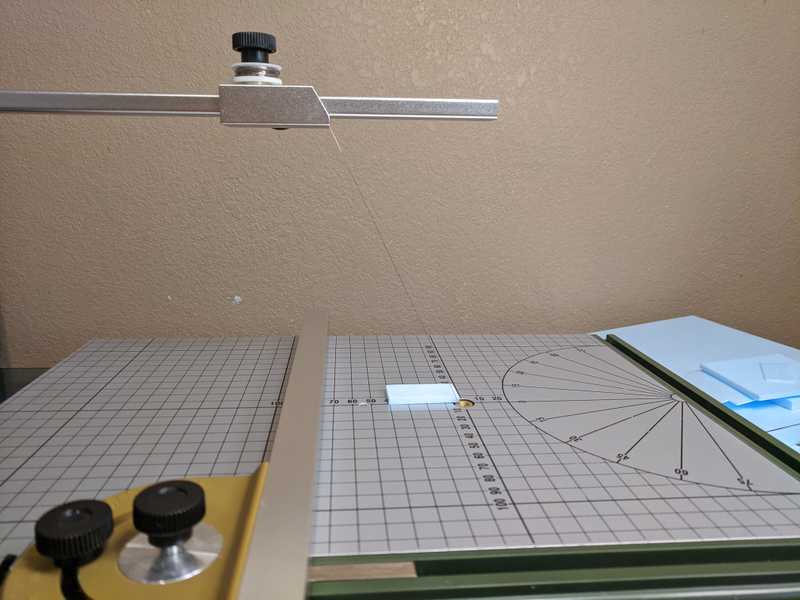
On the hot wire table I cut it to size (about 38mm x 18mm, 4mm thick).
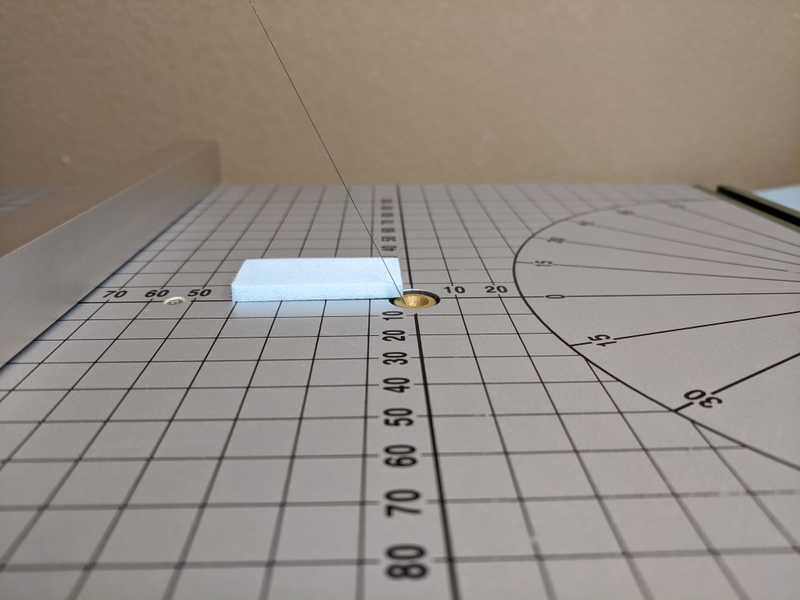
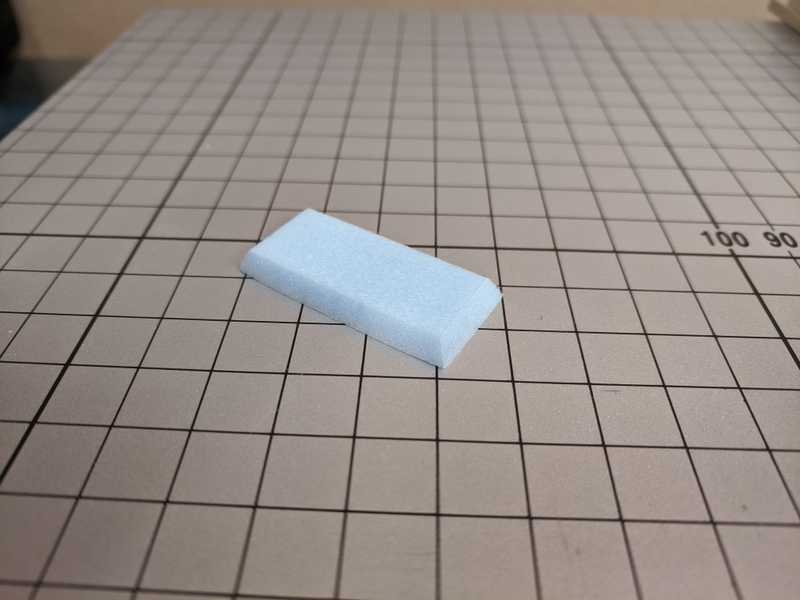
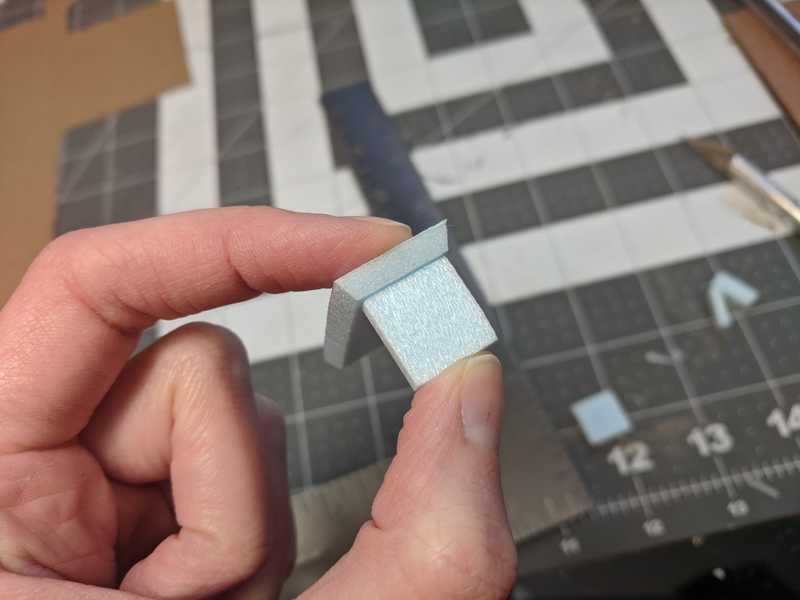
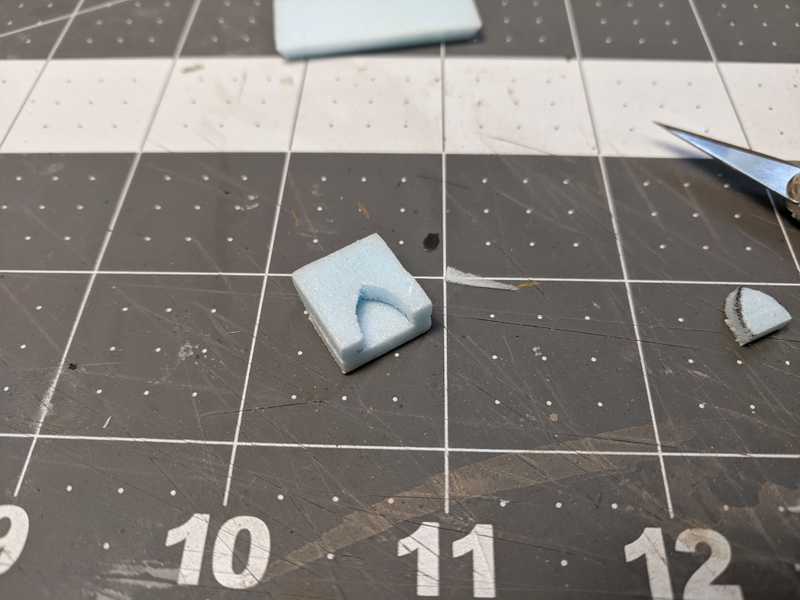
To make the shape a little more interesting I beveled the edges. Our hot wire cutter has a nice feature that lets you adjust the angle of the wire.
As easy as cutting the bevels is, it's really hard to predict what the dimensions of the resulting surface are going to be, or to cut them to a specific size. So since I didn't know how wide I would need the legs to be beforehand, I measured the width to cut them to afterward.
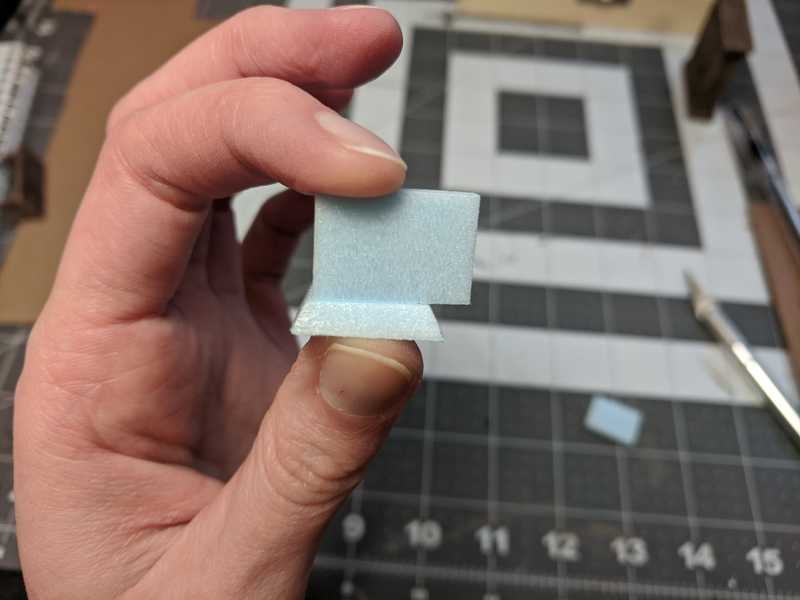
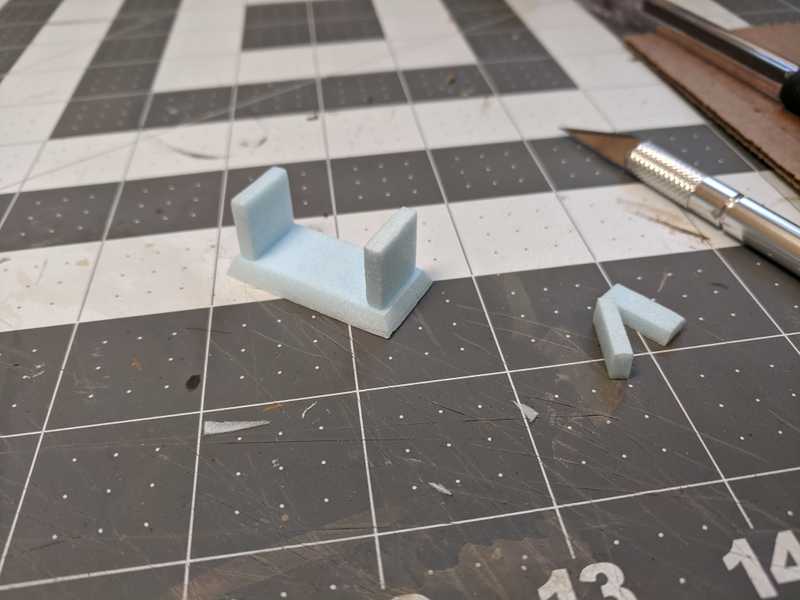
I started with pieces that were around 3mm thick and 14mm tall.
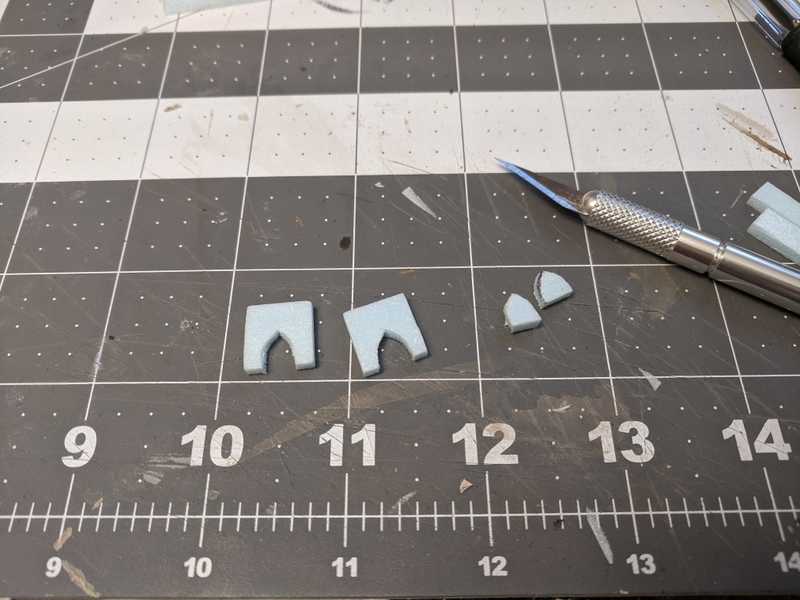
Both legs cut to size.
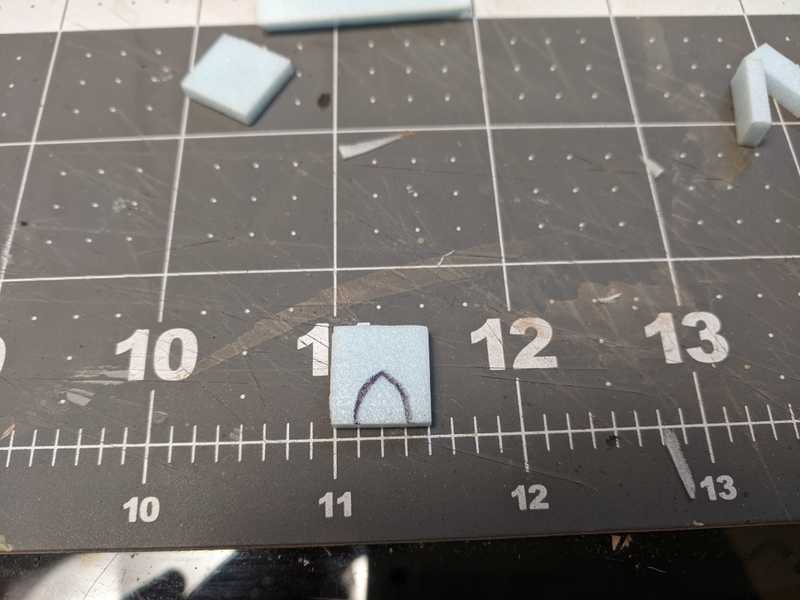
For the cutout, I just drew the outline freehand with a pen.
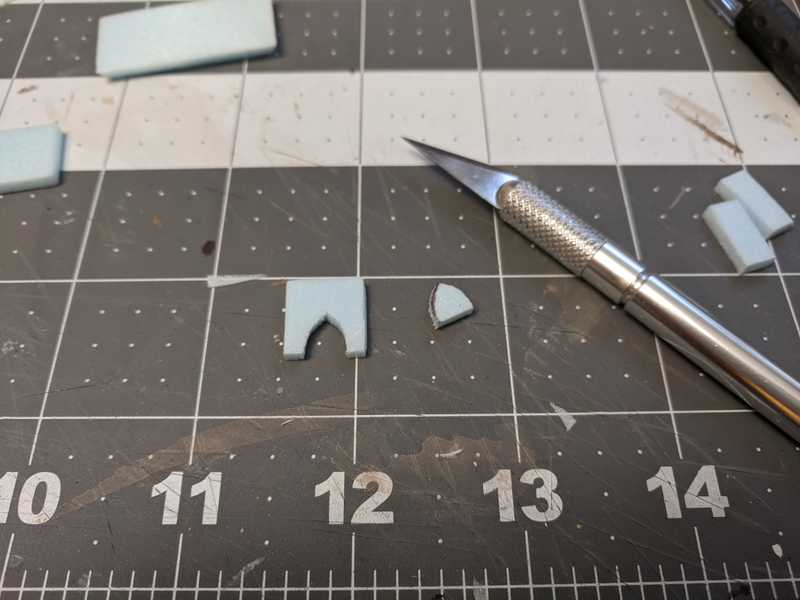
And sliced it out with an exacto knife.
I used the first leg as a template to trace the outline onto the other leg.
The cuts were pretty rough, so I sanded them down a bit, as well as sanding down the sharp corners and edges of all the pieces, just a little bit. It's easy to take off too much so you really only need a few light swipes.
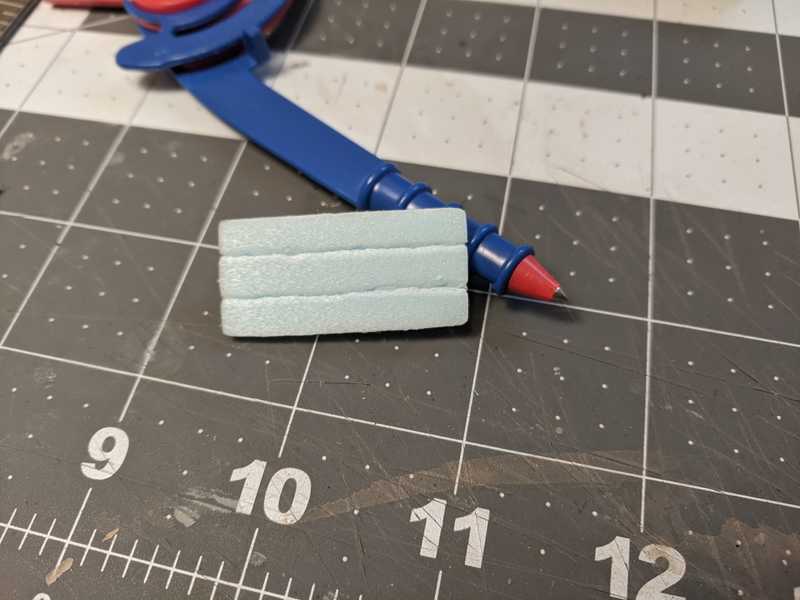
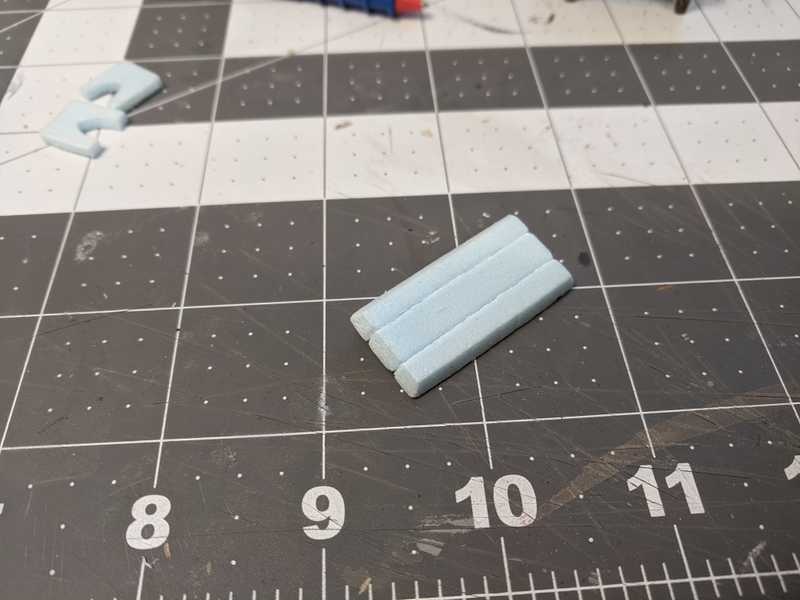
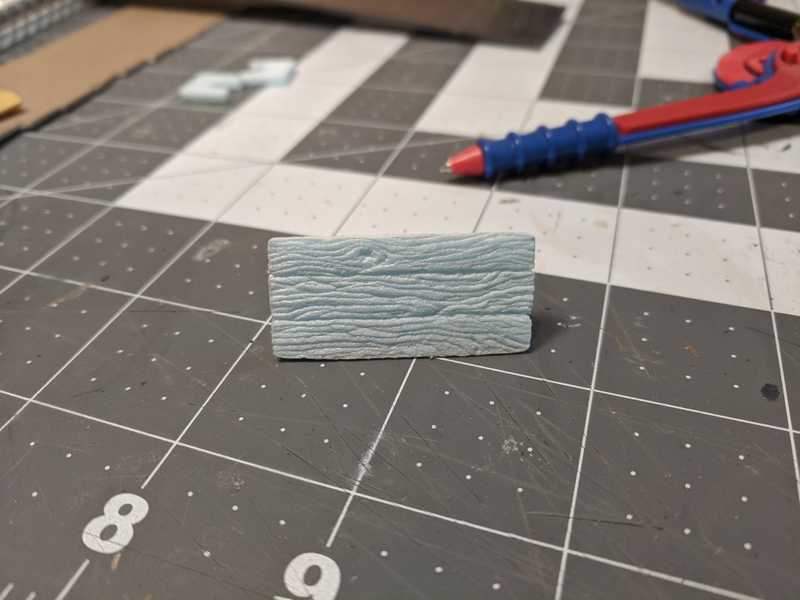
To create the outline of the planks on the tabletop I made some deep lines with my compass tip.
And I continued them down the sides and along the underside.
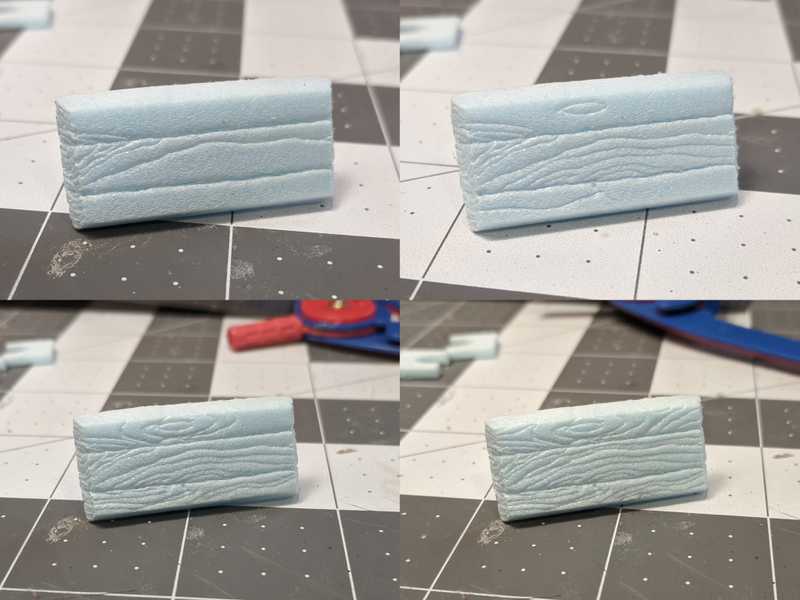
Then I freehanded the rest of the wood grain pattern, not going quite as deep. This is the part that I like to spend the most time on and be really meticulous with. Other commonly used methods would probably work out fine, like using a wire brush, or making less detailed squiggly lines with a pen or pencil, but this is my personal preference.
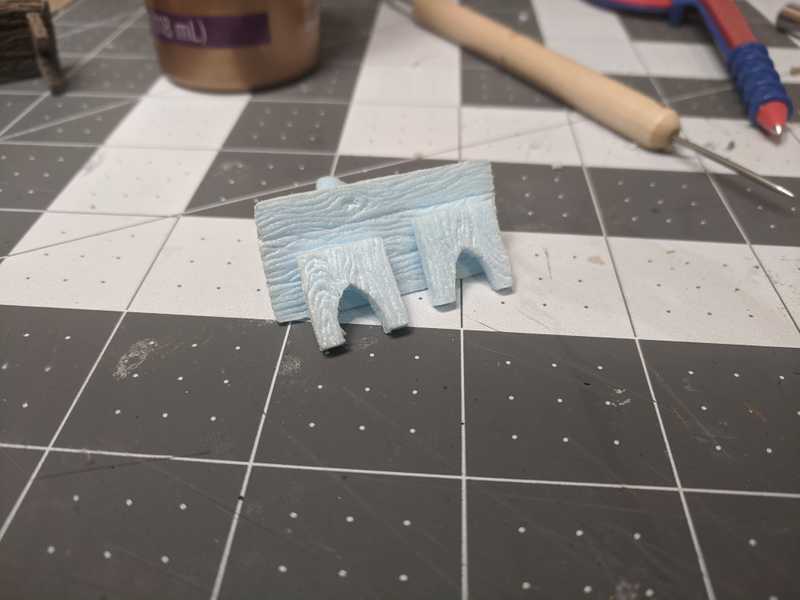
Here are a few incremental pictures of drawing the wood grain on the underside.
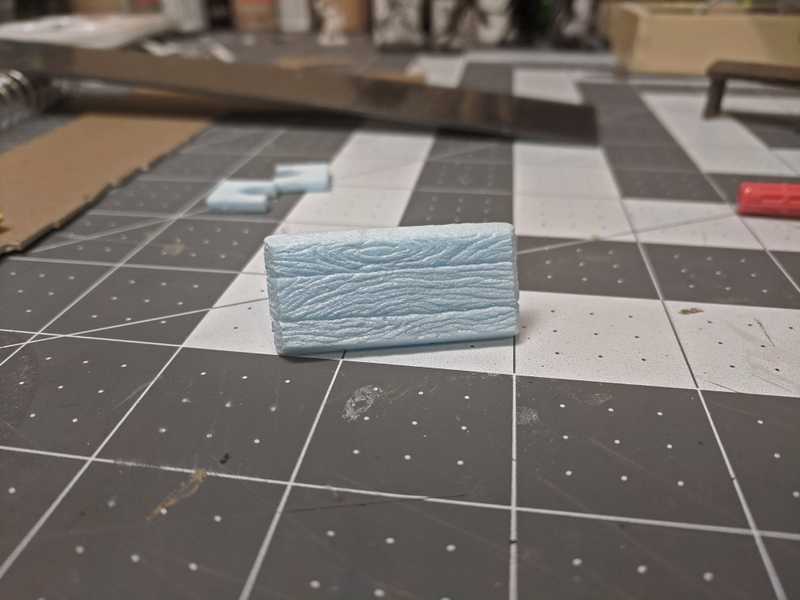
I continued the patterns down the sides as well.
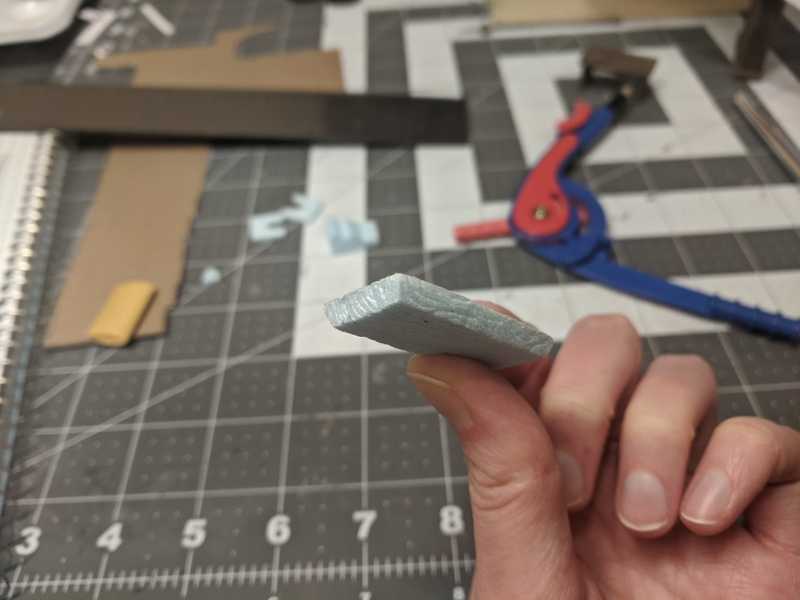
I did the same work on the legs, a really difficult part given their extreme thinness. I actually carved all the way through on one of them and had to glue it back together.
Once they're all textured it's time to start assembling.
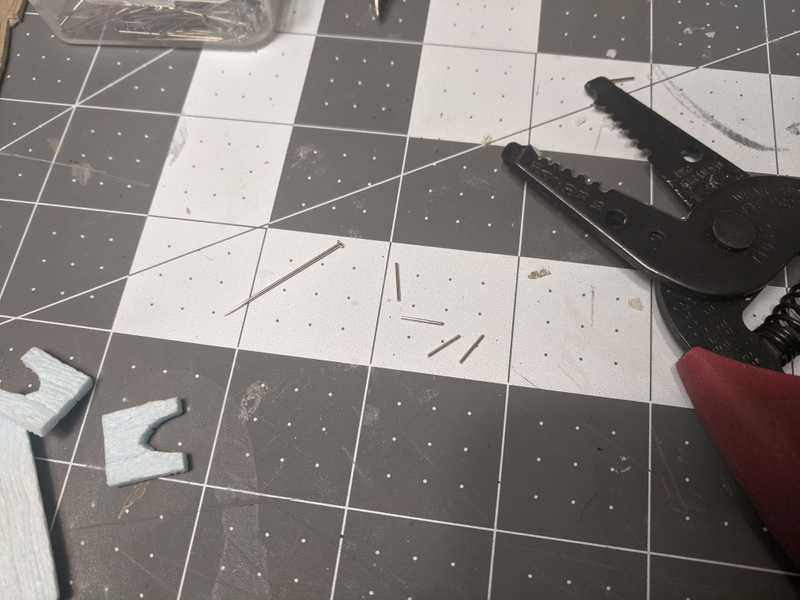
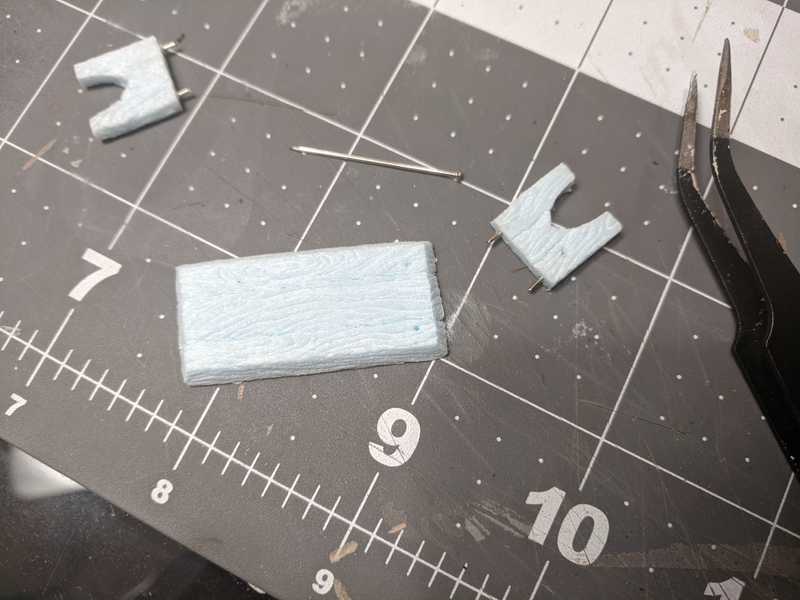
For a little added stability, I cut a few dress pins into some small makeshift dowels.
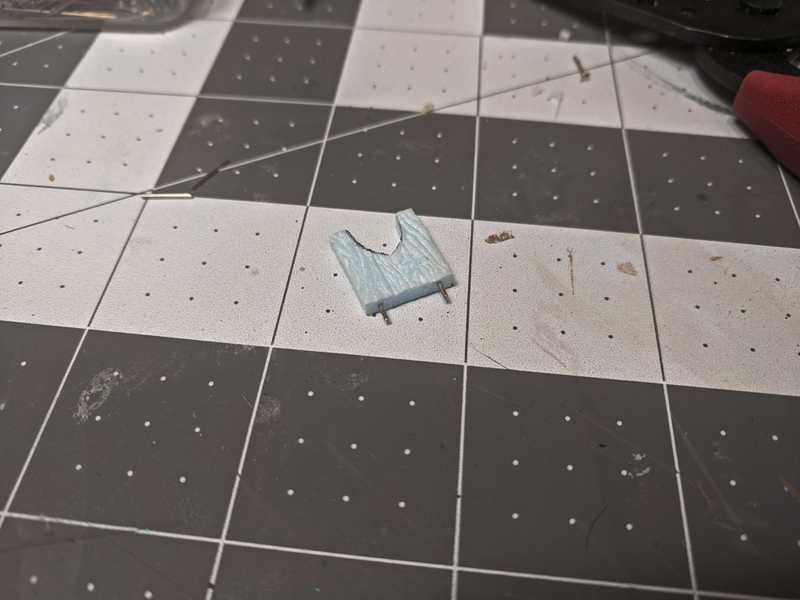
Then I inserted two into each of the top of the leg pieces. This is just a dry fit for now.
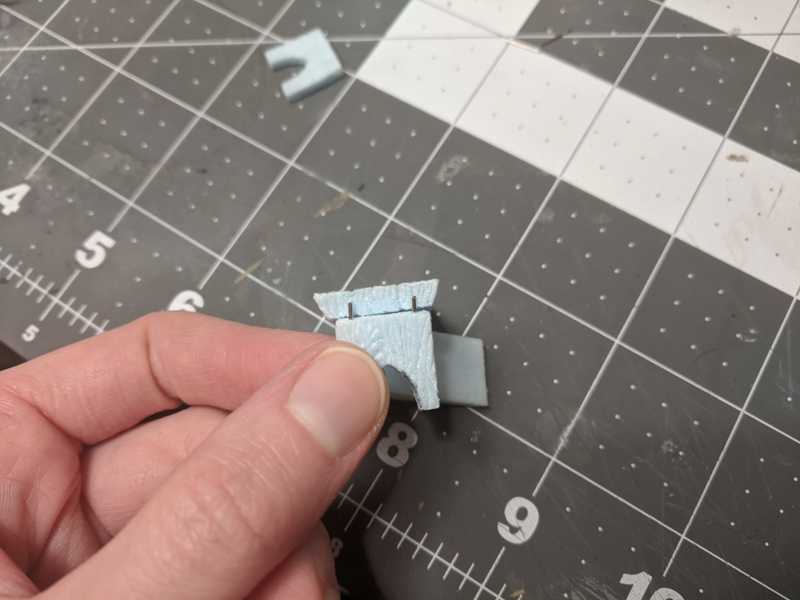
Checking to make sure they won't poke out the top of the table.
I used the pin-doweled leg piece to mark the holes in the underside of the tabletop. Eyeballing the right position was really difficult and I spent like 5 minutes trying to get the first one perfect, before just giving up and stabbing it in.
Before gluing the leg on I barely remembered to pull the pins out and glue them in first. Then I put more glue all over the top surface of the leg, and on the exposed ends of the pins, and into the tabletop they go.
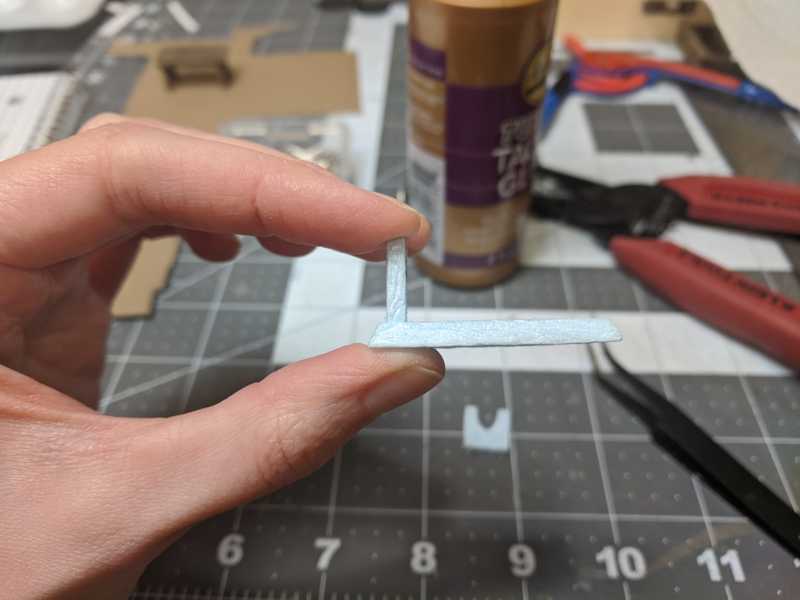
There's not much here to hold the pieces at a right angle on their own, so it's important to hold the leg straight for a minute or two while the glue sets a bit.
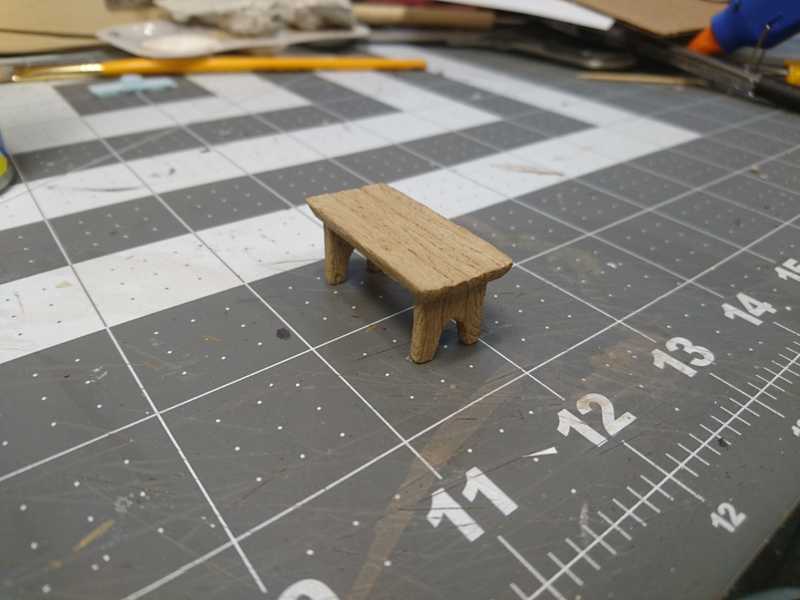
Rinse and repeat for the other leg, and we've got a nice little functioning table.
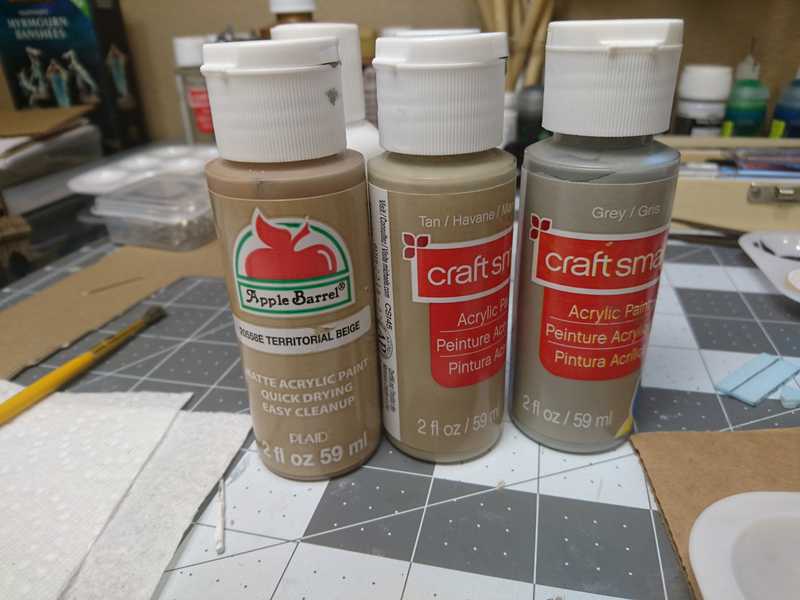
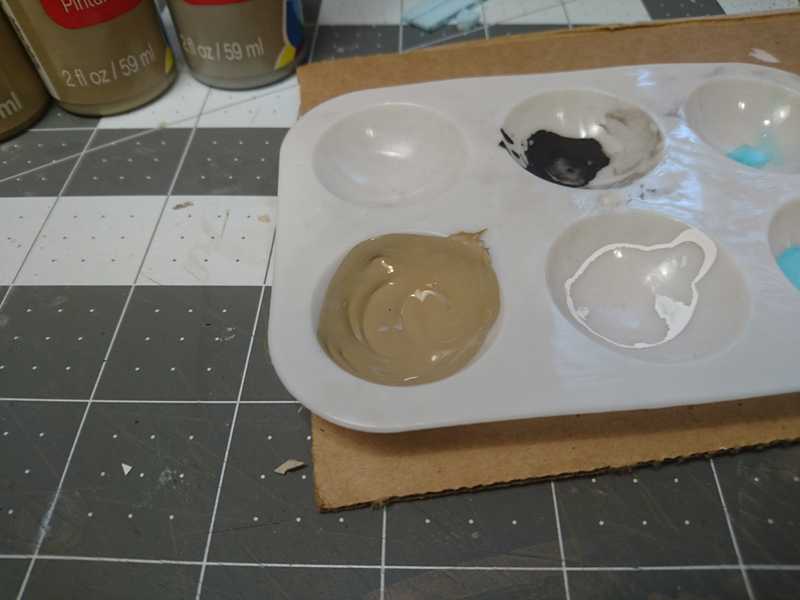
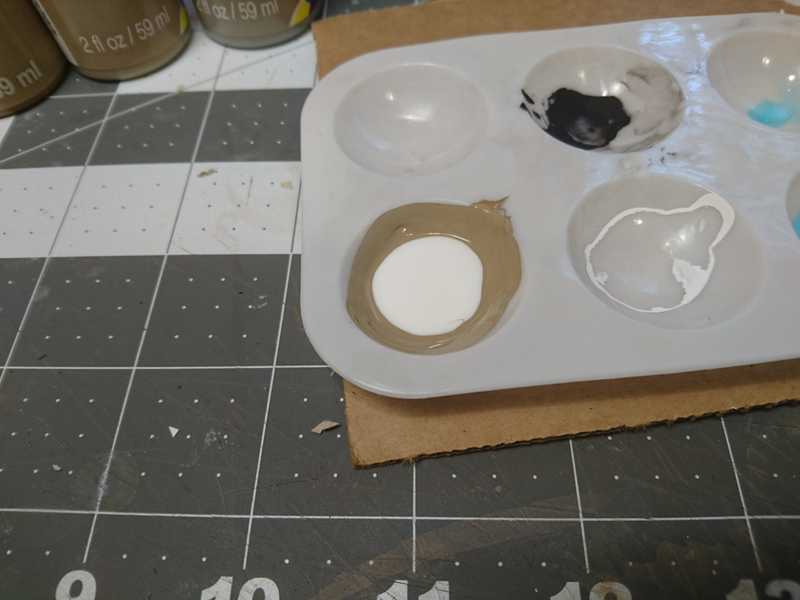
On to painting. For the base color, I mixed together a beige, a tan, and a grey. I didn't keep super accurate measurements, but it was roughly equal parts of each.
Then I added some mod podge, and altogether made way more than I needed.
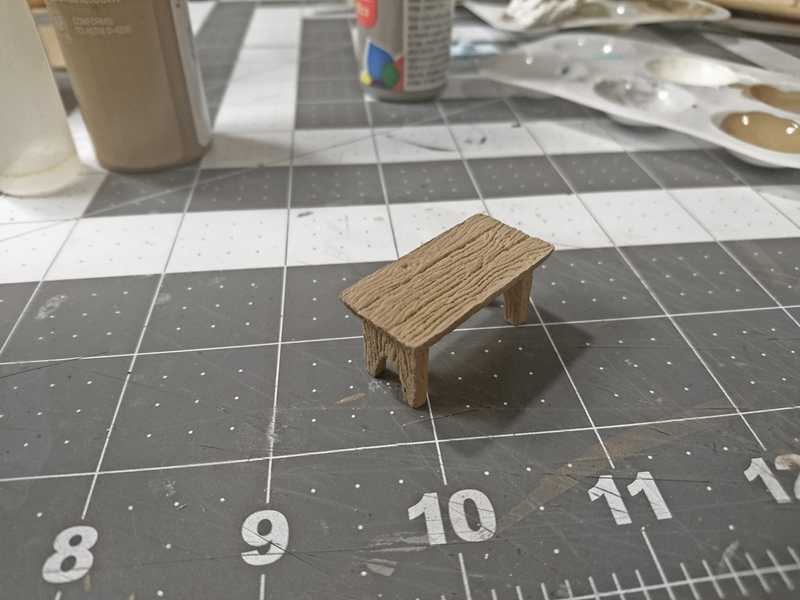
Here's the first coat.
And here's the second coat, done with the same color paint, but no mod podge mixed in.
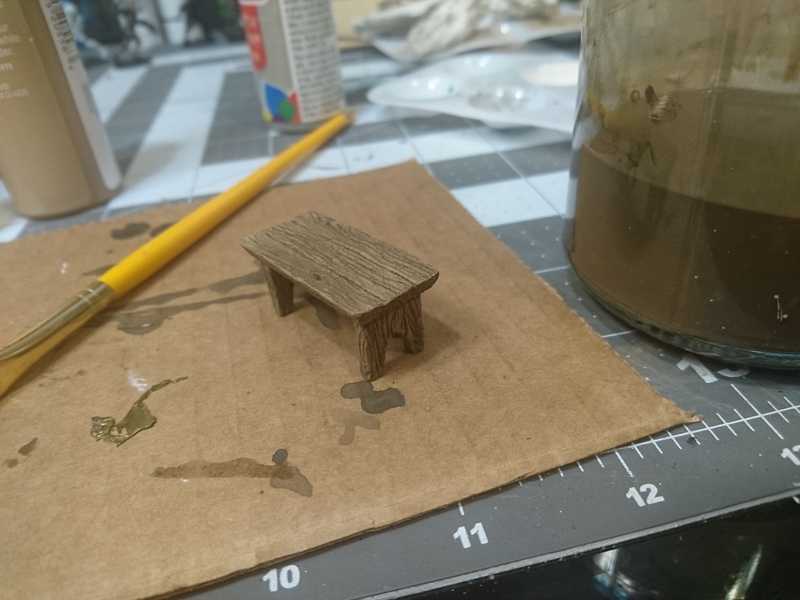
Once dry, I did a dark brown wash over everything.
It's definitely an option to call it done at this point, but I wanted to see what I could do taking it a little farther.
With my tan paint, I did a really light drybrushing, focusing on the edges.
And then thought 'more is better,' and overdid it.
So I went back over it again with the brown wash to try and tone down the highlights.
And then tried to add back in a little more of the highlights with the tan, using a very small brush and actually going over the individual grains in various places.
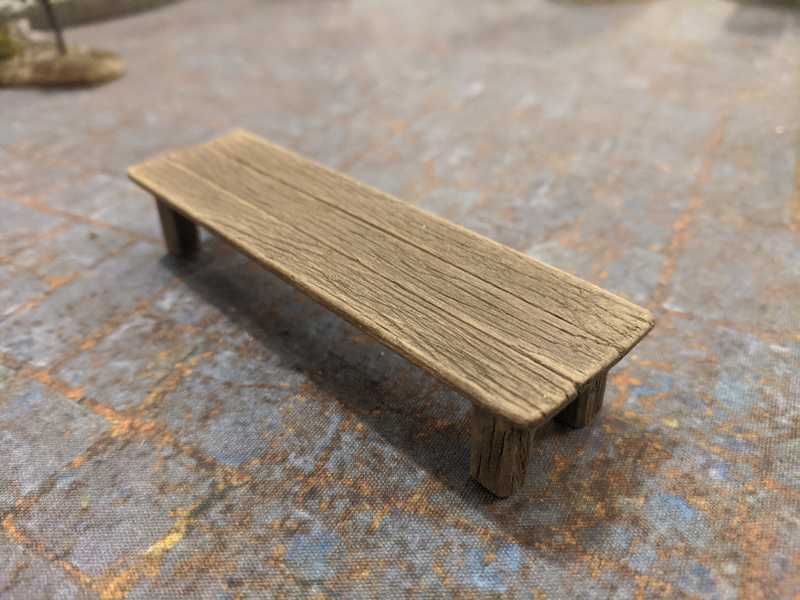
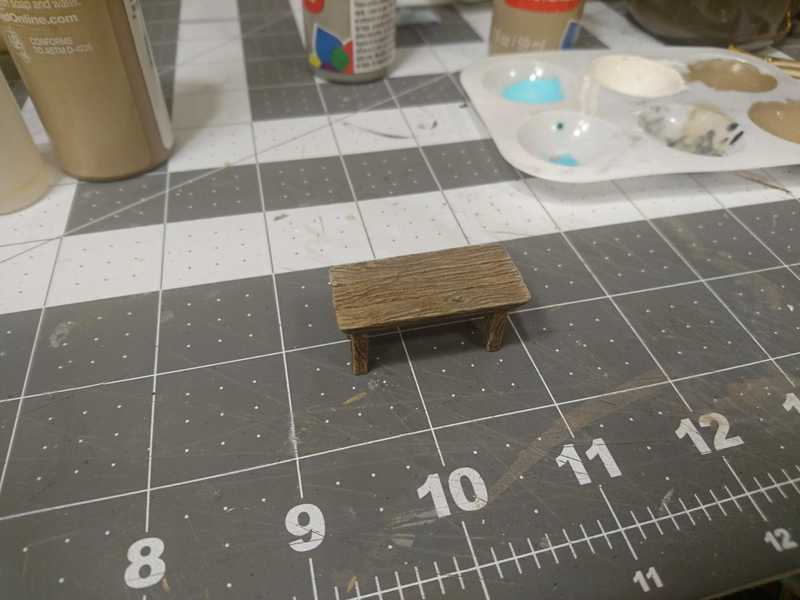
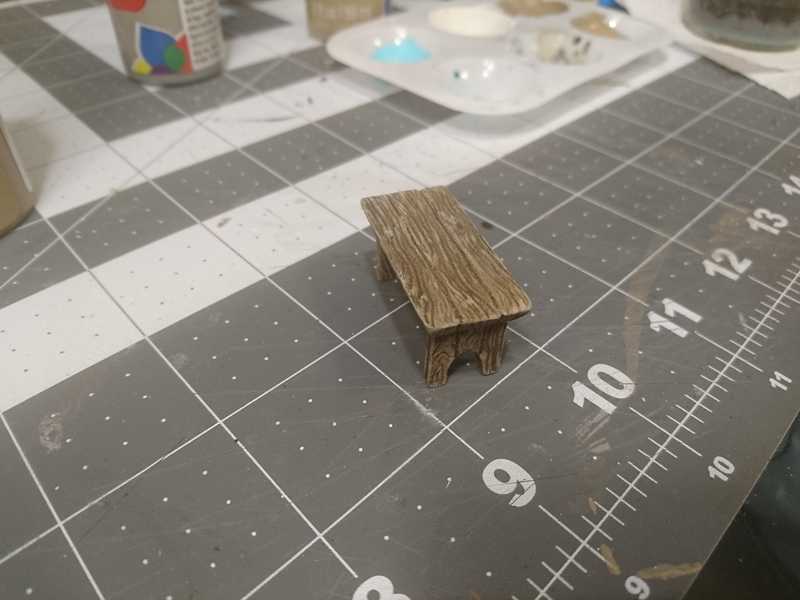
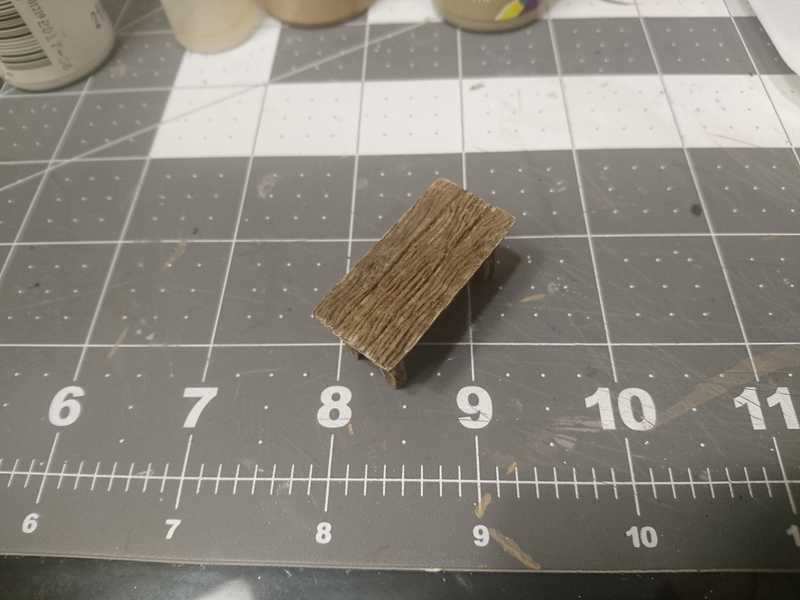
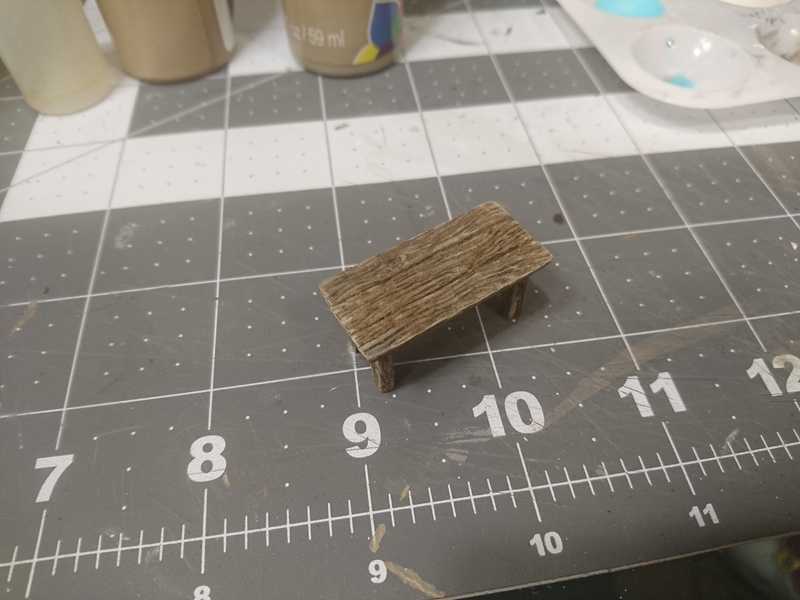
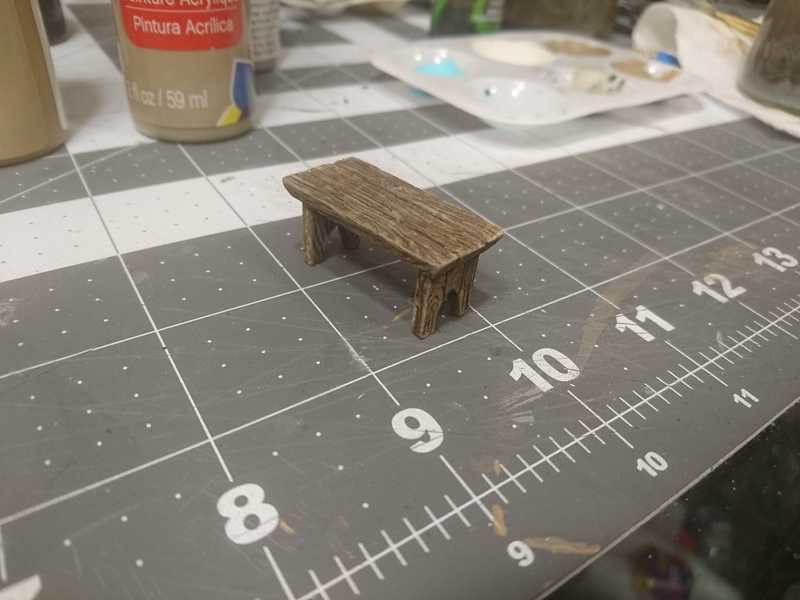
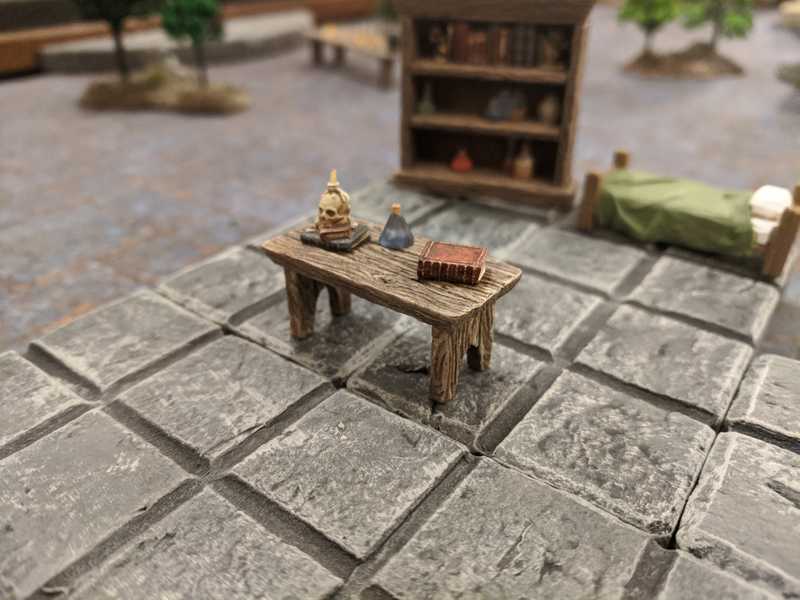
After that I was just kind of stumped on what more I could do, so I called it quits. A lot of work at the end, for a relatively little difference. It's a pretty respectable result though.
