Cavern waterfall
September 26, 2019
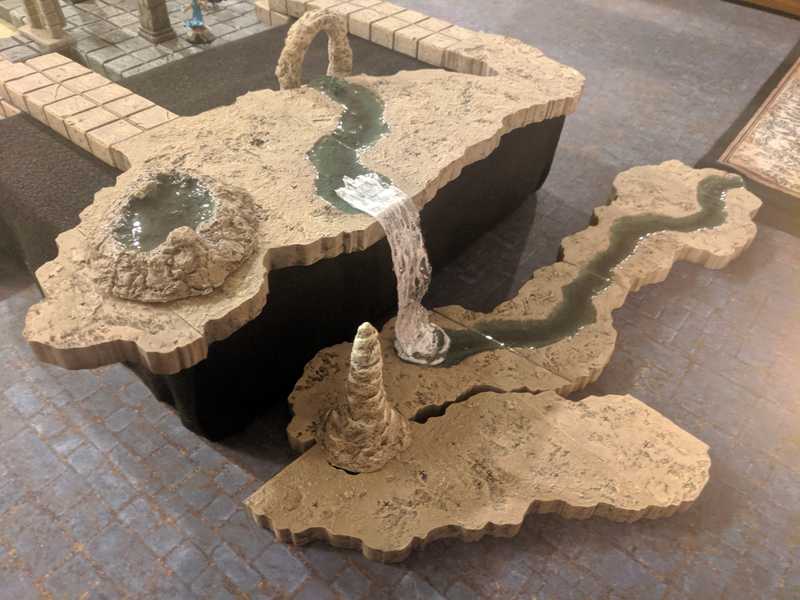
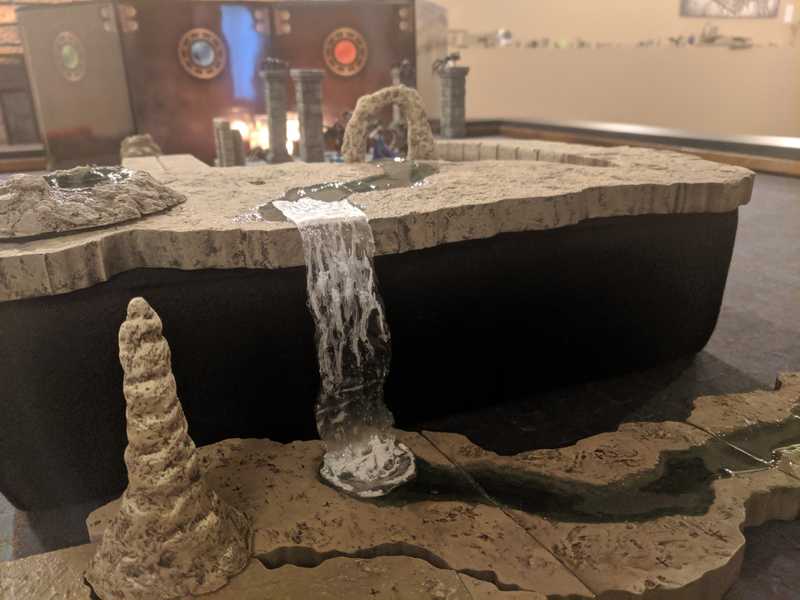
This is my attempt at making a removable/reusable waterfall for our river tiles, part of our cavern tile system.
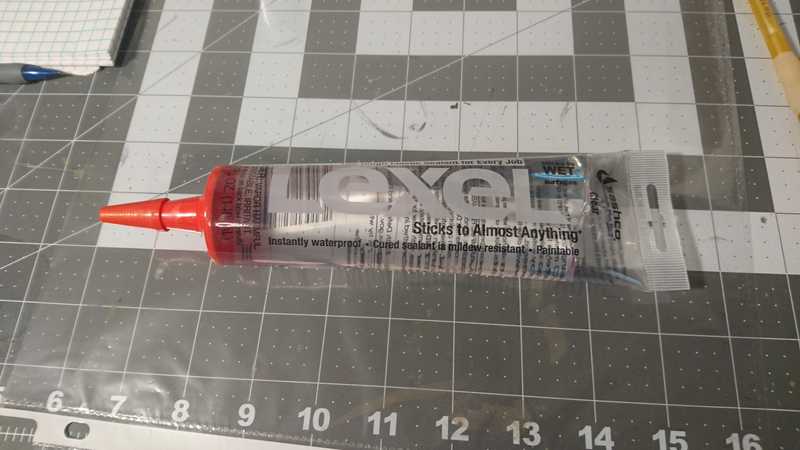
Usually these are made with actual water effects, or some kind of gloss gel medium, but I didn't want to spend the extra money so I decided to try out clear caulk.
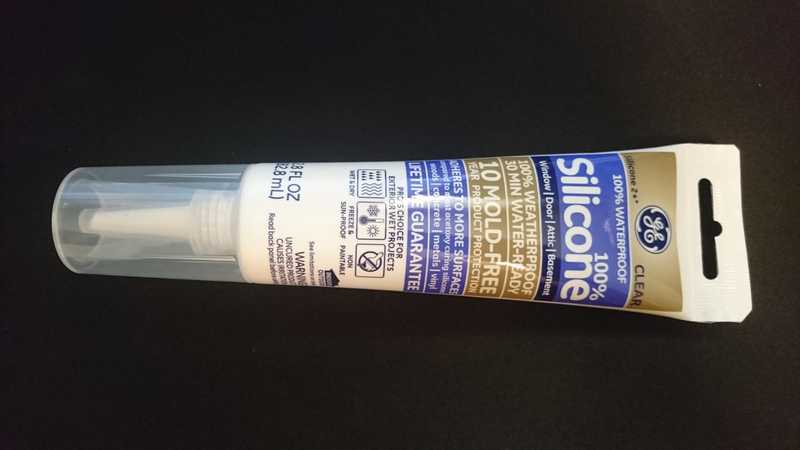
This was right next to the caulk at the store, and I could actually see inside the tube to make sure it was clear, so I decided to take a chance and see how it did.
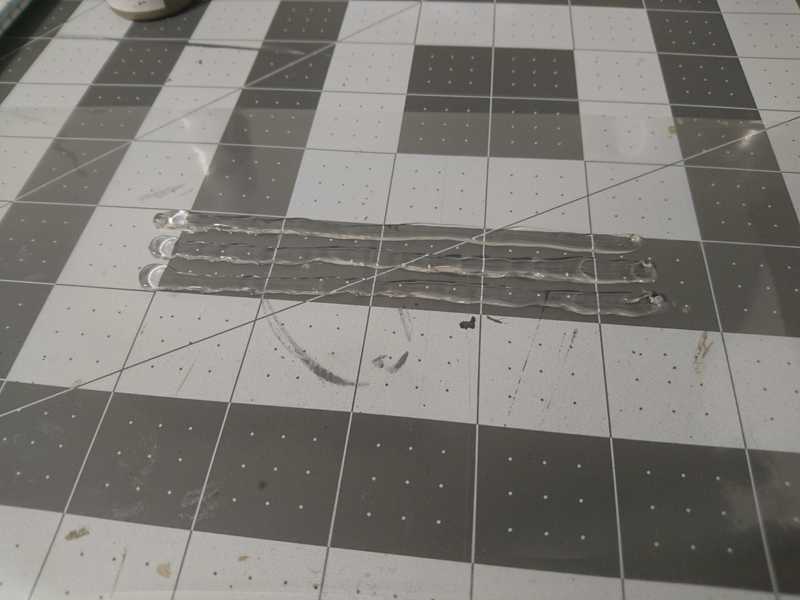
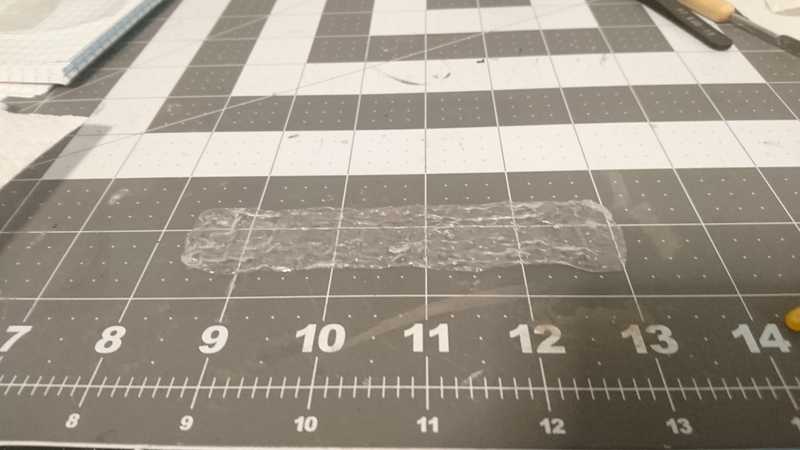
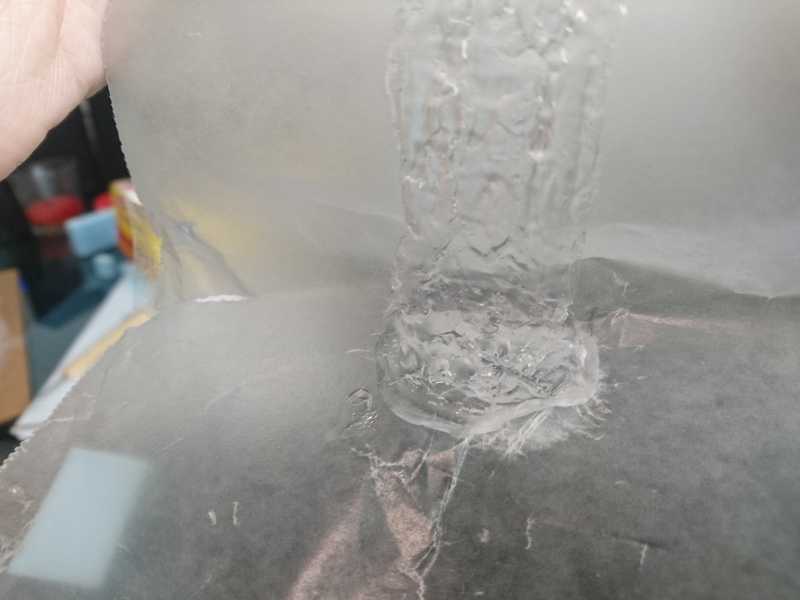
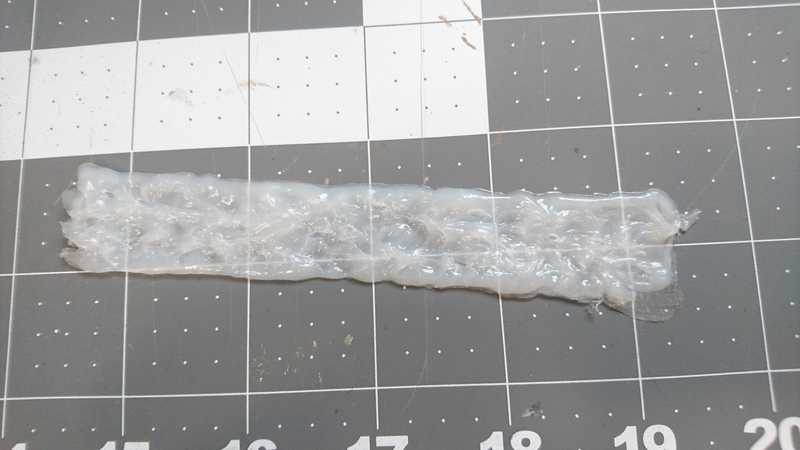
I squirted some strips onto a plastic sheet protector with the intent of peeling it off after it dried.
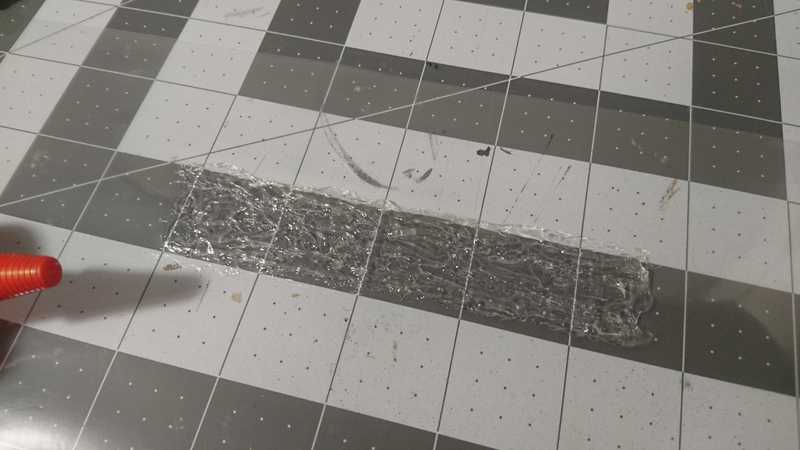
Then I spread it around with a gloved wet finger.
Once it was fairly dry, I tried to peel it off the plastic. It was at this point that I realized this stuff is definitely not caulk, and is specially made to bond to anything and everything. I could have learned this earlier by actually reading the tube, particularly the part that spells out "Sticks to Almost Anything".
Basically there was no getting it off that plastic without ruining it, so I just cut the plastic around it.
There's a few wrinkles on the back where some shrinking happened, but it still looks alright.
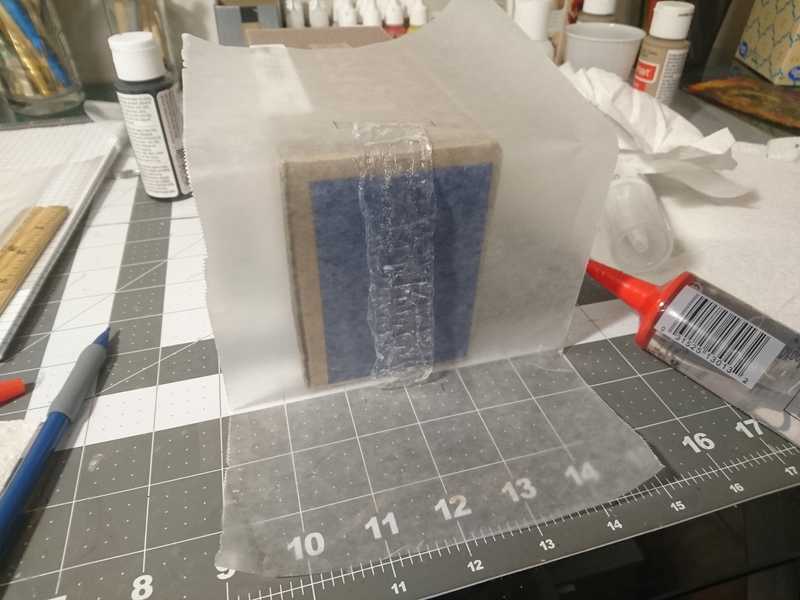
I didn't want to have the waterfall permanently built into the tiles, so I set up a little box-and-wax-paper rig for setting up the structure. I hoped the sealant wouldn't stick to the wax paper as much as the plastic. (Spoiler alert: it did.)
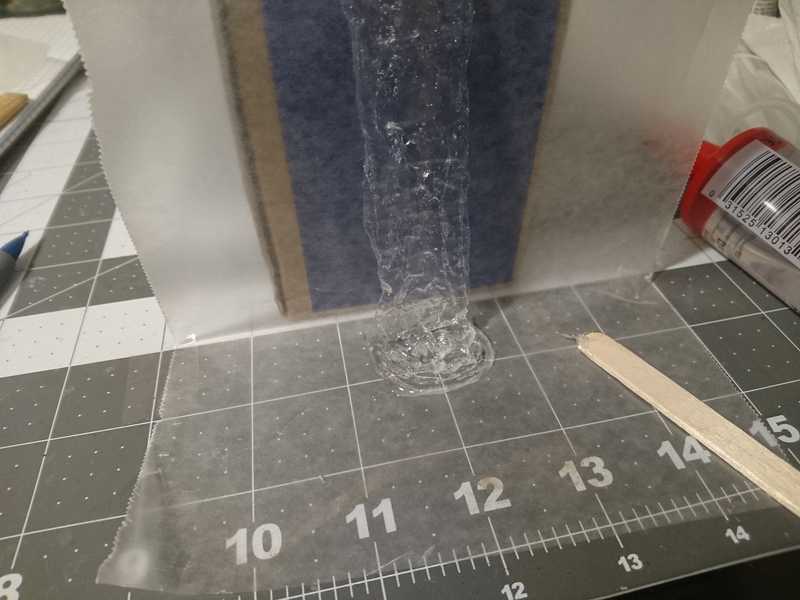
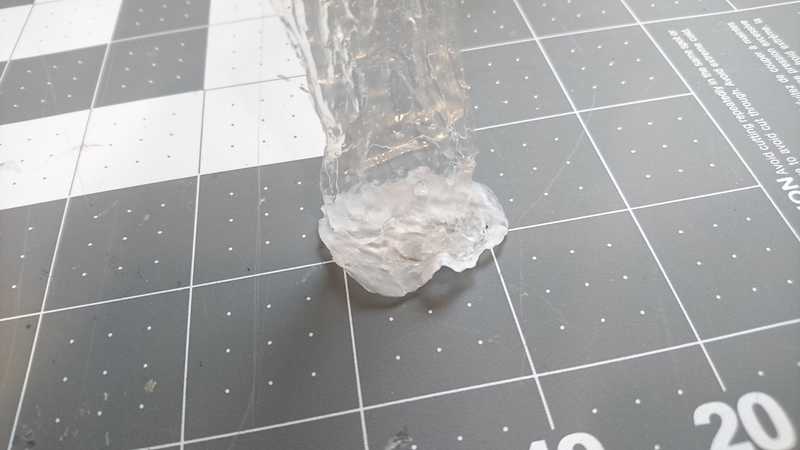
I squirted more sealant around the bottom of the waterfall, piling it up high in the middle.
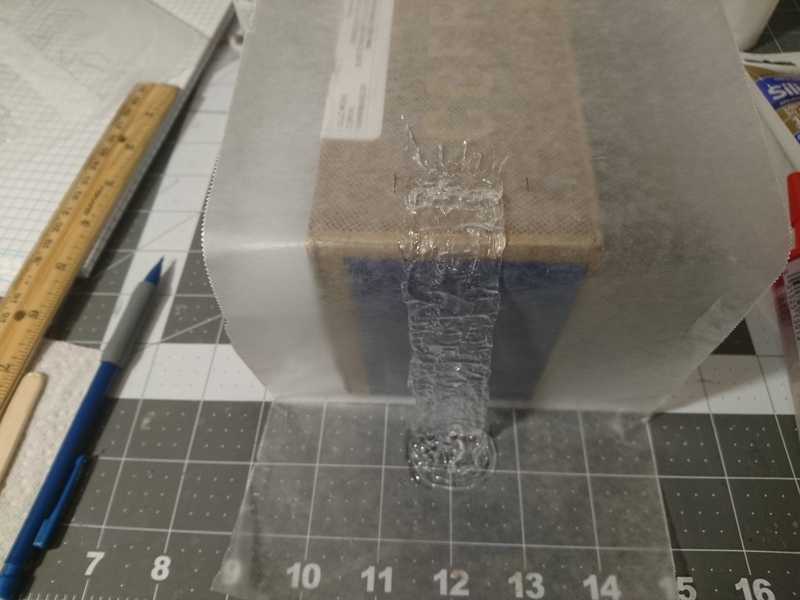
Then at the top I added more sealant to make these kind of streamlines that will transition the river to the waterfall.
After everything was dry, I tried to peel it all away.
And it stuck to the wax paper nearly as badly as the plastic.
I got it off eventually, but all the stretching really deformed it and made it all foggy and white.
So I thought, Ok, I just need actual caulk and not super strong glue.
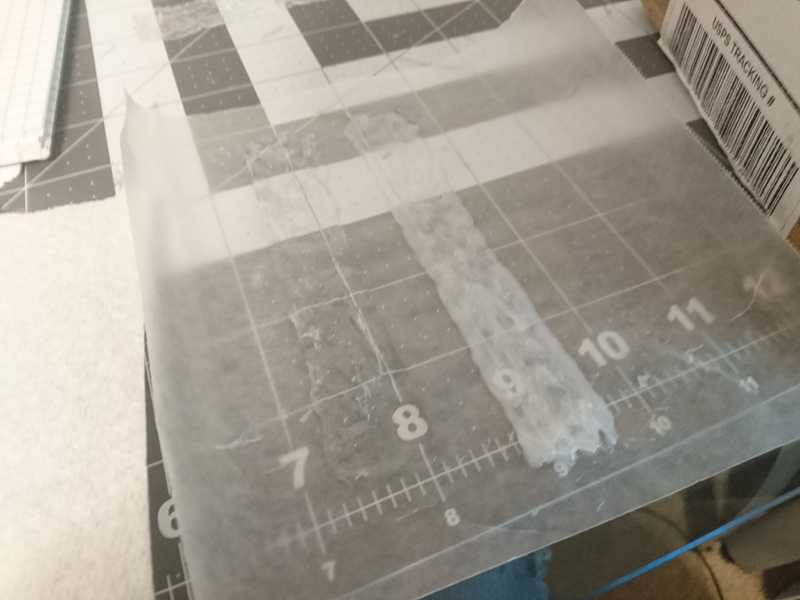
So I got some clear silicone caulk, and spread out another waterfall on wax paper.
As you can see this clear caulk is not clear.
It was a real shame, because it peeled off very easily.
I believe there is a DAP caulk that is actually crystal clear, but no one around me carried it and I didn't have time to order any. And at this point I might as well have just bought the more expensive water effects that are actually made for this.
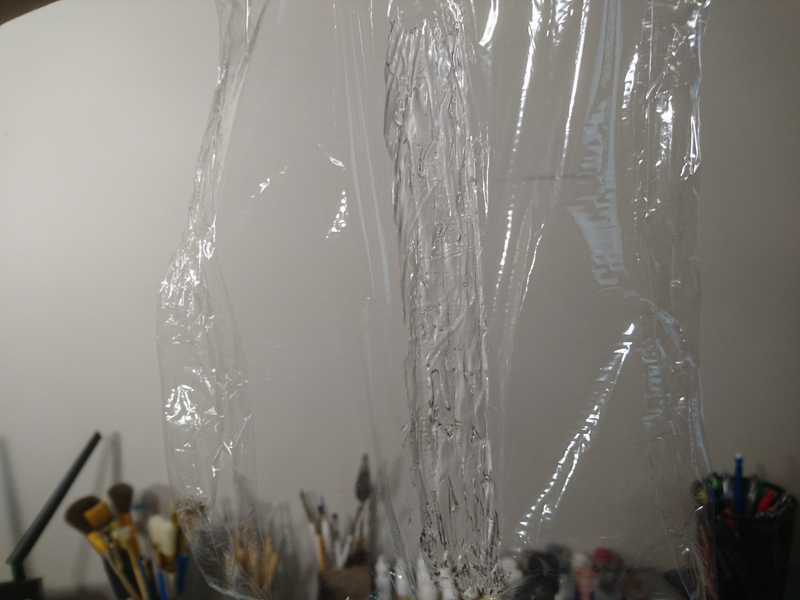
So next I figured I was stuck with the clear sealant that was actually clear, and this time I was going to try it on plastic wrap, which is more crystally clear than a cheap sheet protector and should be a little more invisible after I cut the waterfall out.
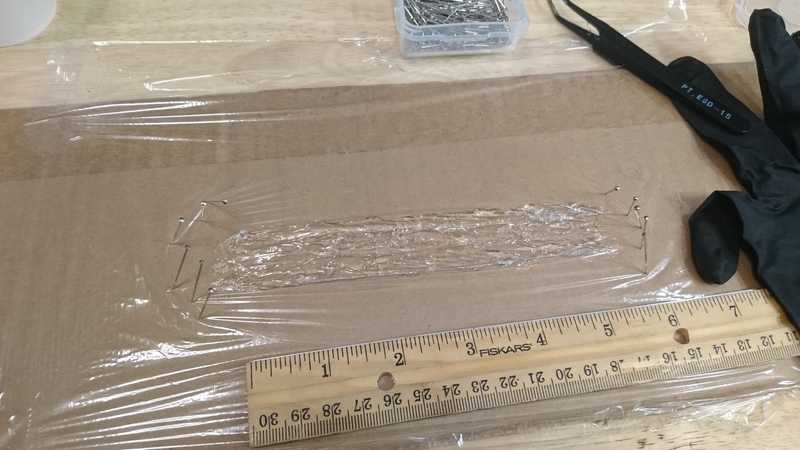
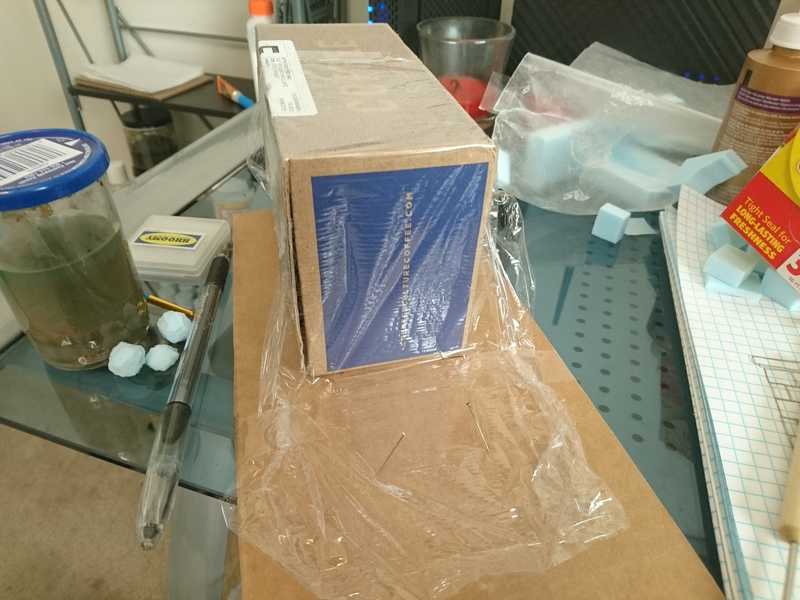
I thought maybe if I made sure the plastic wasn't able to shift at all during the drying time, it would eliminate the shrinkage wrinkles. So I tried another silly rig, pulling the plastic wrap taut and pinning it down onto a piece of cardboard to keep it perfectly smooth.
Honestly I don't know why I thought this would work. After I unpinned everything the thing was such a shriveled disaster that I threw it away immediately before remembering to take a picture of it.
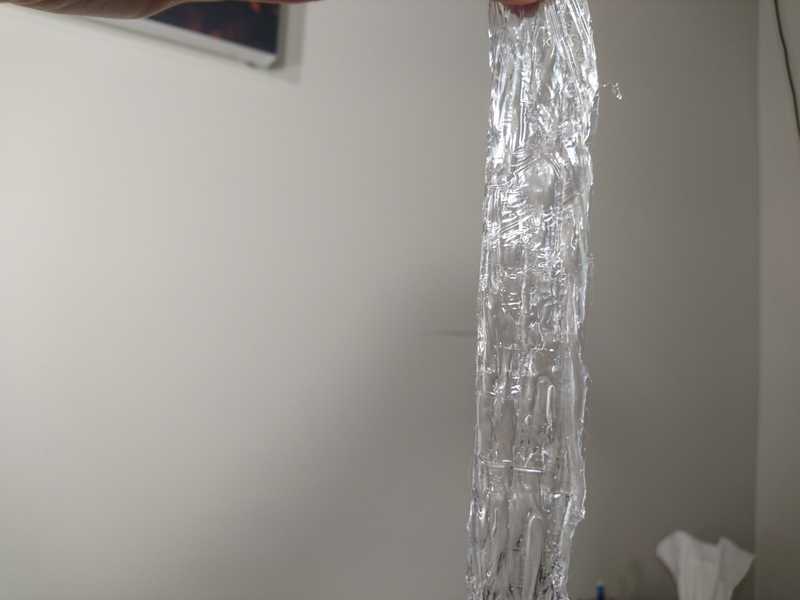
So I went back yet again and used a piece of plastic wrap just sitting loose on the table like I did in the beginning.
Still some wrinkles, but I think I can live with these.
The very first waterfall was actually pretty okay, but the top and bottom were kind of ruined so I'm sticking with this plastic wrap one.
Unfortunately I don't have pictures of the rest of the process for this last one, because it was the day of our game night and I had barely enough time to finish it. I used the same box rig as in the beginning, only with plastic wrap instead of wax paper.
I did the top and bottom of the waterfall just the same way that I did the very first time, and then cut out the plastic around it after it dried. Then I took a little bit of white paint, slightly watered down, and painted some of the raised edges of the water near the top and around the bottom, to make it look more frothing. This is something I'll need some practice with, it came out a little messy looking.
I used a little piece of scotch tape on the underside of the top of the waterfall to stick it to the river, but other than that it's unattached.
Real water effects probably would have turned out much better and not been such a headache of a process, but this worked out alright and really added a nice touch to our water tiles.
