Guest Post: Dungeon Walls
December 07, 2019
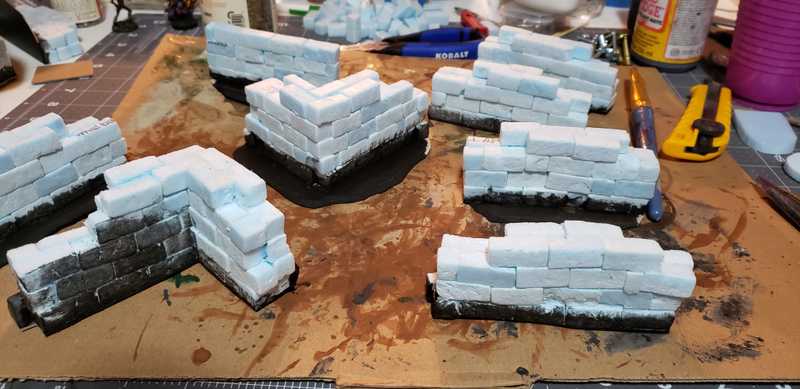
Our current dungeon is a real maze, with tons of rooms and corridors. From the beginning we've used basic handcrafted dungeon tiles, and sometimes it's hard to keep the separate places separate. We've been needing some walls for our dungeon rooms, and it would be ideal if they could also function as ruins for outdoor encounters and things like that. For the most part I followed the ruins video from Black Magic Craft, with few deviations.
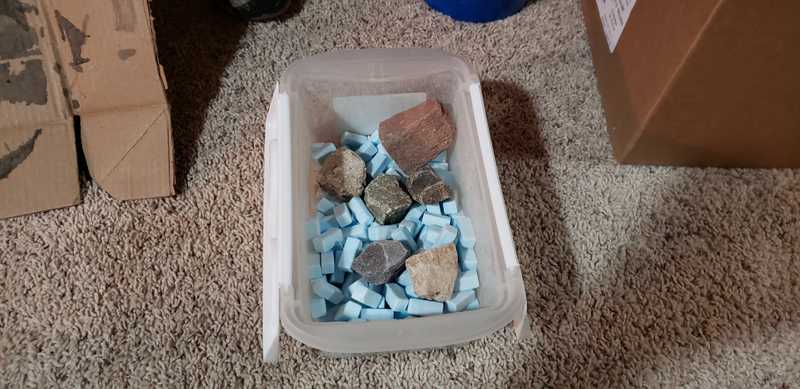
First I cut up a bunch of foam into brick shapes and textured them by placing them in a container with some rocks and shaking it. I got that idea from a different Black Magic Craft video on making bricks.
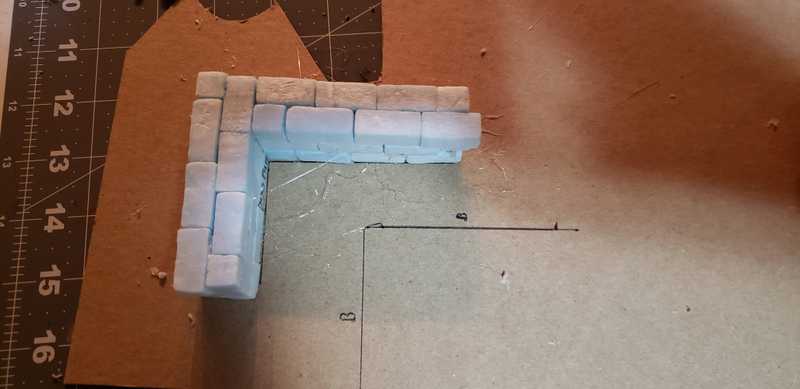
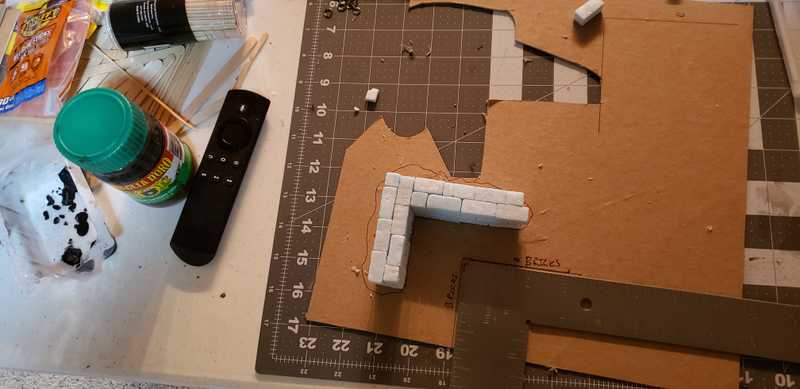
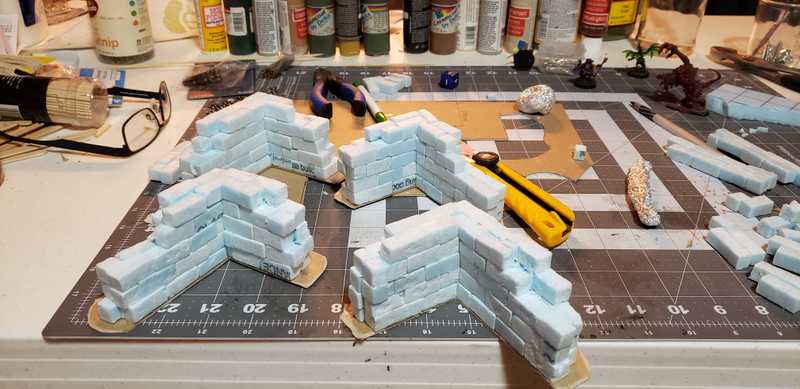
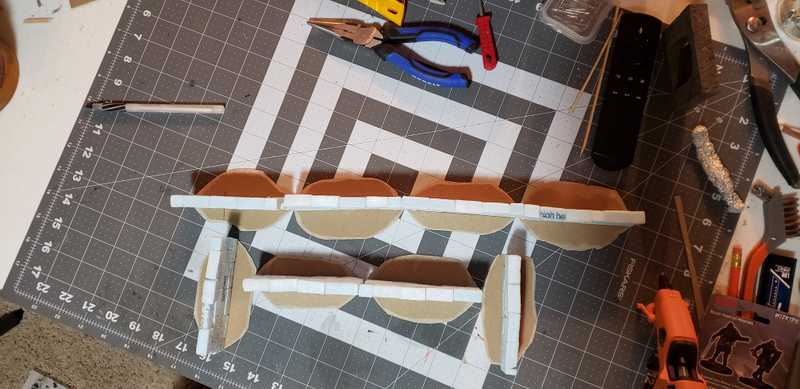
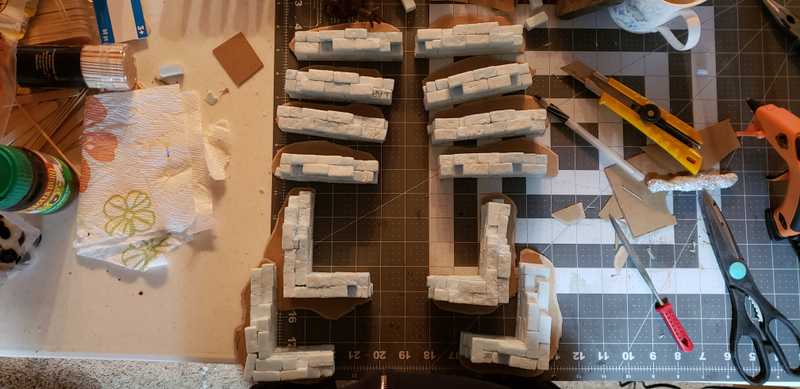
I made some markings with a carpenter's square on chipboard to make sure the walls are at a right angle to fit the floor tiles. All corners are 3" x 4". For the straight pieces I just used the square to make a straight 4" line. I then assembled and glued the bricks on top of the corner pieces.
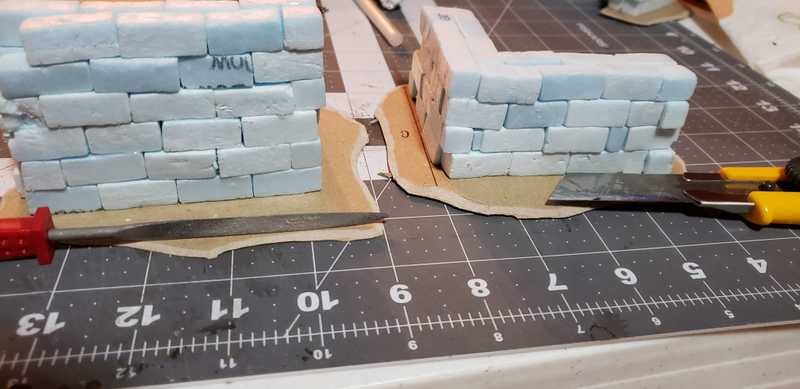
I used an olfa utility knife and a file to bevel the edges of the cardstock.
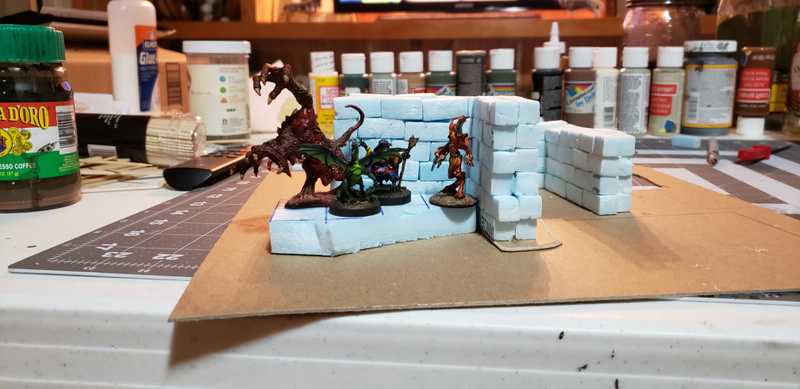
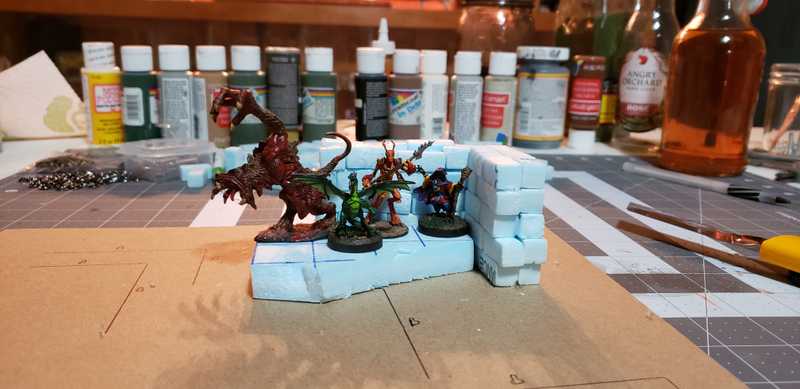
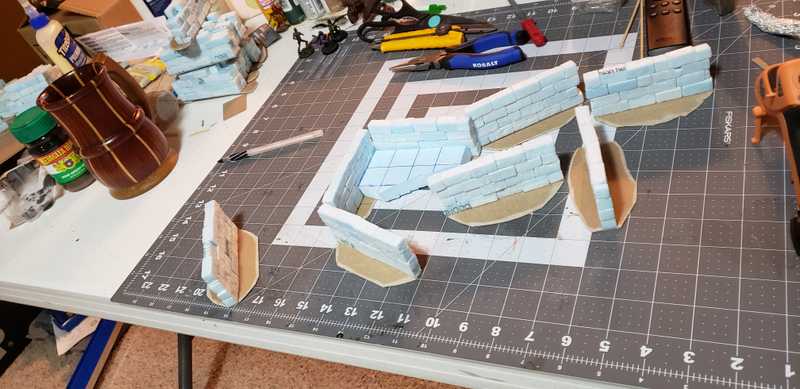
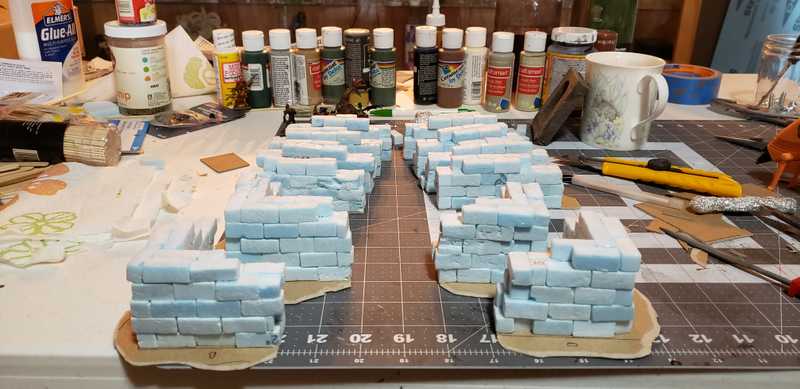
Playing around with different wall heights
I tested out some different heights to find out the optimal number of bricks to stack. It's a tough balance between immersion and visibility for the players. Taller walls definitely feel more immersive, but block off a lot of line of sight depending on where a player is sitting.
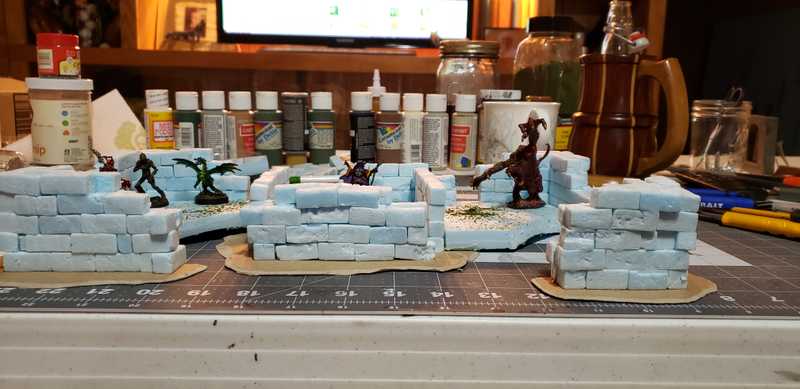
Eventually I decided on 5 rows high.
Weights
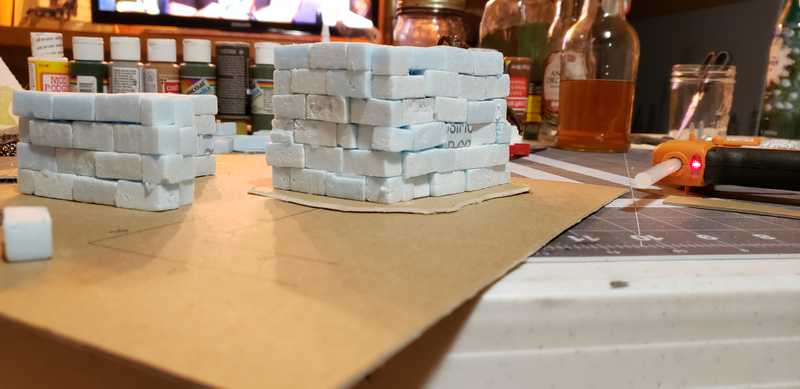
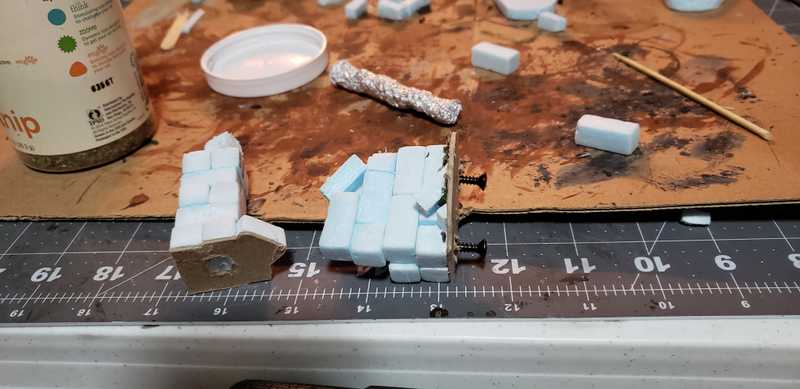
The smaller walls are really light and more prone to tipping over, so I added a little more weight to them. I carved a hole in the bottom of the bases and inserted screws, set the screws with hot glue, and placed the pieces on parchment paper to dry.
Interior walls
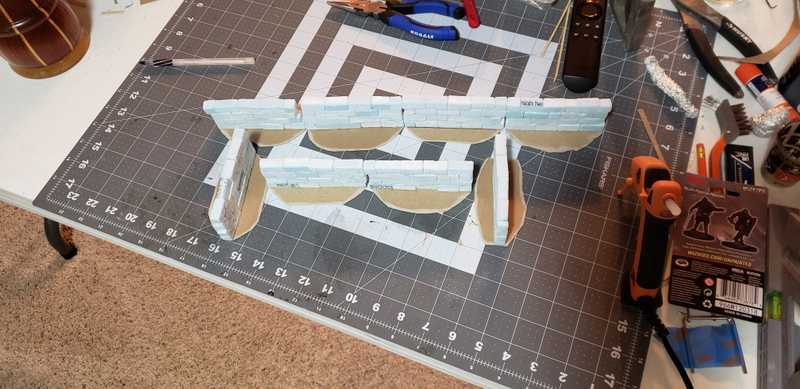
I also made some thinner straight walls to function as interior walls. They're one brick deep, instead of two, to act as dividers for rooms that are right next to each other. These ones are too narrow to weigh down with screws in the bottom, so I kept the bases fairly wide.
The bases of these walls are going to remain flat and untextured, so that the floor tiles can sit on top of them.
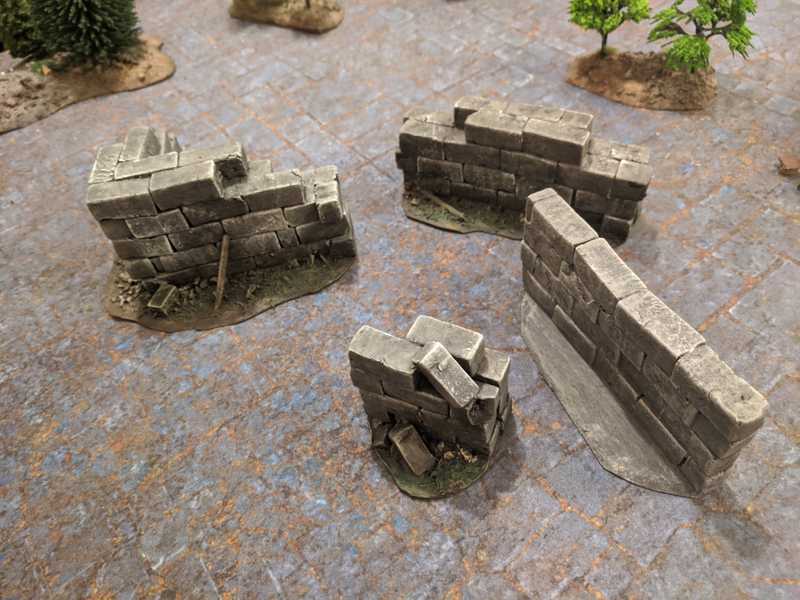
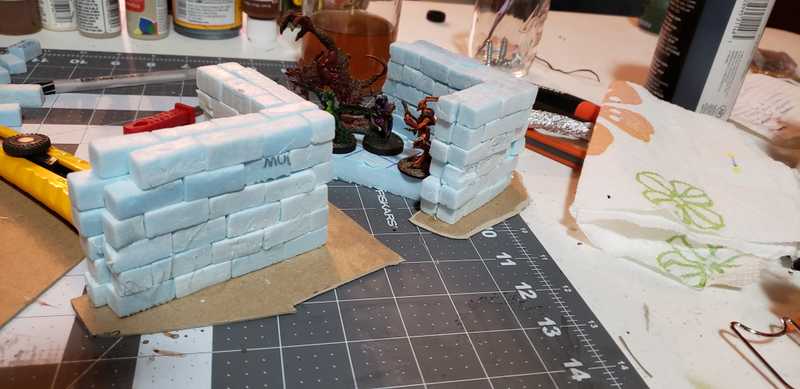
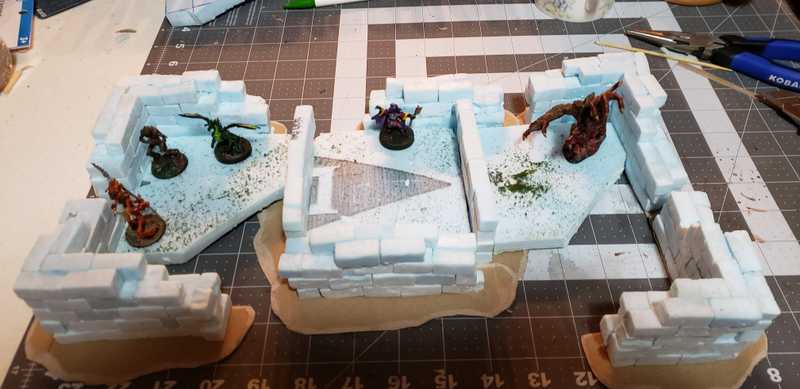
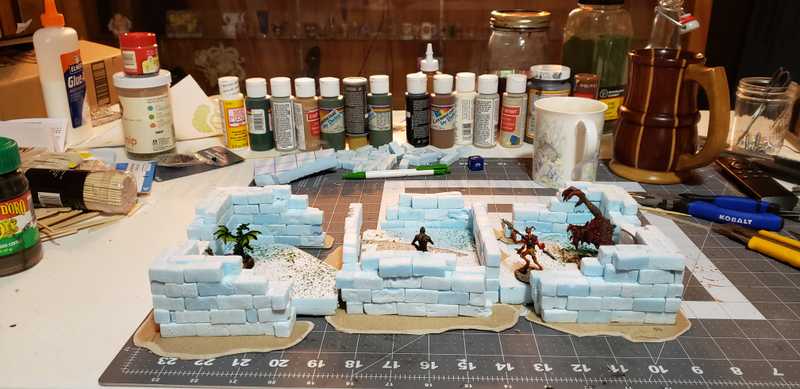
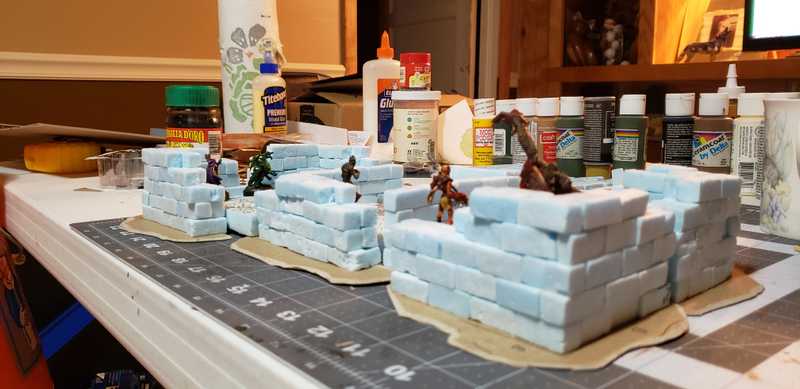
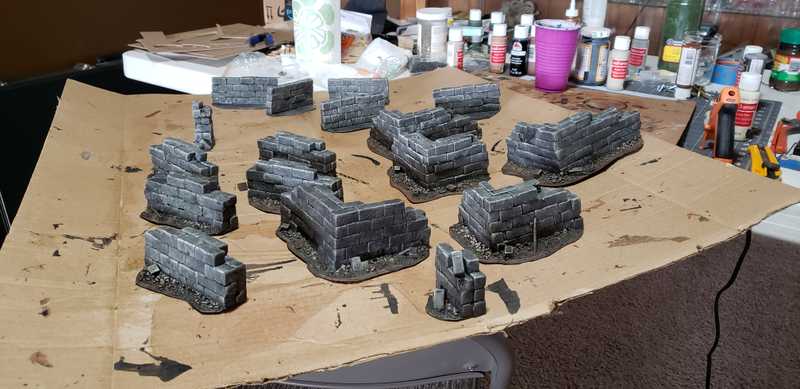
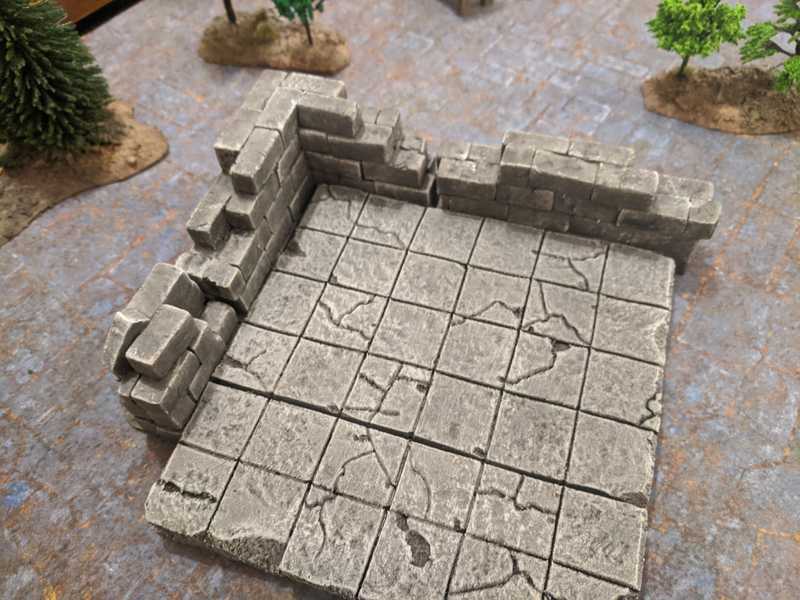
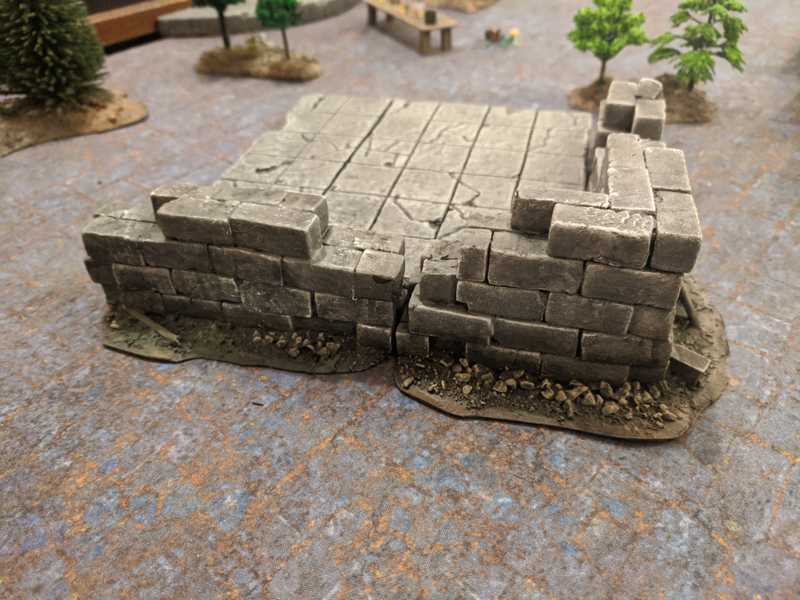
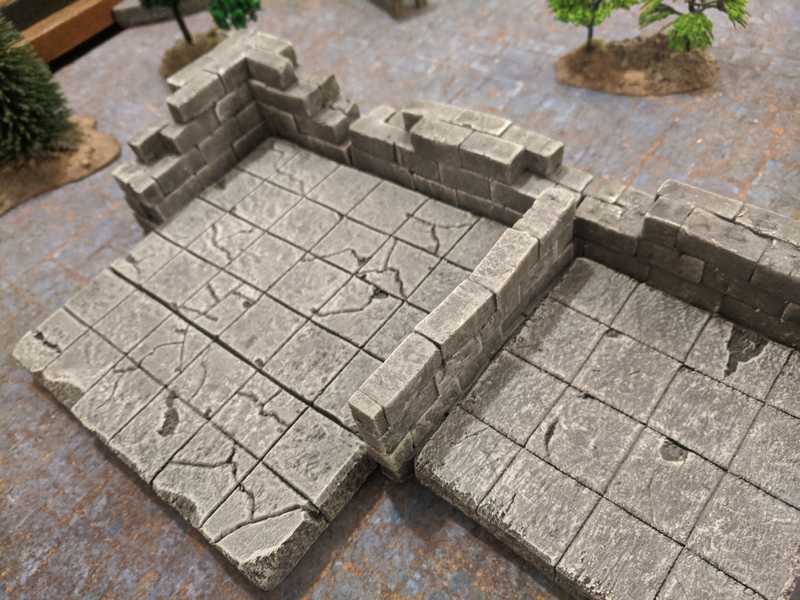
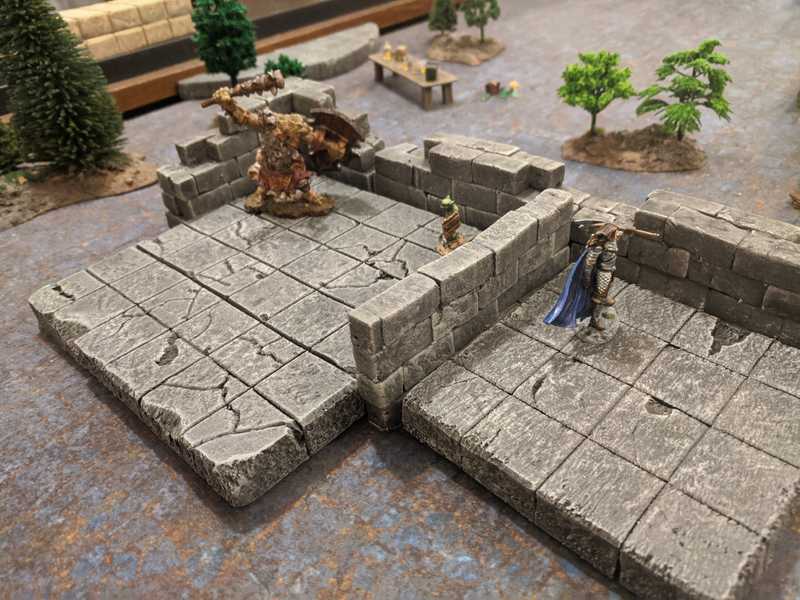
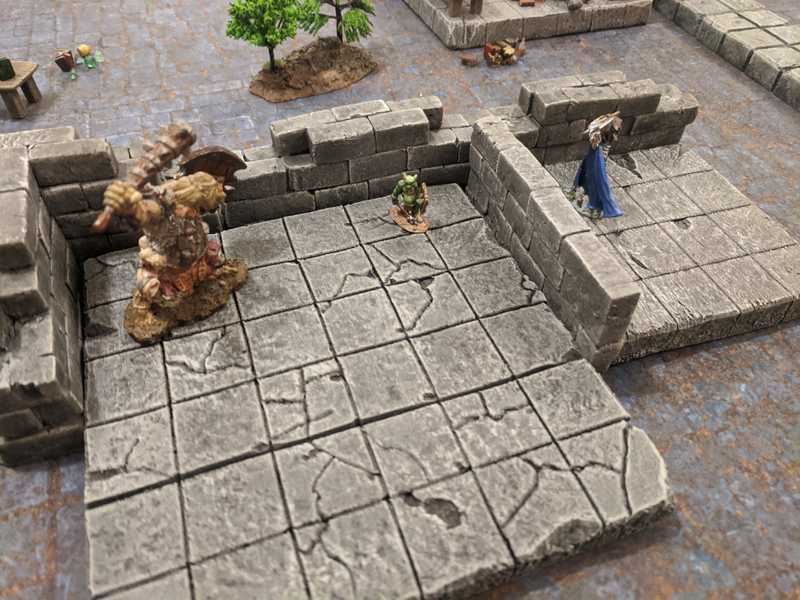
Here are some pictures of a set up with the wall pieces. The corner pieces are 5 bricks high then taper down to 3 high, and the straight walls are 4 bricks high and also taper down to 3. This is to hopefully give the impression that the corners and walls are connected.
Later I got the idea to make one edge flush on each piece to accommodate larger rooms. This will give us the option to butt the corners and walls together.
I only made one end of each of the straight walls flush.
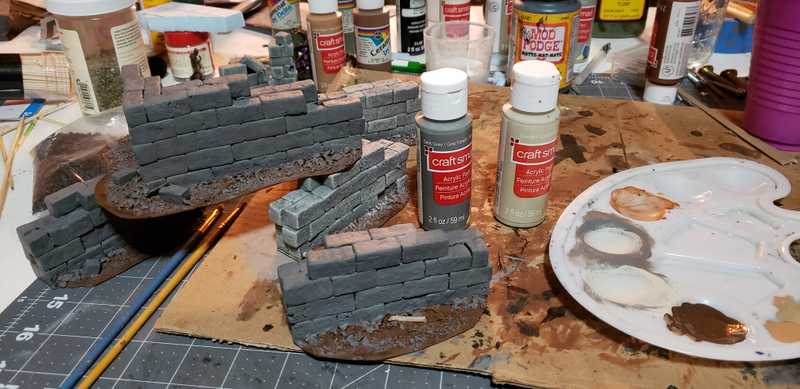
Next I coated the bases with mod podge mixed with black paint. This should prevent the chipboard bases from warping when applying the wash layer.
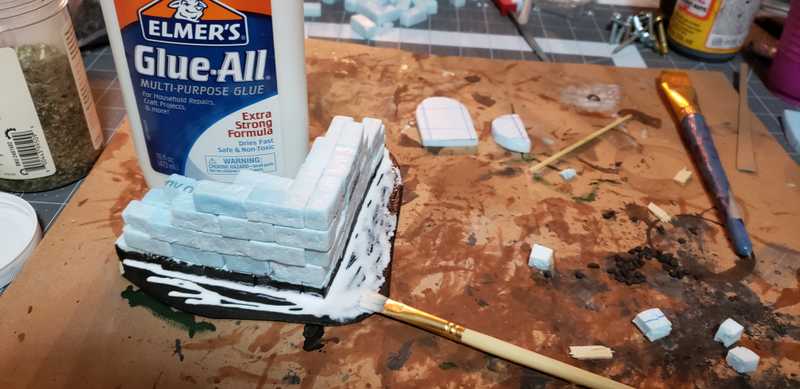
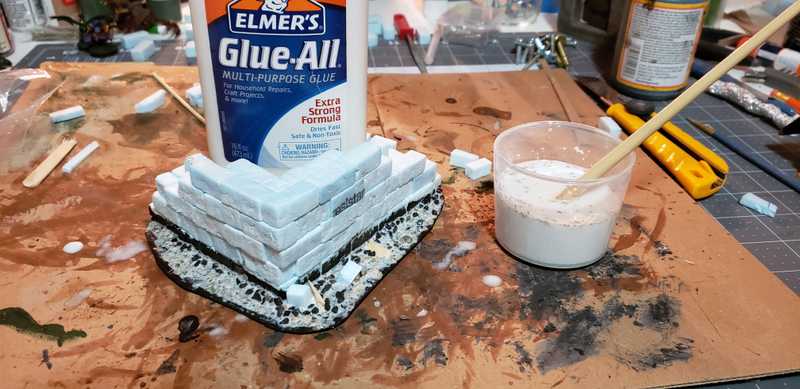
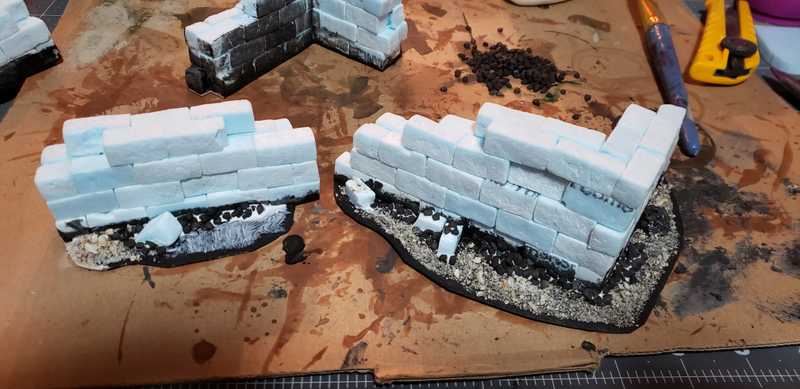
Here I applied glue to the base then added rocks, sand, dried vegetation, sticks, and some loose cut up bricks to the bases.
After the glue dried I covered the bases with watered down pva glue to lock everything in.
The last step is to paint, drybrush, then wash.
Having these walls makes a huge difference in the atmosphere of the dungeon, and it ended up being a pretty good balance between visibility and immersion.
