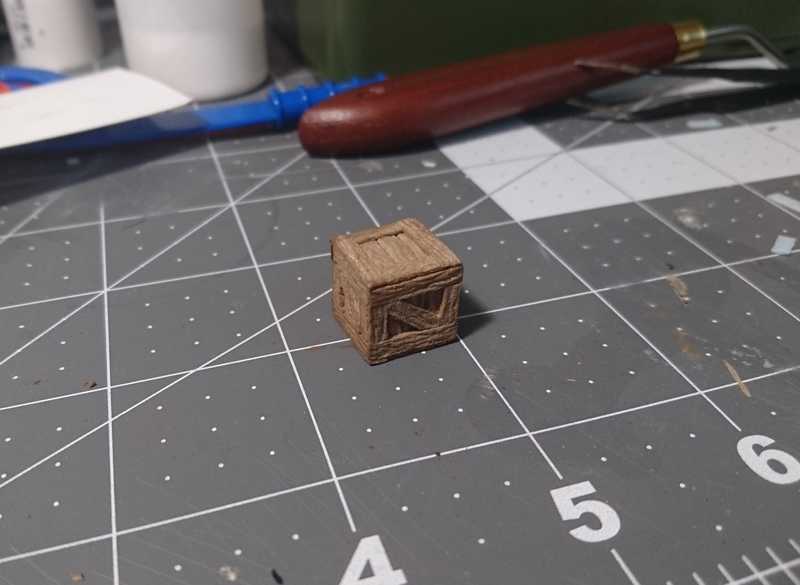
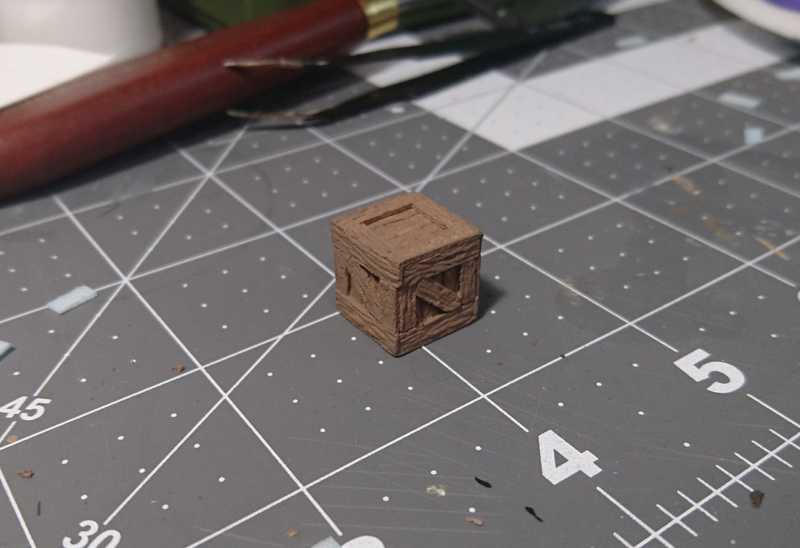
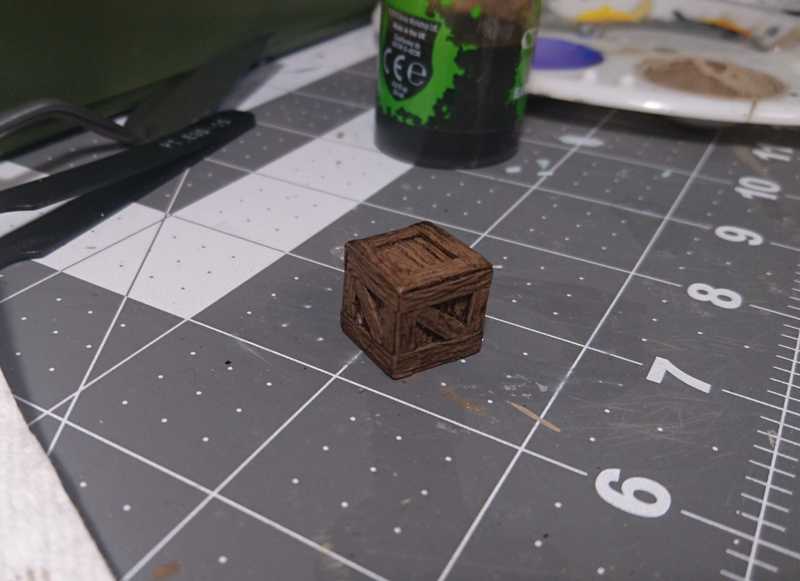
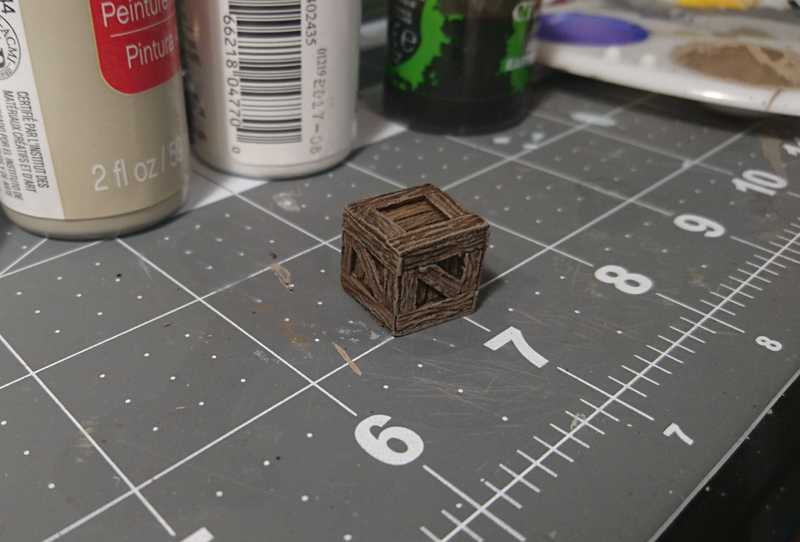
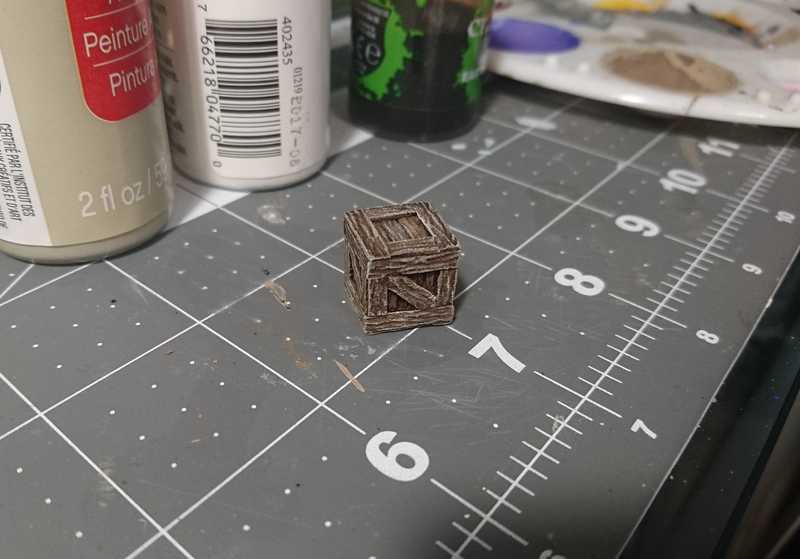
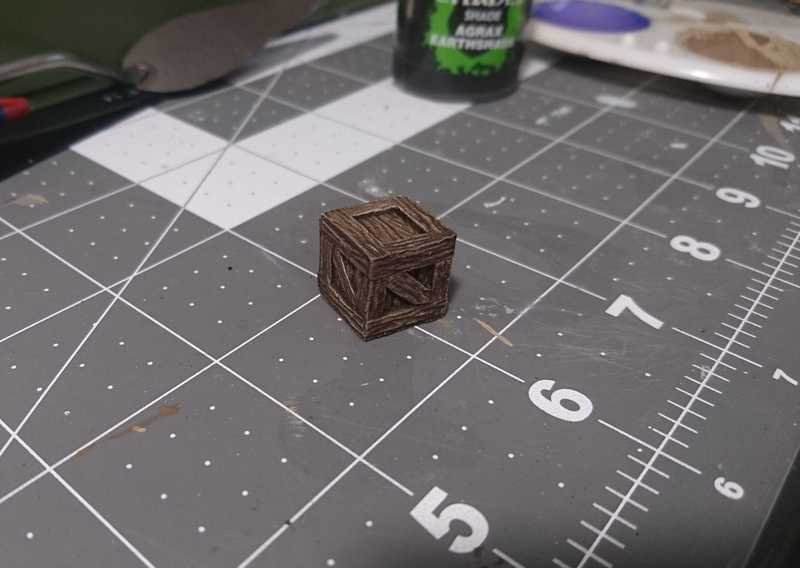
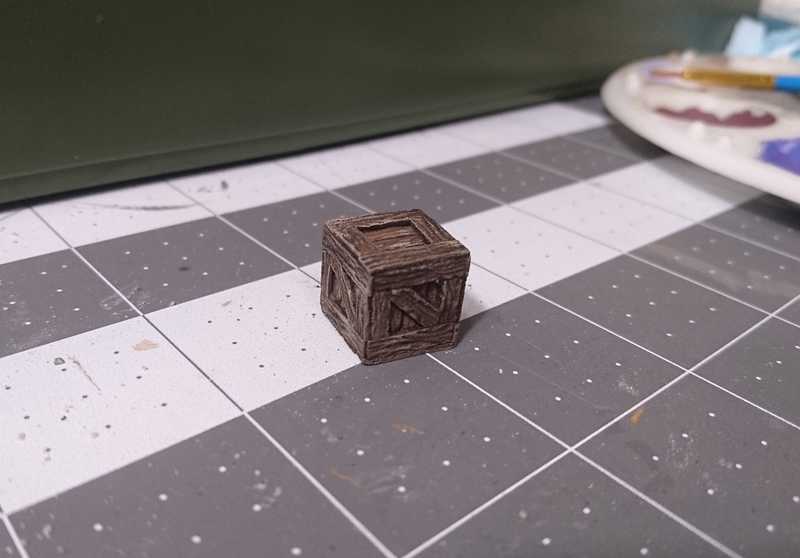
A first attempt at a crate
February 03, 2020
Boxes are definitely a major staple of any collection of dungeon props. Or any sort of setting, really. Indoors, outdoors, a town shop, a mysterious cave, they're just everywhere. There are many other simpler and less painful ways of making your own wooden crates, but I like to really max out the details and polish. I chose foam for the material as usual, because of how easily it can be textured.
Starting out with my first crate, I had the thought that it should be as close as possible to scale with miniatures. I thought it would just look goofy if it were too big. So I went with a half inch cube, which, in the end, I actually think is too small.
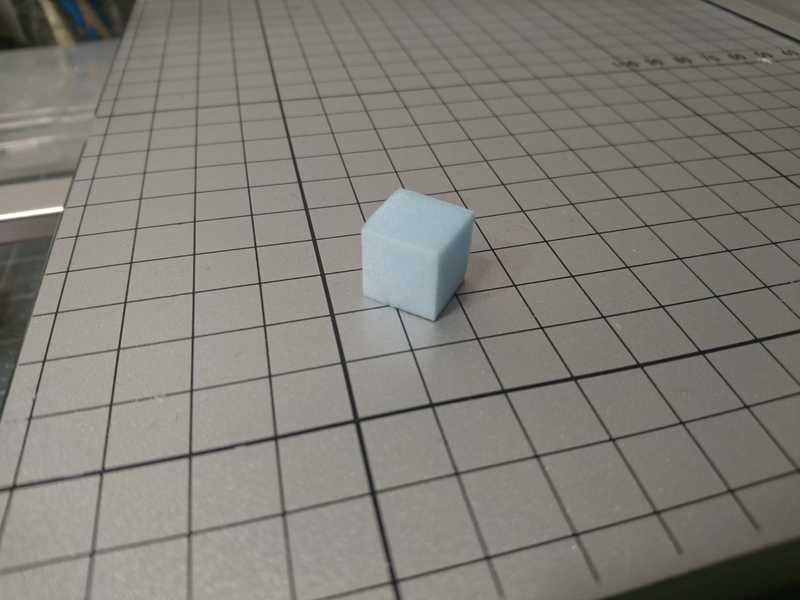
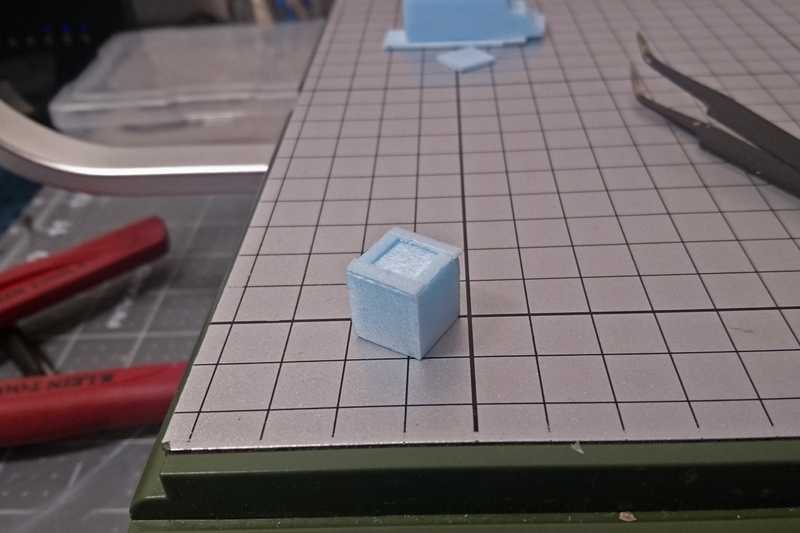
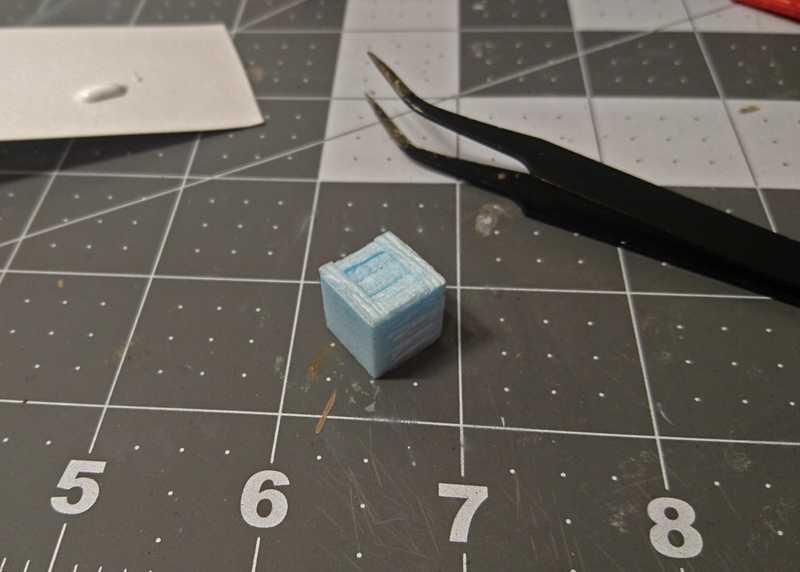
Here is the starting piece, a simple cube of XPS foam.
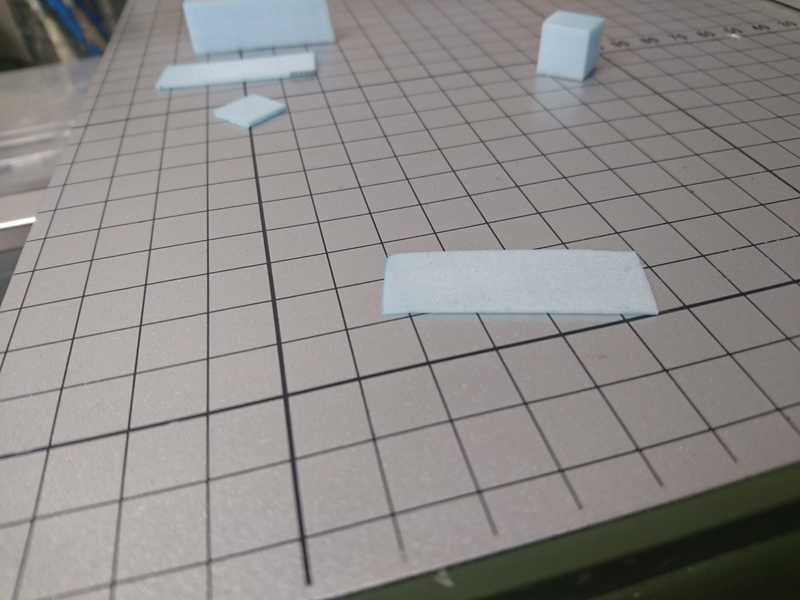
And here's the piece the little planks will be cut from, I cut it to about 1/32" thin. Probably could have gone a little thicker.
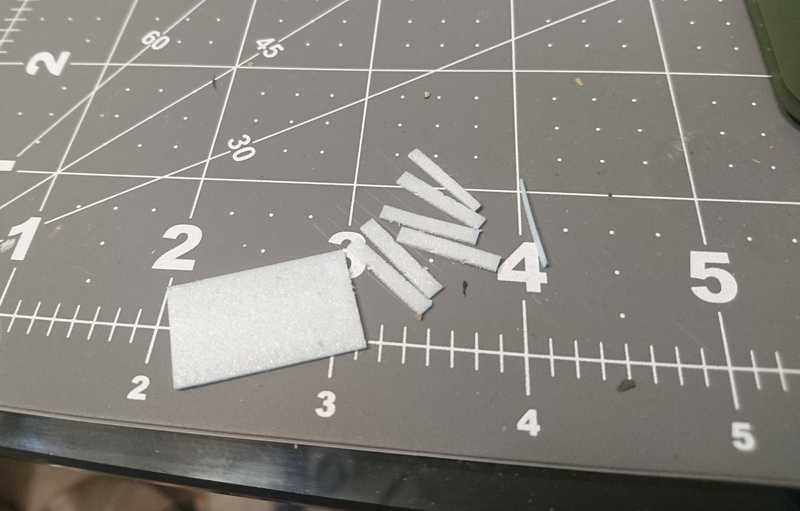
I just eyeballed the width of the planks as I cut them.
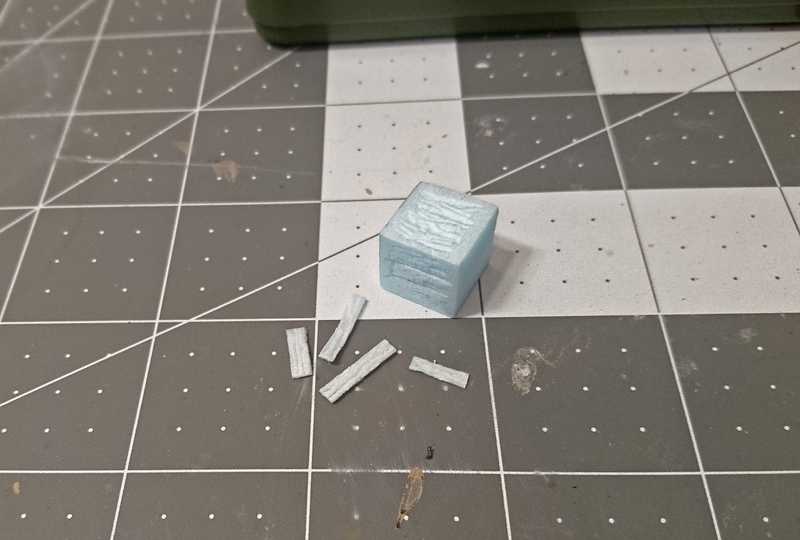
Tweezers were necessary for every part of moving these little strips around. They just fly everywhere.
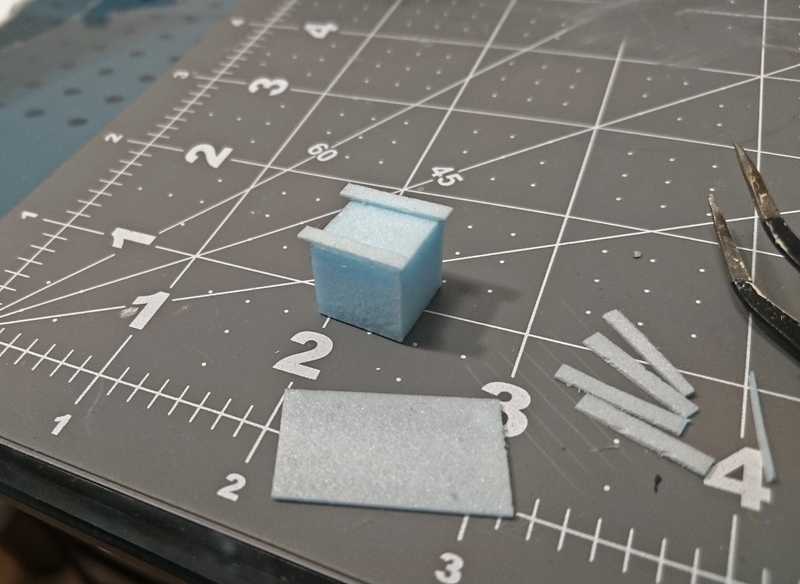
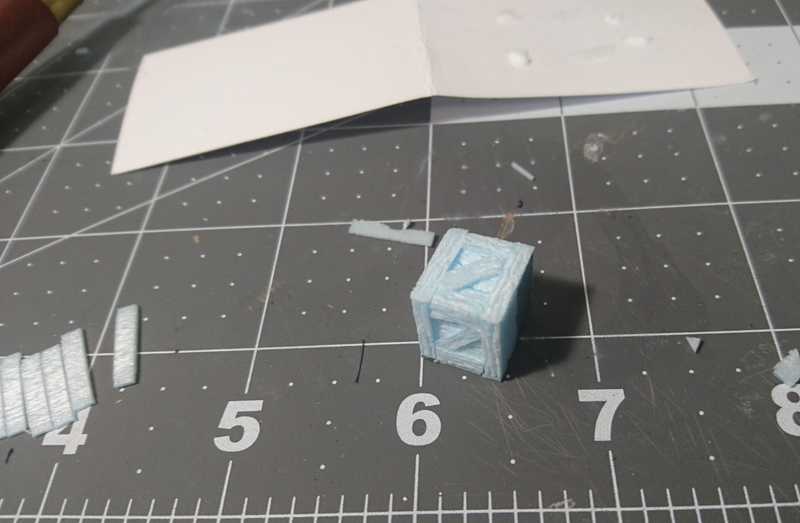
I placed them temporarily just to get them to the right length, no gluing yet.
First I need to add some wood plank texture to the underlying box.
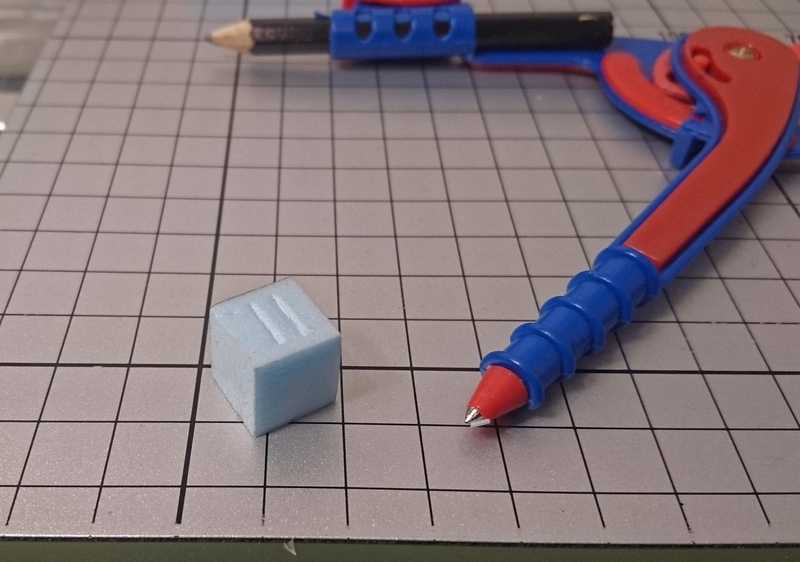
I used the pointy metal end of a compass to kind of draw in the edges of the planks and the wood grain texture. A ballpoint pen or a sharpened pencil also work okay, I just prefer the particular shape and sharpness of the compass.
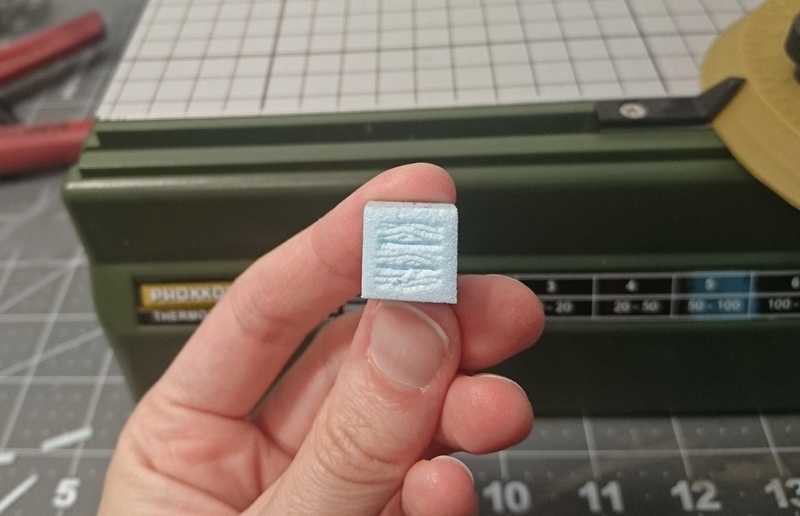
I made a couple deep lines to outline some boards, then some fainter wavy lines around them to look like the wood grain. It isn't necessary to go all the way to the edges because that's where the foam strips will sit.
I did the same wood grain texture on the boards that I had cut out earlier. If I had been smart I would have just textured that whole little sheet of foam before cutting it up. This is where a little thicker piece would have been nice, because I nearly shredded these tiny pieces while drawing the lines on them.
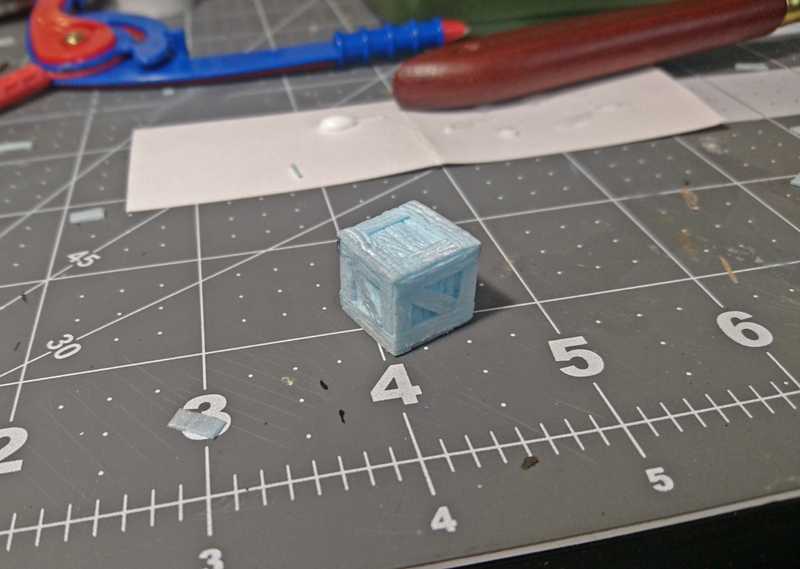
Next it's time for the strips to be glued around the edges of the main piece. I used a toothpick to pick up some glue and spread it around the edges to be more precise.
I also added a little diagonal cross piece to each of the sides (but not the top and bottom).
On the top and bottom I only put planks on the edges, no diagonal piece.
As soon as everything is glued on, it's time to paint.
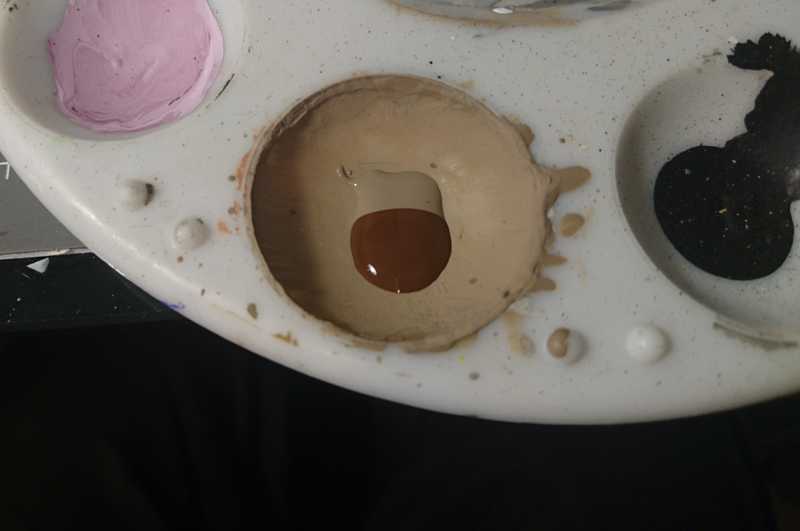
I mixed a light taupe and an espresso brown to get my base color, then mixed the paint with some mod podge. (Roughly equal amounts, maybe more mod podge. It doesn't matter too much.)
After the mod podge coat was dry I went over the whole thing again with just the paint.
Next was a dark brown wash, I used Citadel Agrax Earthshade.
Once dry, I did a light dry brushing with the same brown that I used for the base coat.
I saw a video of some Wizkids miniature doors being painted, and they turned out really nice with a simple base coat, wash, and dry brush. The surprising thing to me was that the dry brushing was done with pure white. It sounded crazy, but it looked great, so I had to try it out. (Here is the video in question. Fantastic channel.)
Maybe the texture was just too different, but it didn't work out for me as well as I'd hoped.
To try and fix it I went over the whole thing again with the brown wash.
I could have called it done at this point, but it was a little too dark overall, and the color too uniform.
I tried to add a little weathering with a lighter brown, and dry brushed in some kind of random spots.
After that I just called it good.
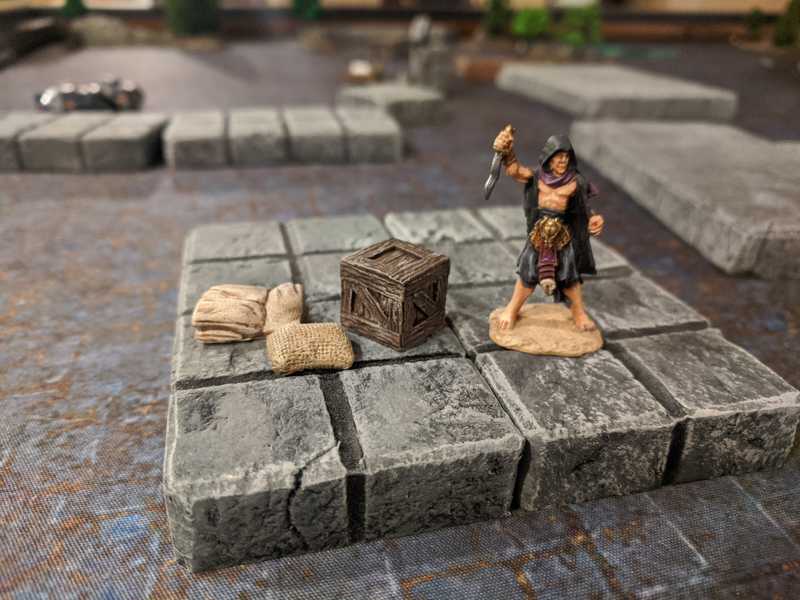
So yep, the scale is pretty accurate to a mini, but I think now that that's kind of missing the point. Full realism, scale-wise, doesn't always work on the table. It actually looks a little awkward at this size during play. A box this small will still probably work well as part of a bigger pile of things, but for standalone props, I'll definitely go a little bigger in the future.

